Related
Merlin Trial Guides by Region
Northern zone
South Hogwarts Region

Hogwarts Valley
Feldcroft part
southerly geographical zone

The Hogwarts Valley Region ofHogwarts Legacyis another large part that includes most of the domain to the Confederate States of Hogwarts . In this region , players will find the Village of Keenbridge and Brocbarrow . It has a lot of subject , explorable area and is one of the first region that instrumentalist confabulate alfresco of Hogsmeade and Hogwarts .
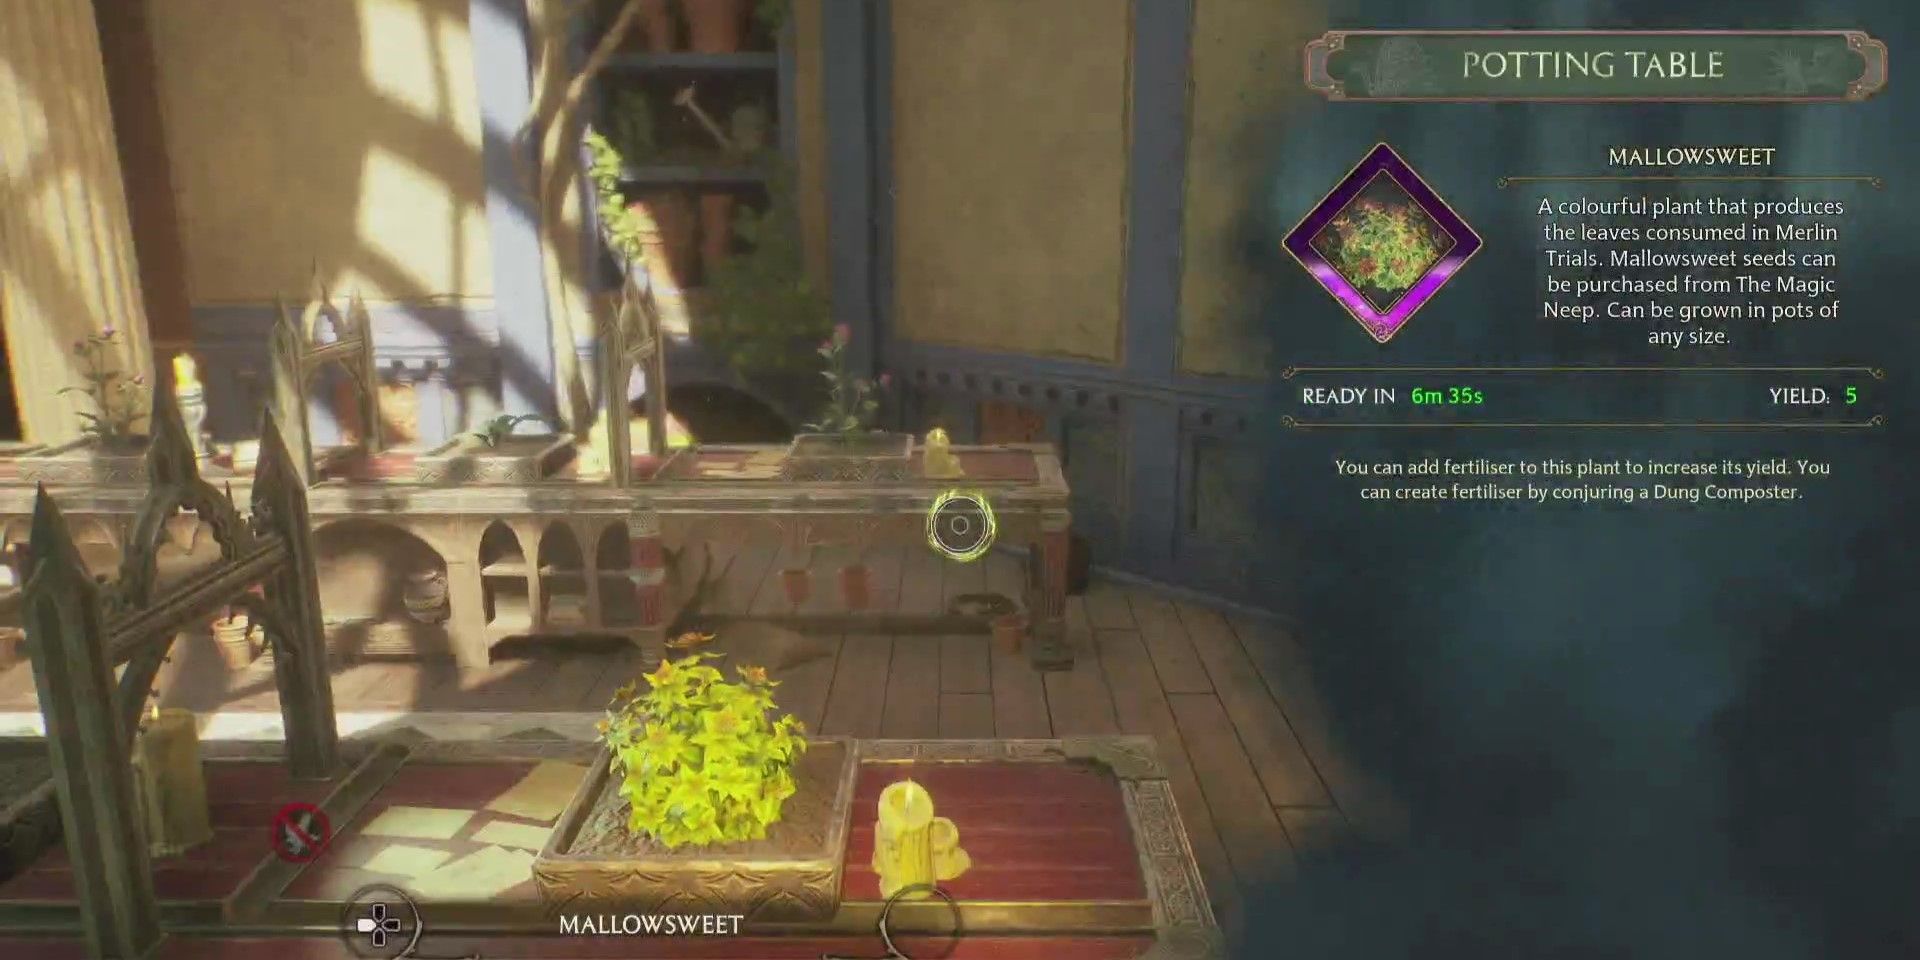
Remember that activating each visitation will demand aMallowsweet , of which the seeds can be purchased fromThe Magic Neep in Hogsmeade .
Hogwarts Legacy Guide : Should You take Sebastian Or Natty ?
Hogwarts Valley Merlin Trials Locations
32
33
34
35
36
37
38
39
40
41
42
43
44
45
46
47
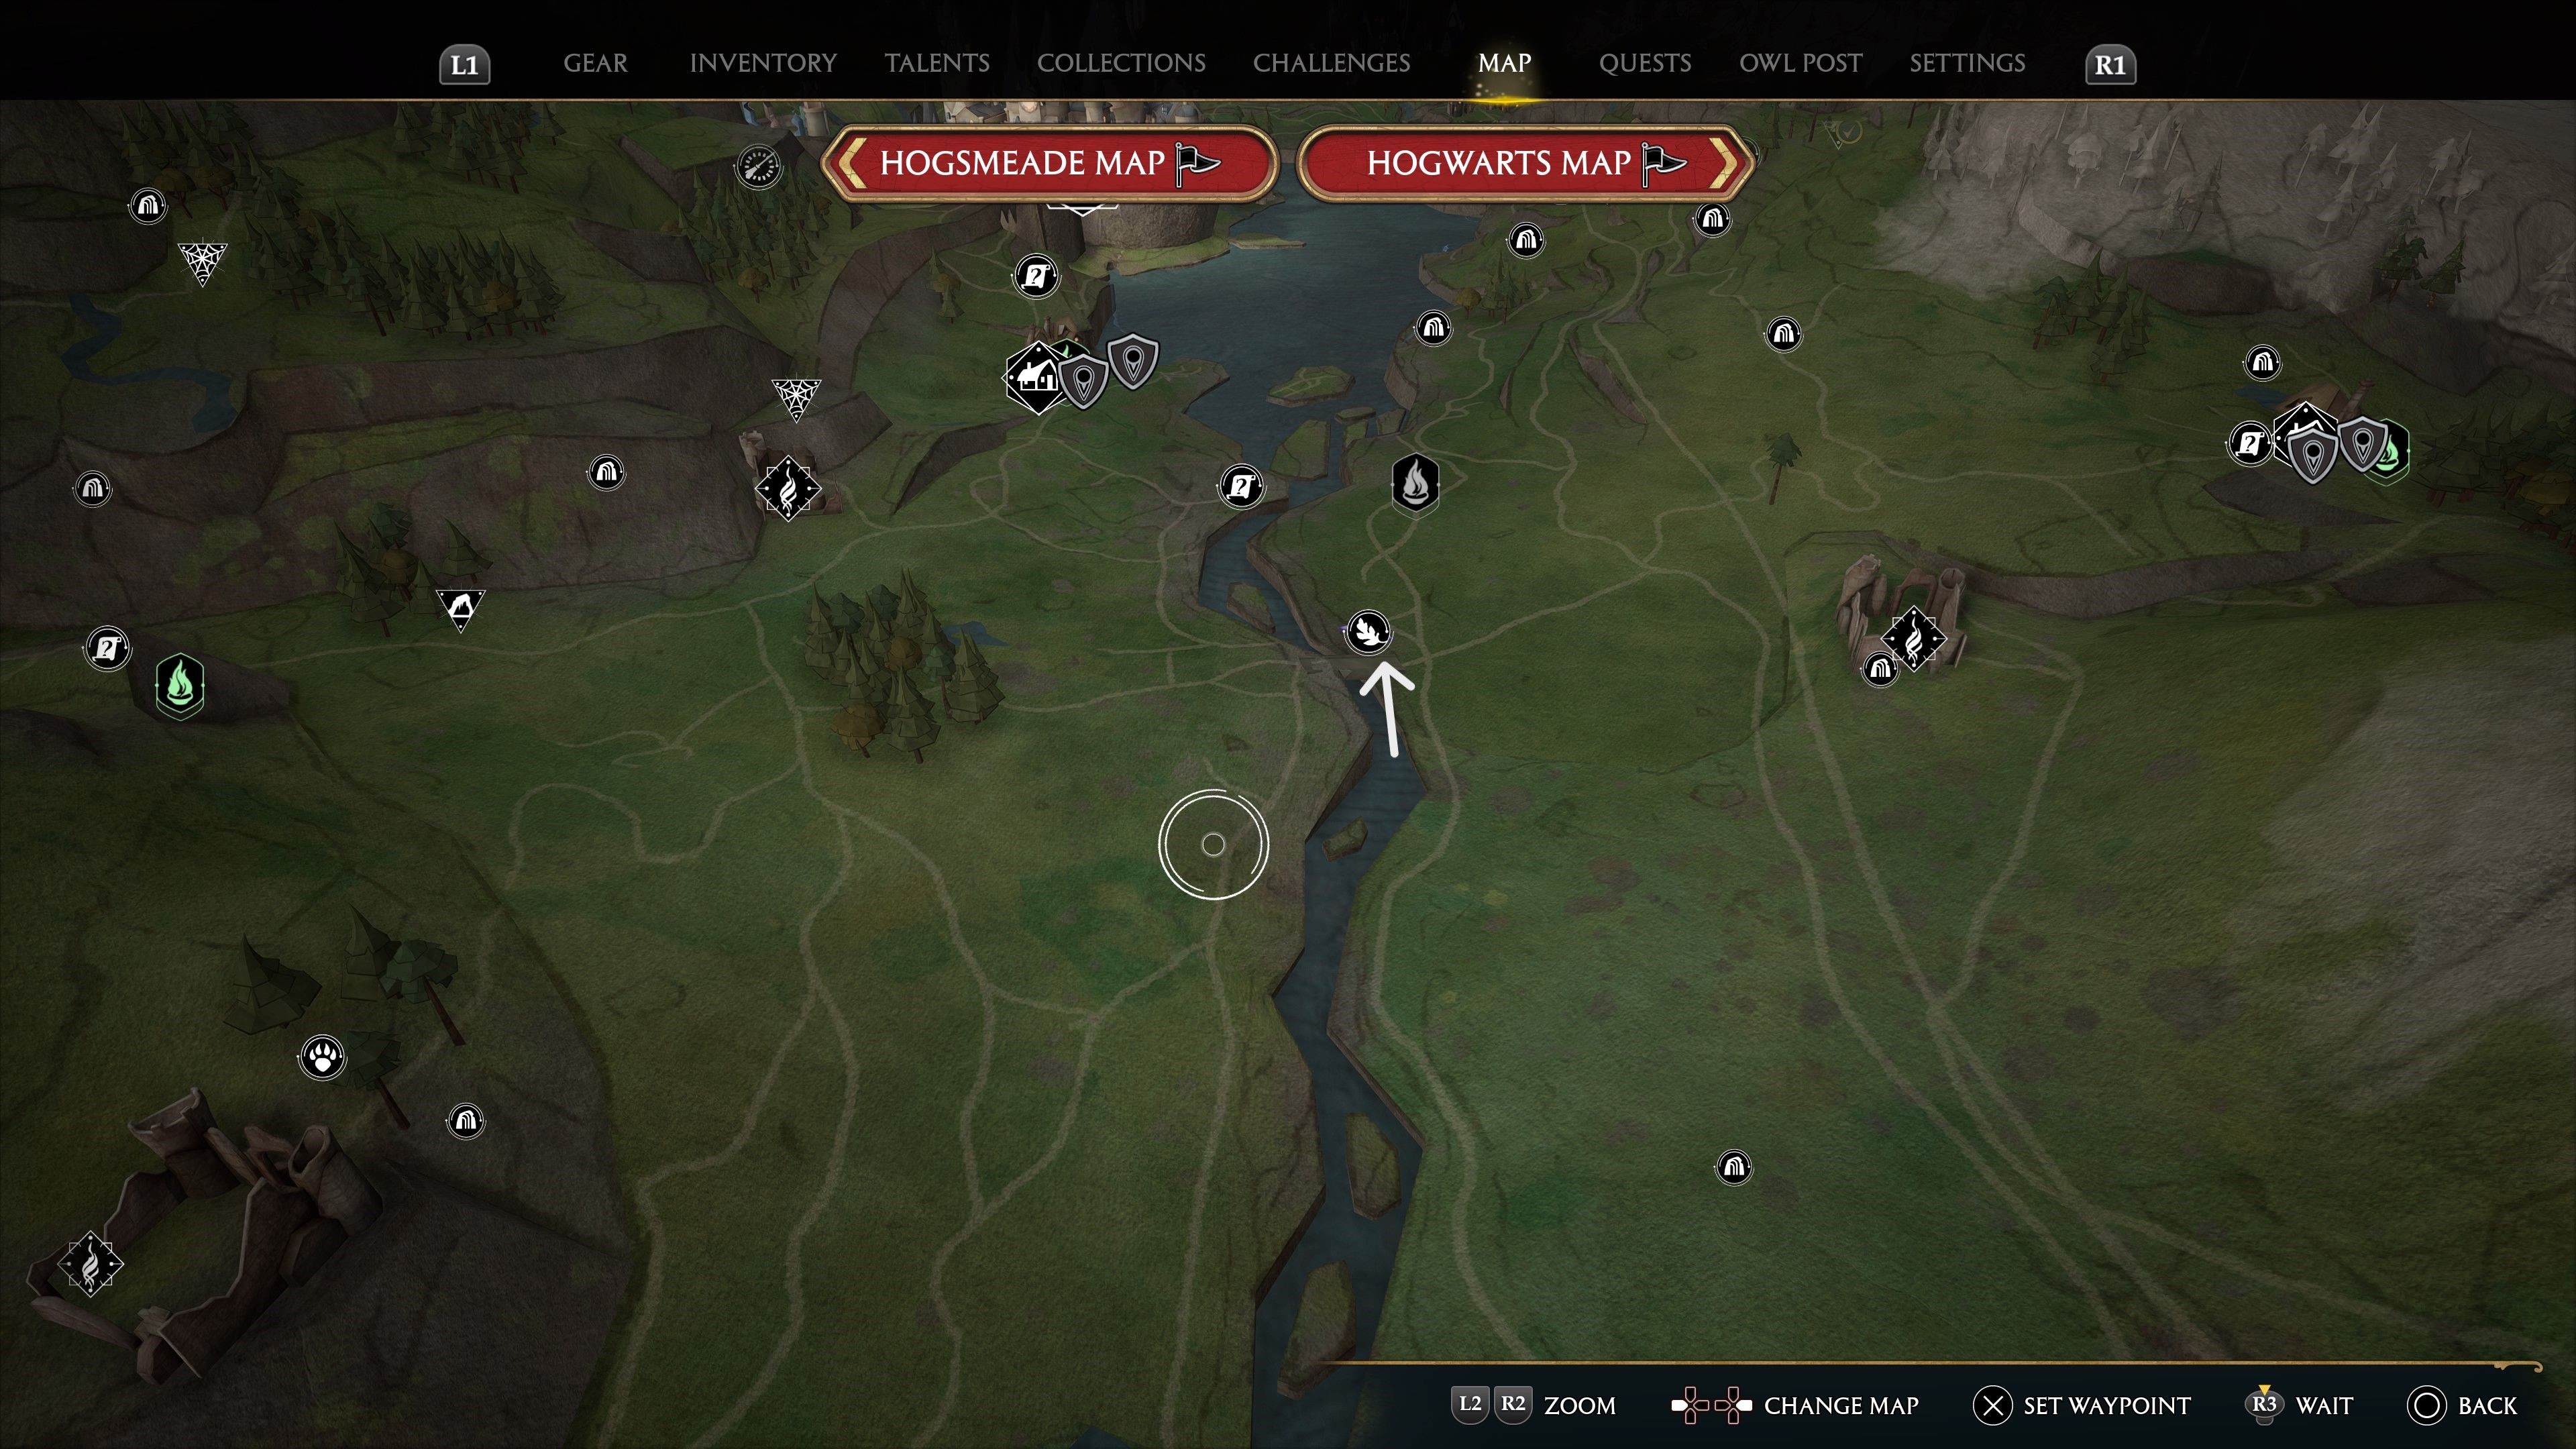
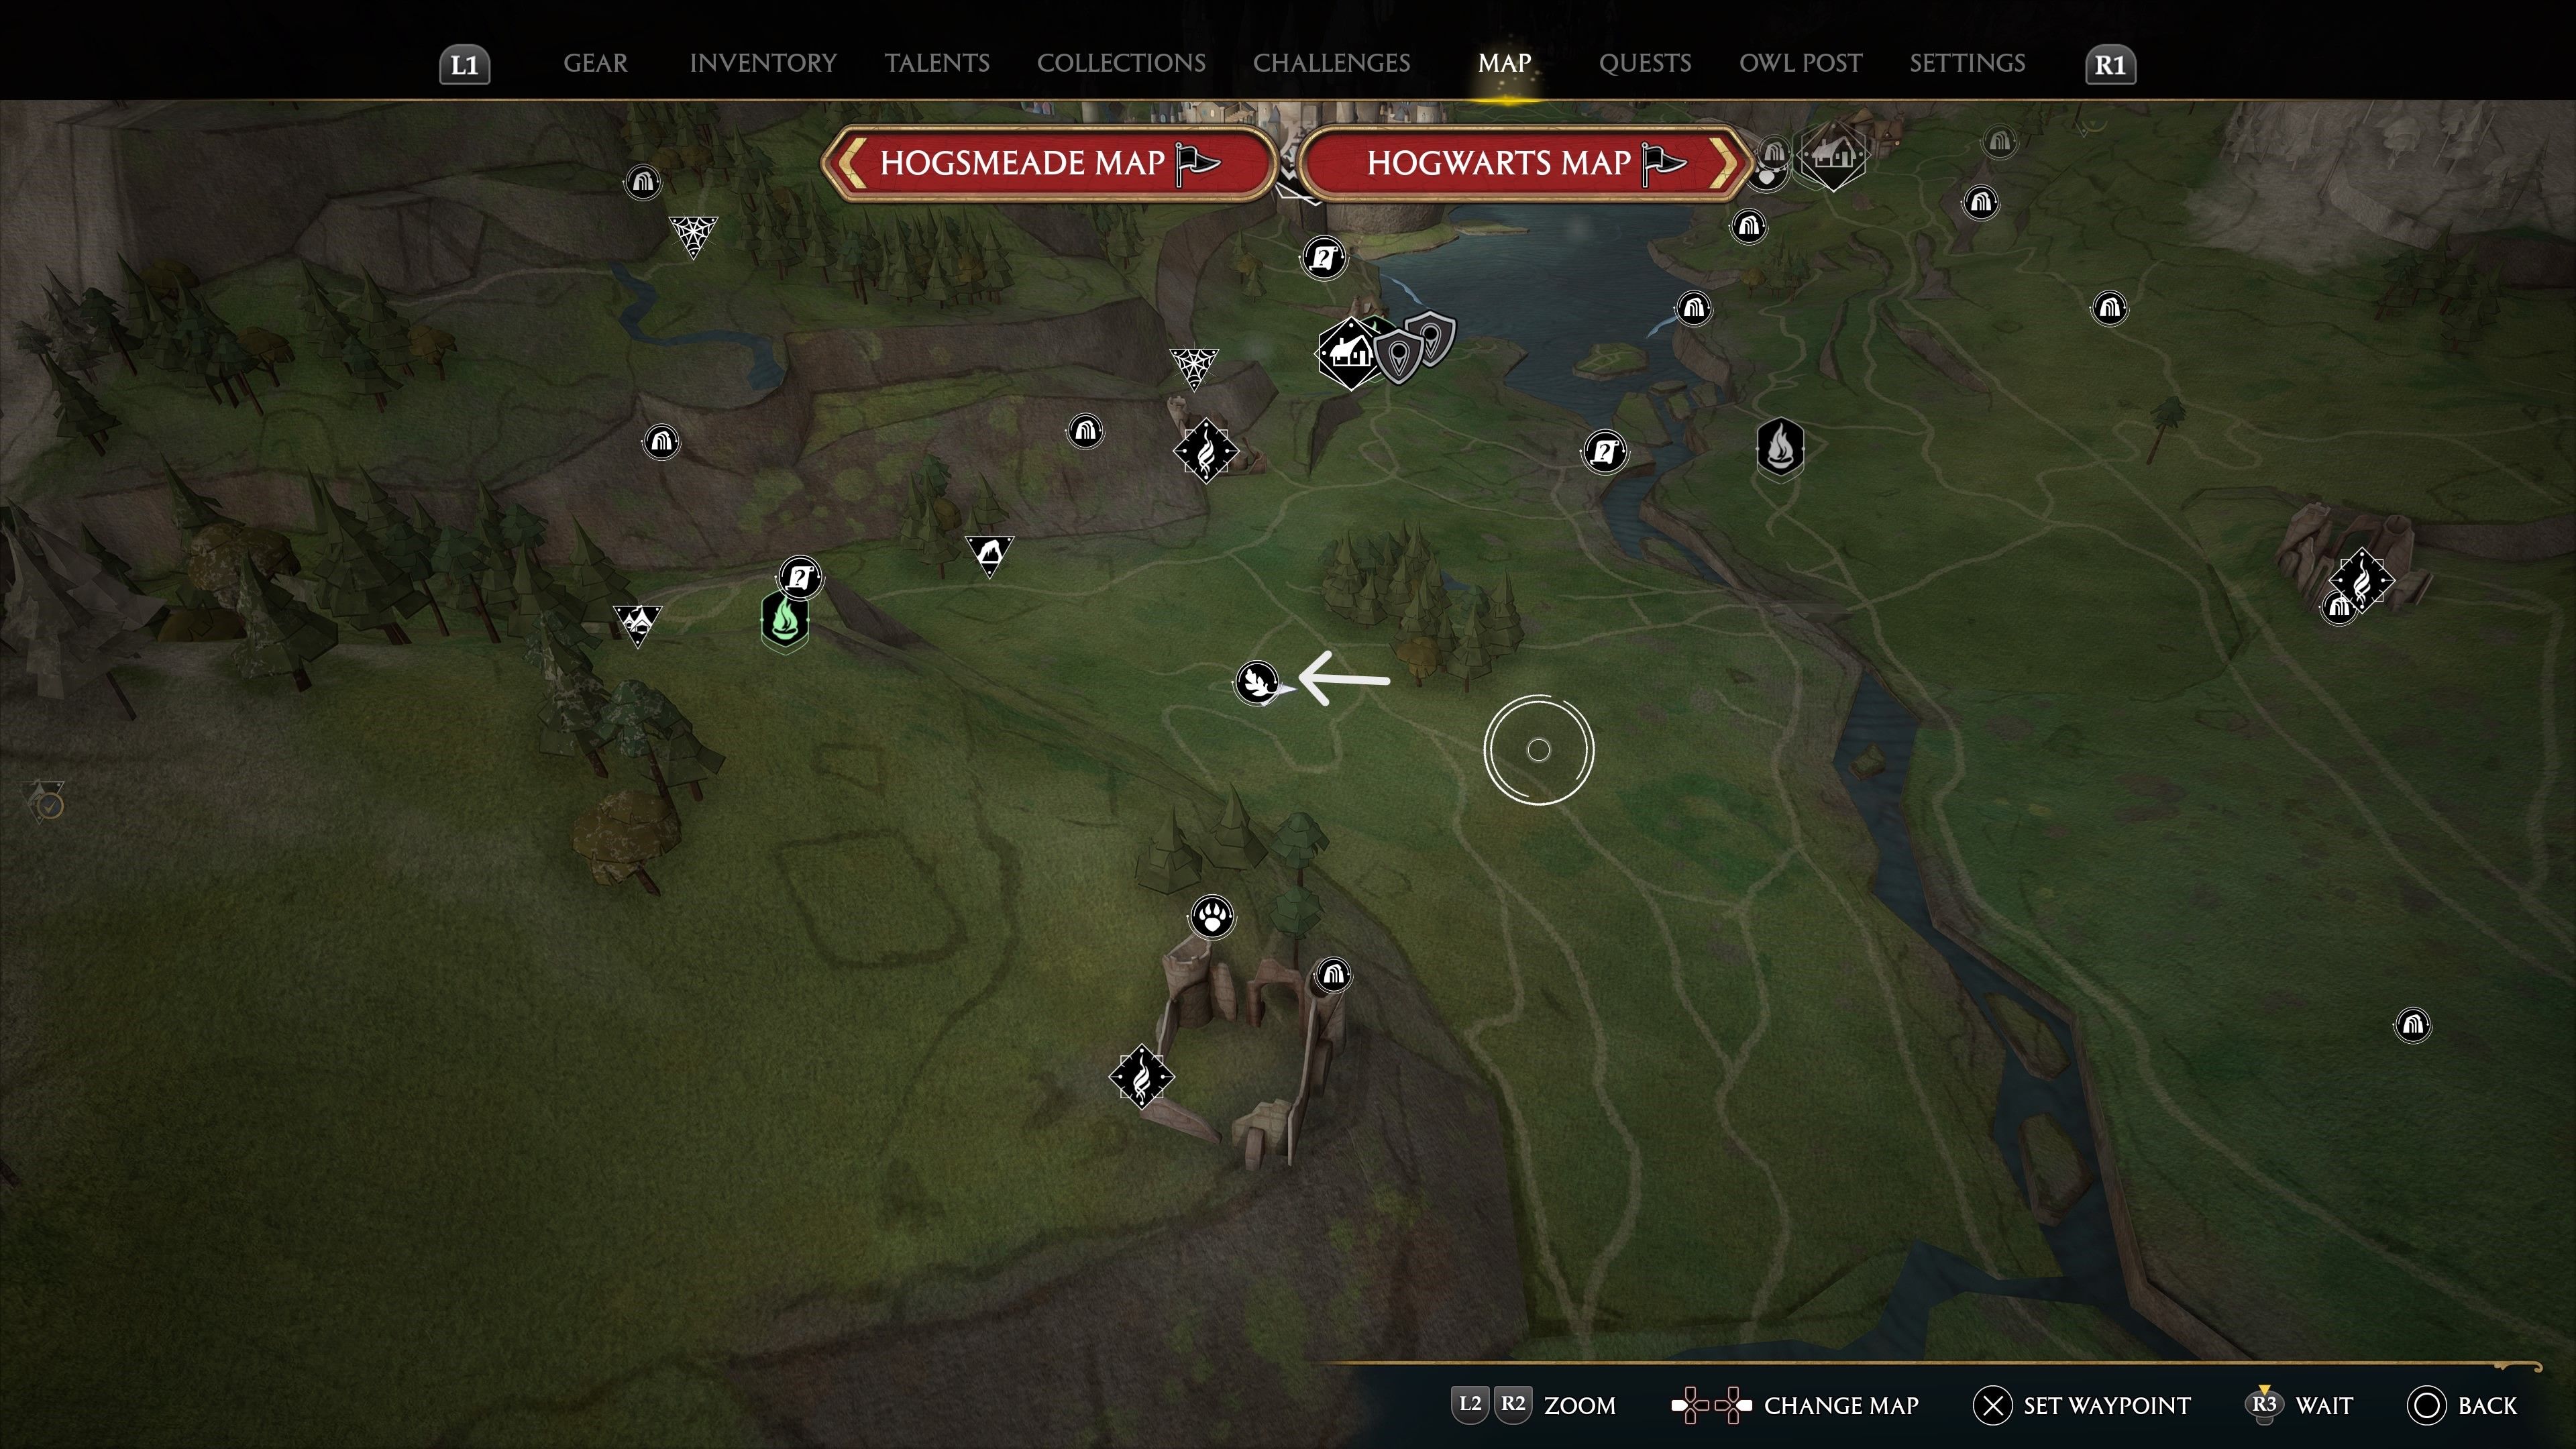
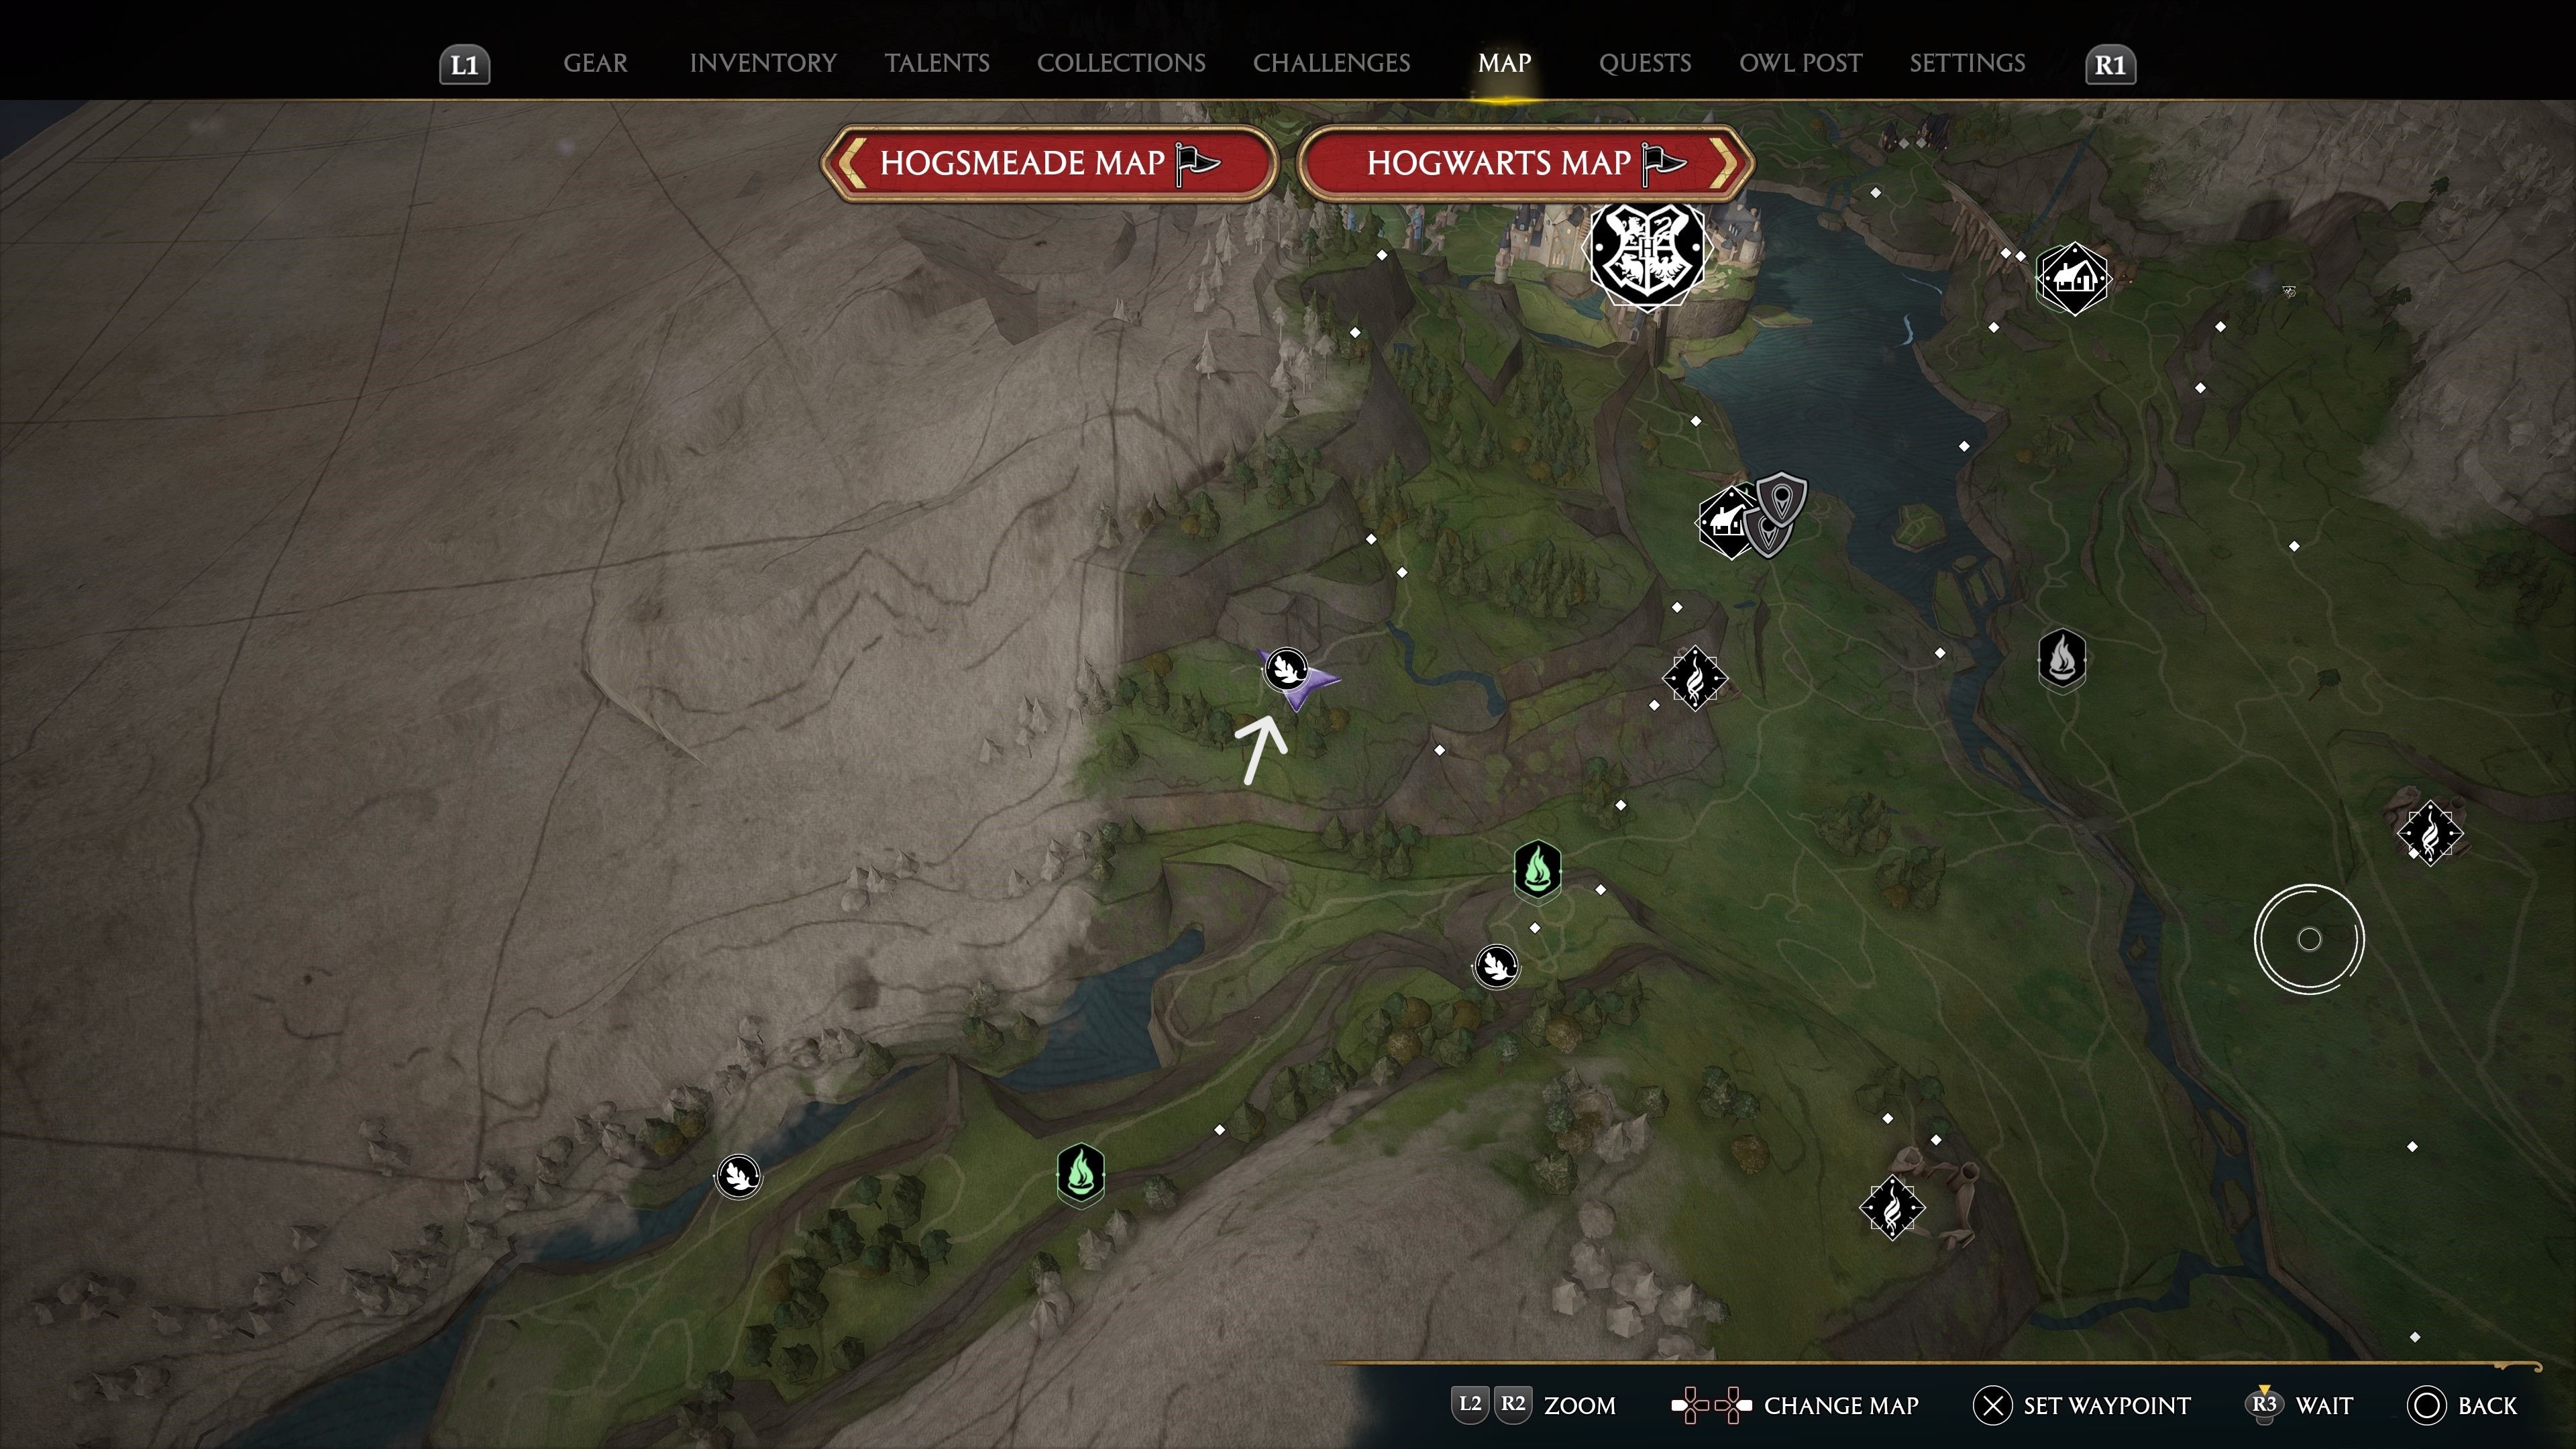
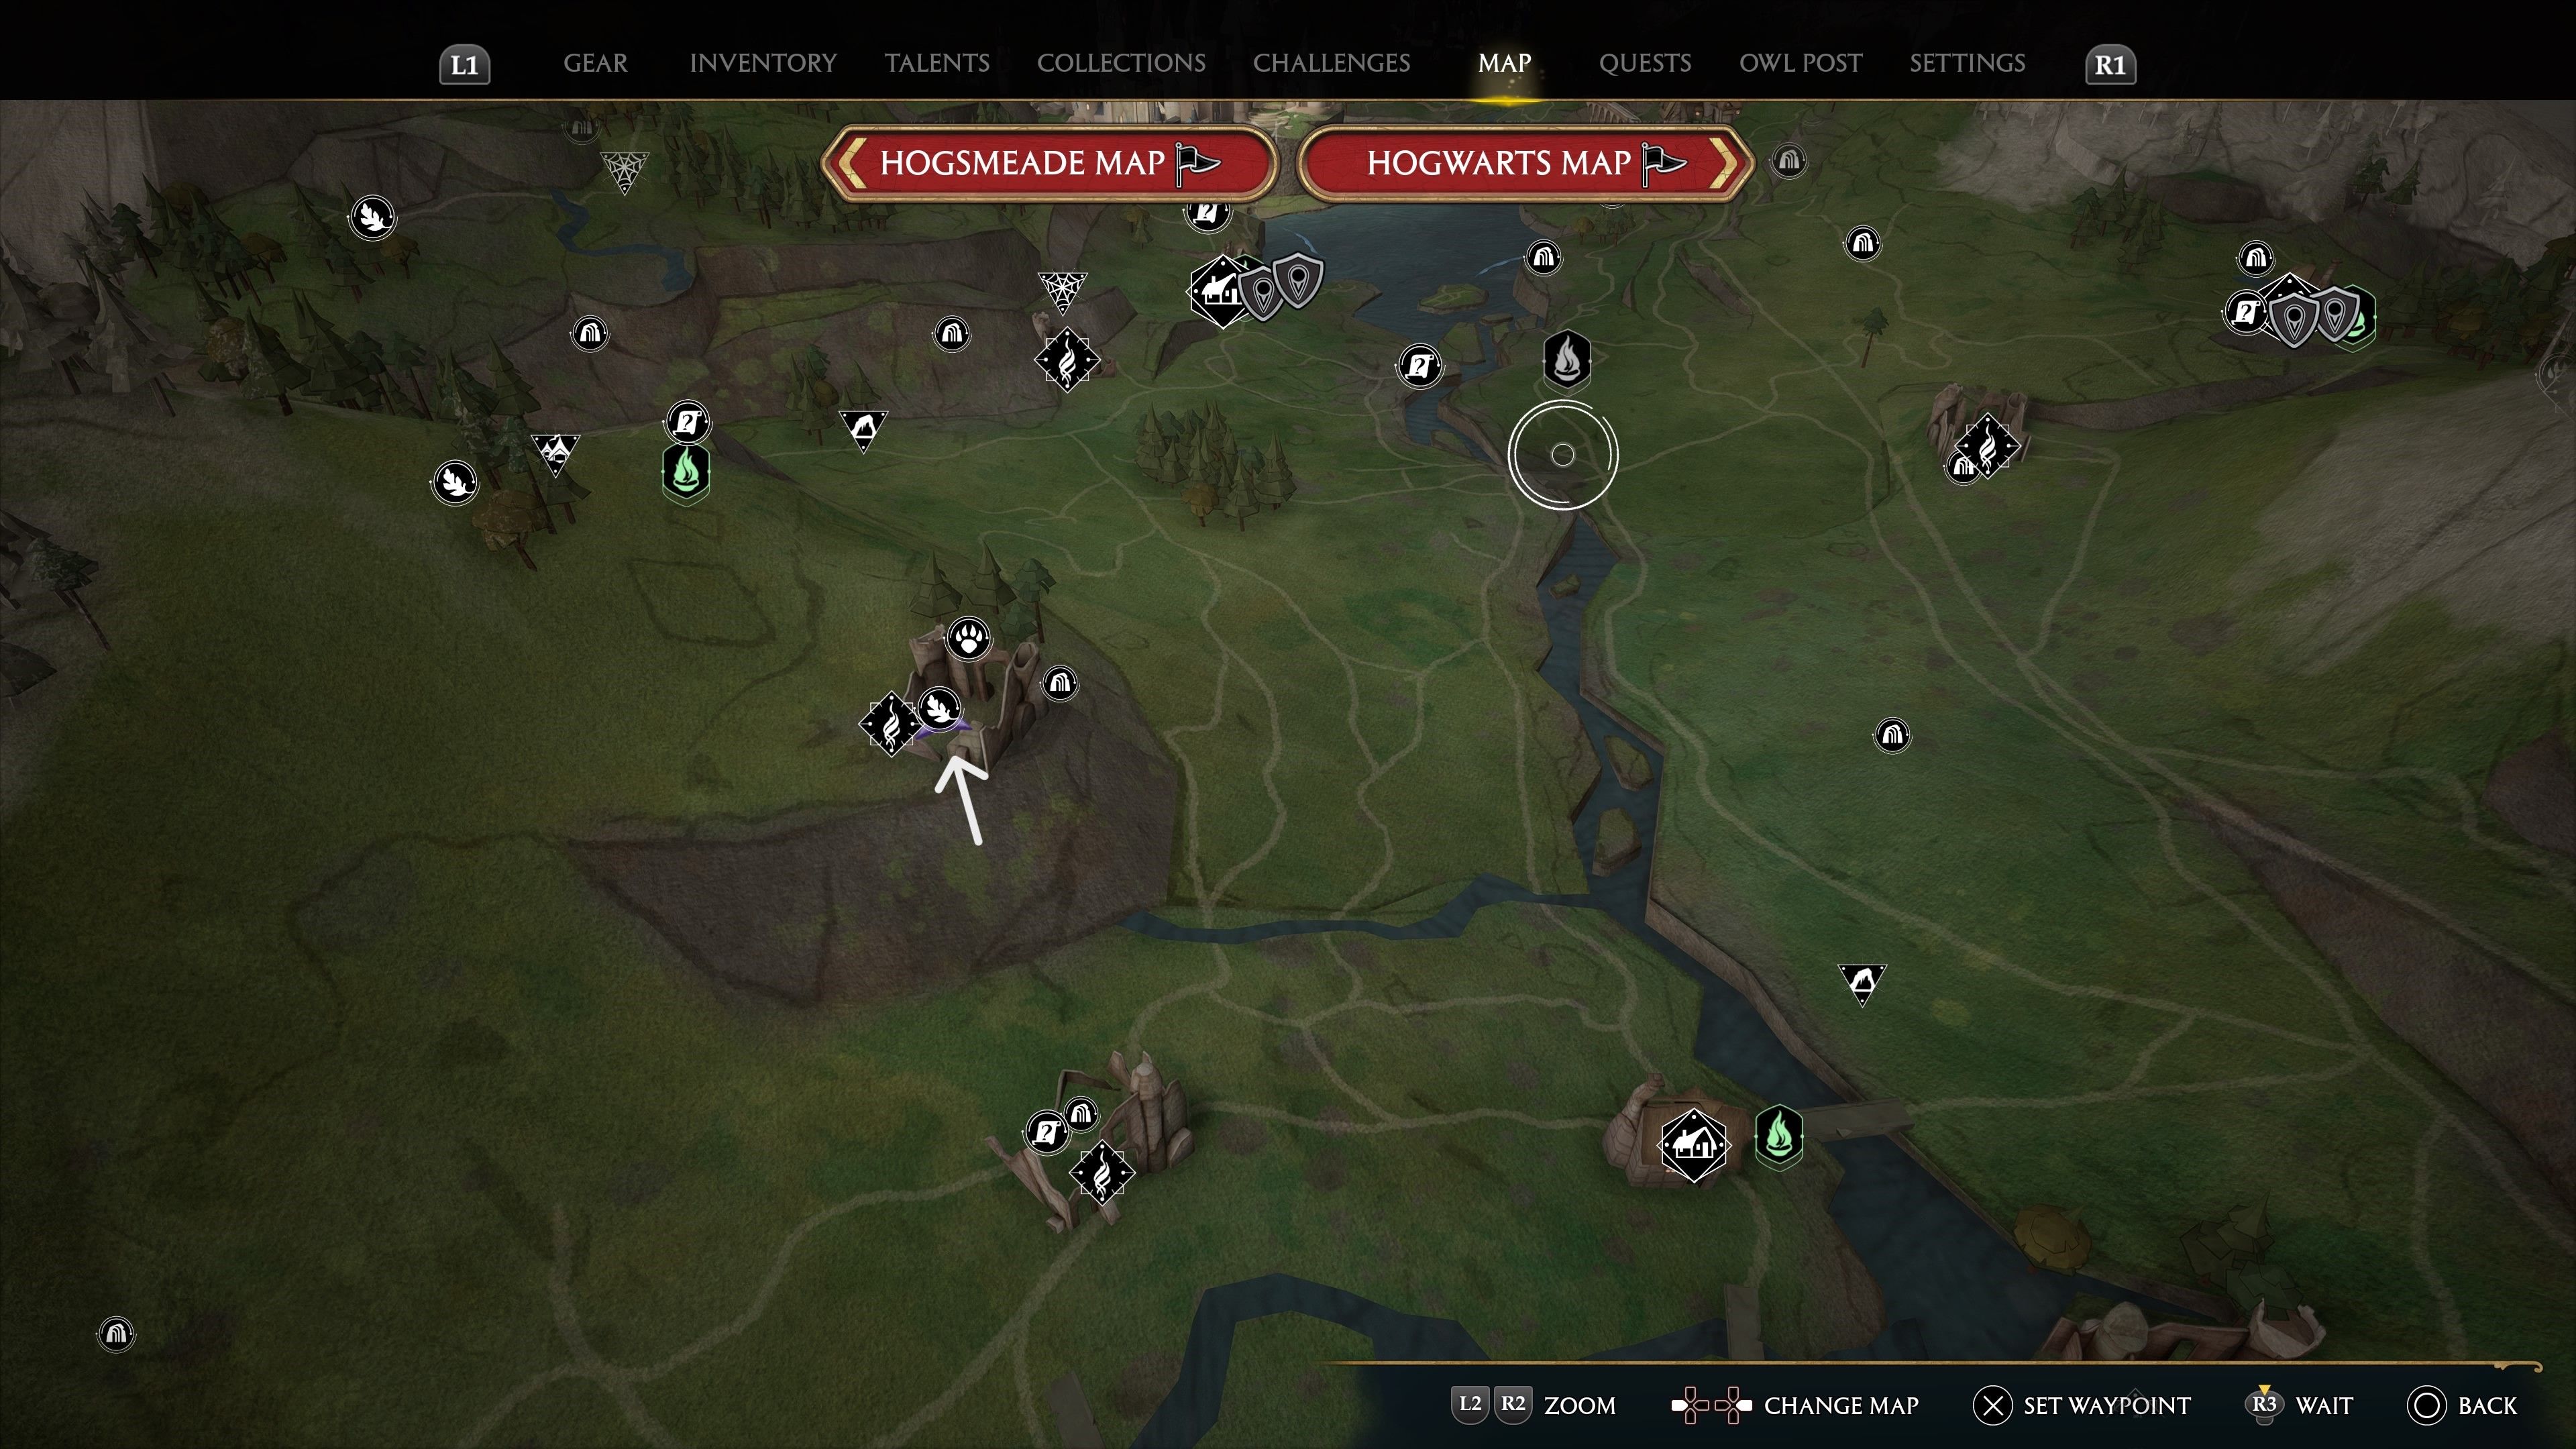
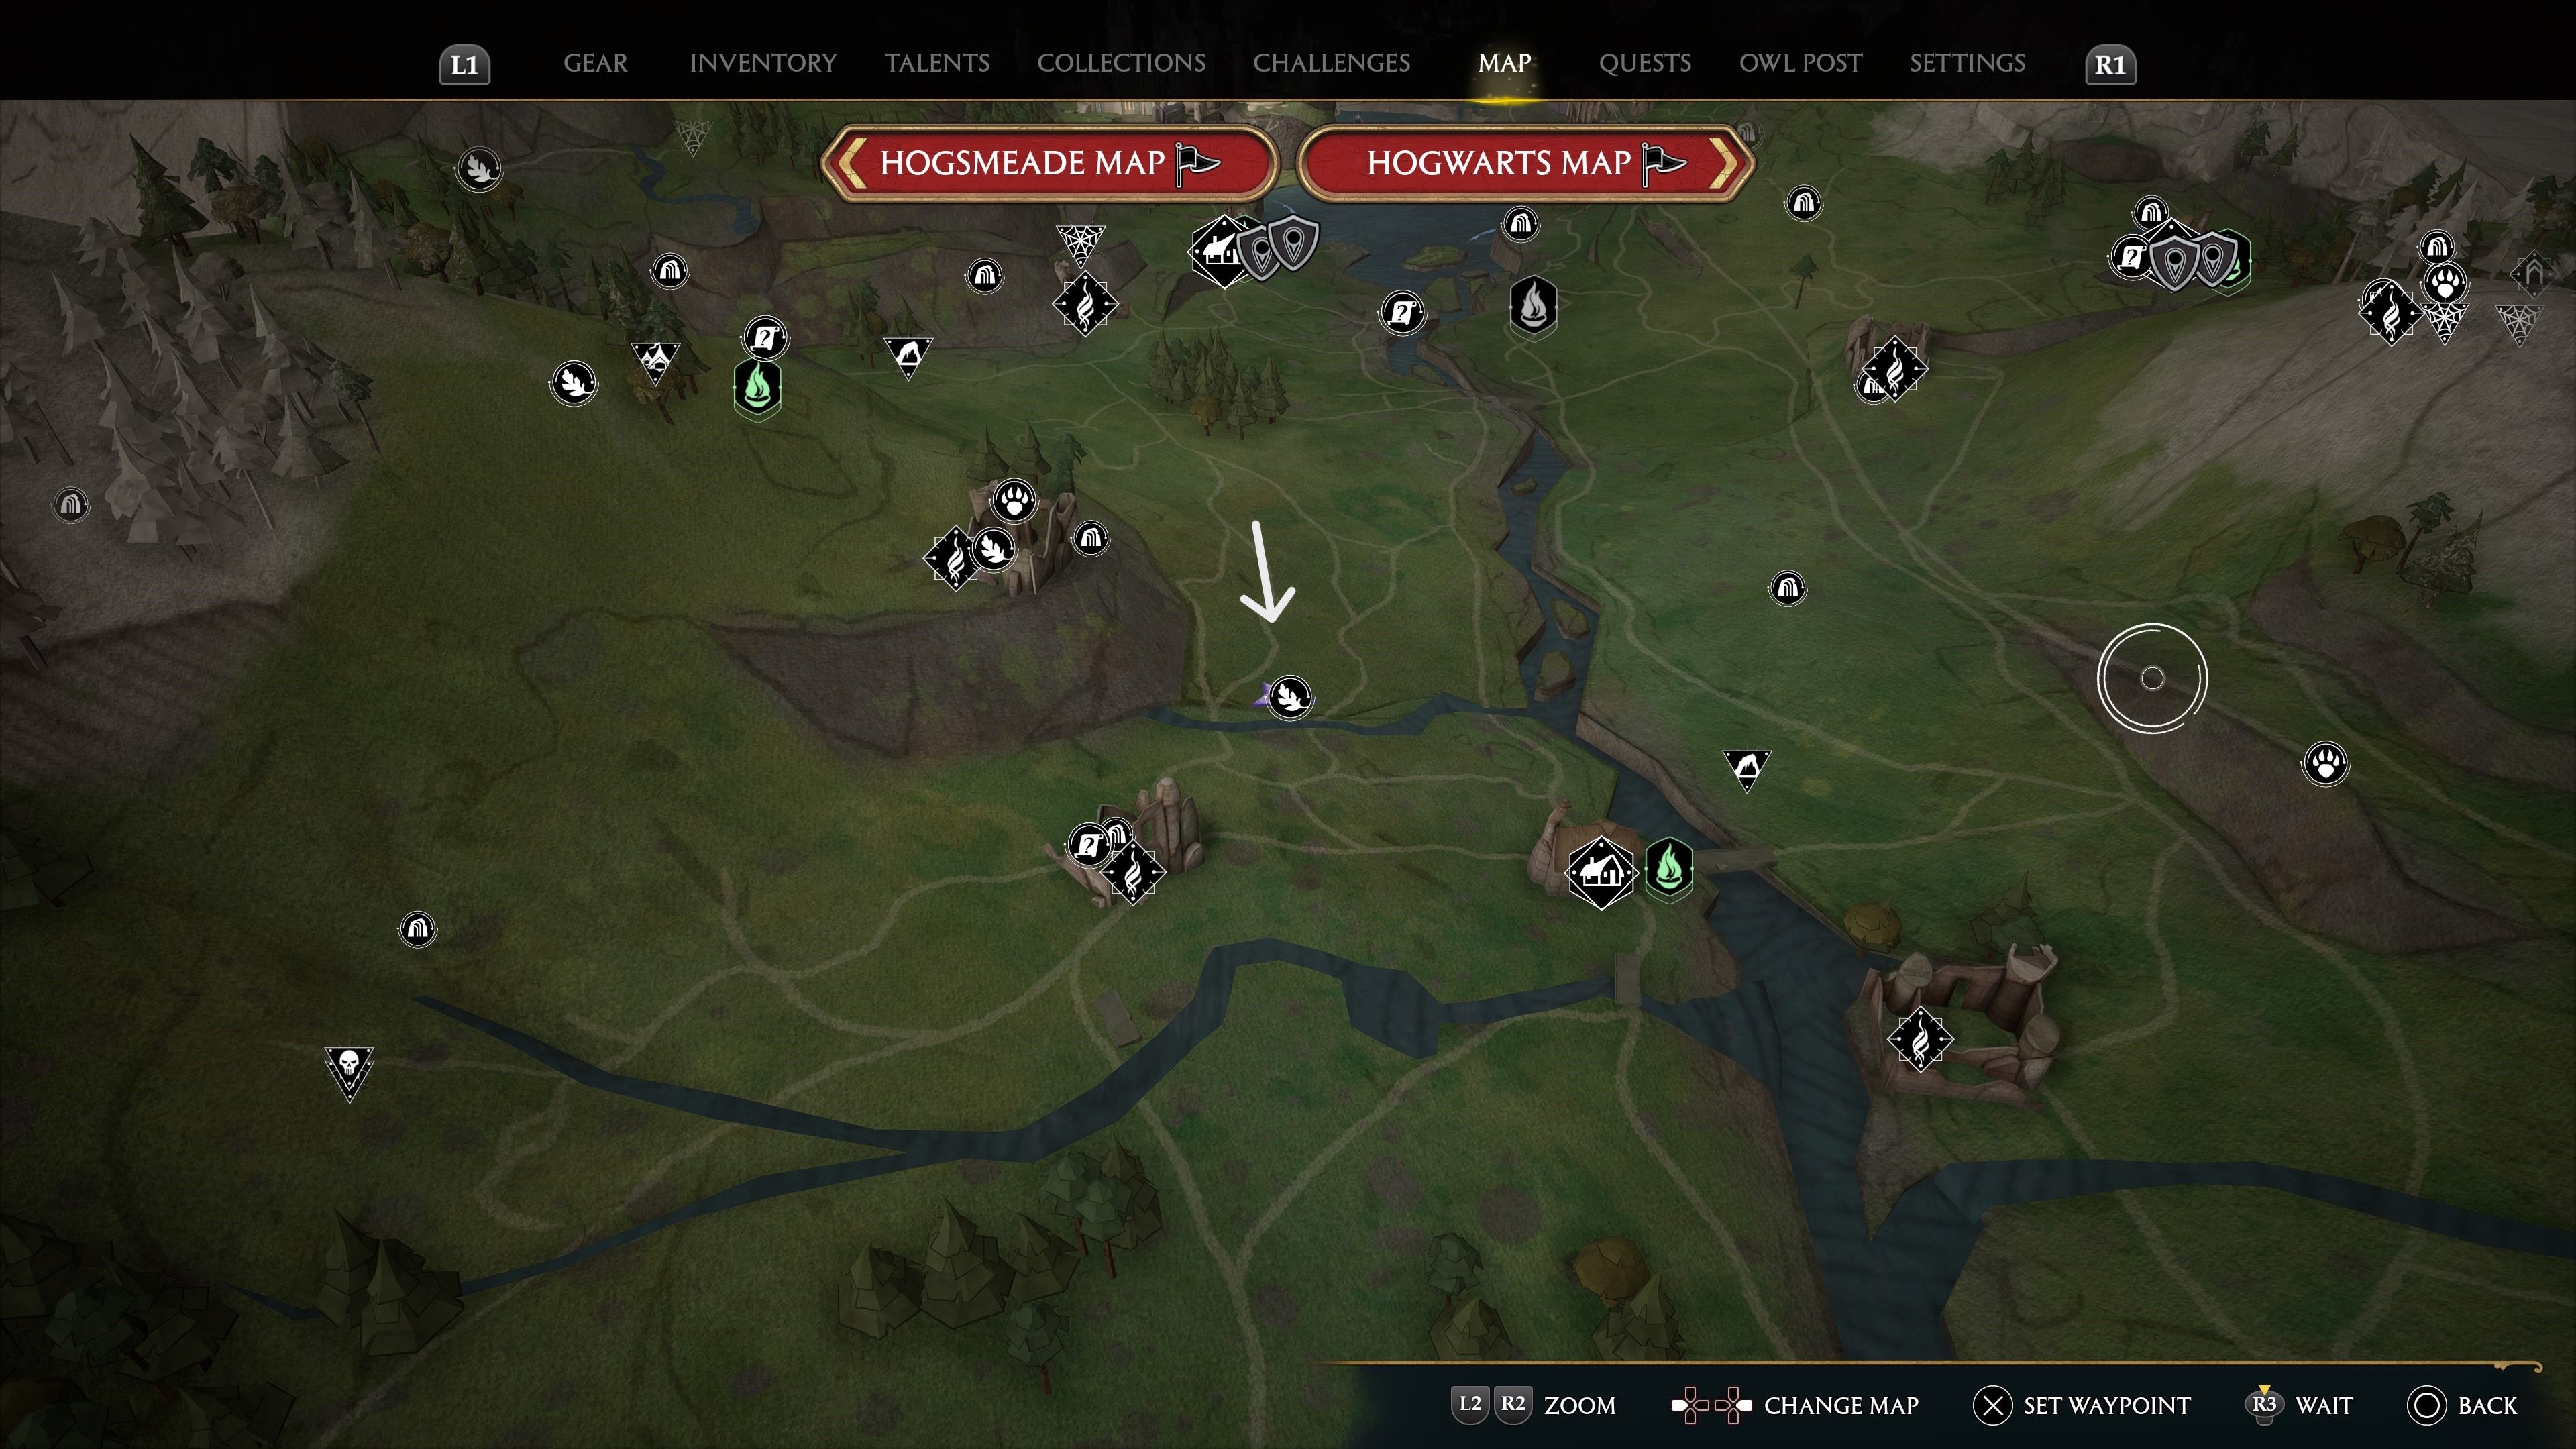
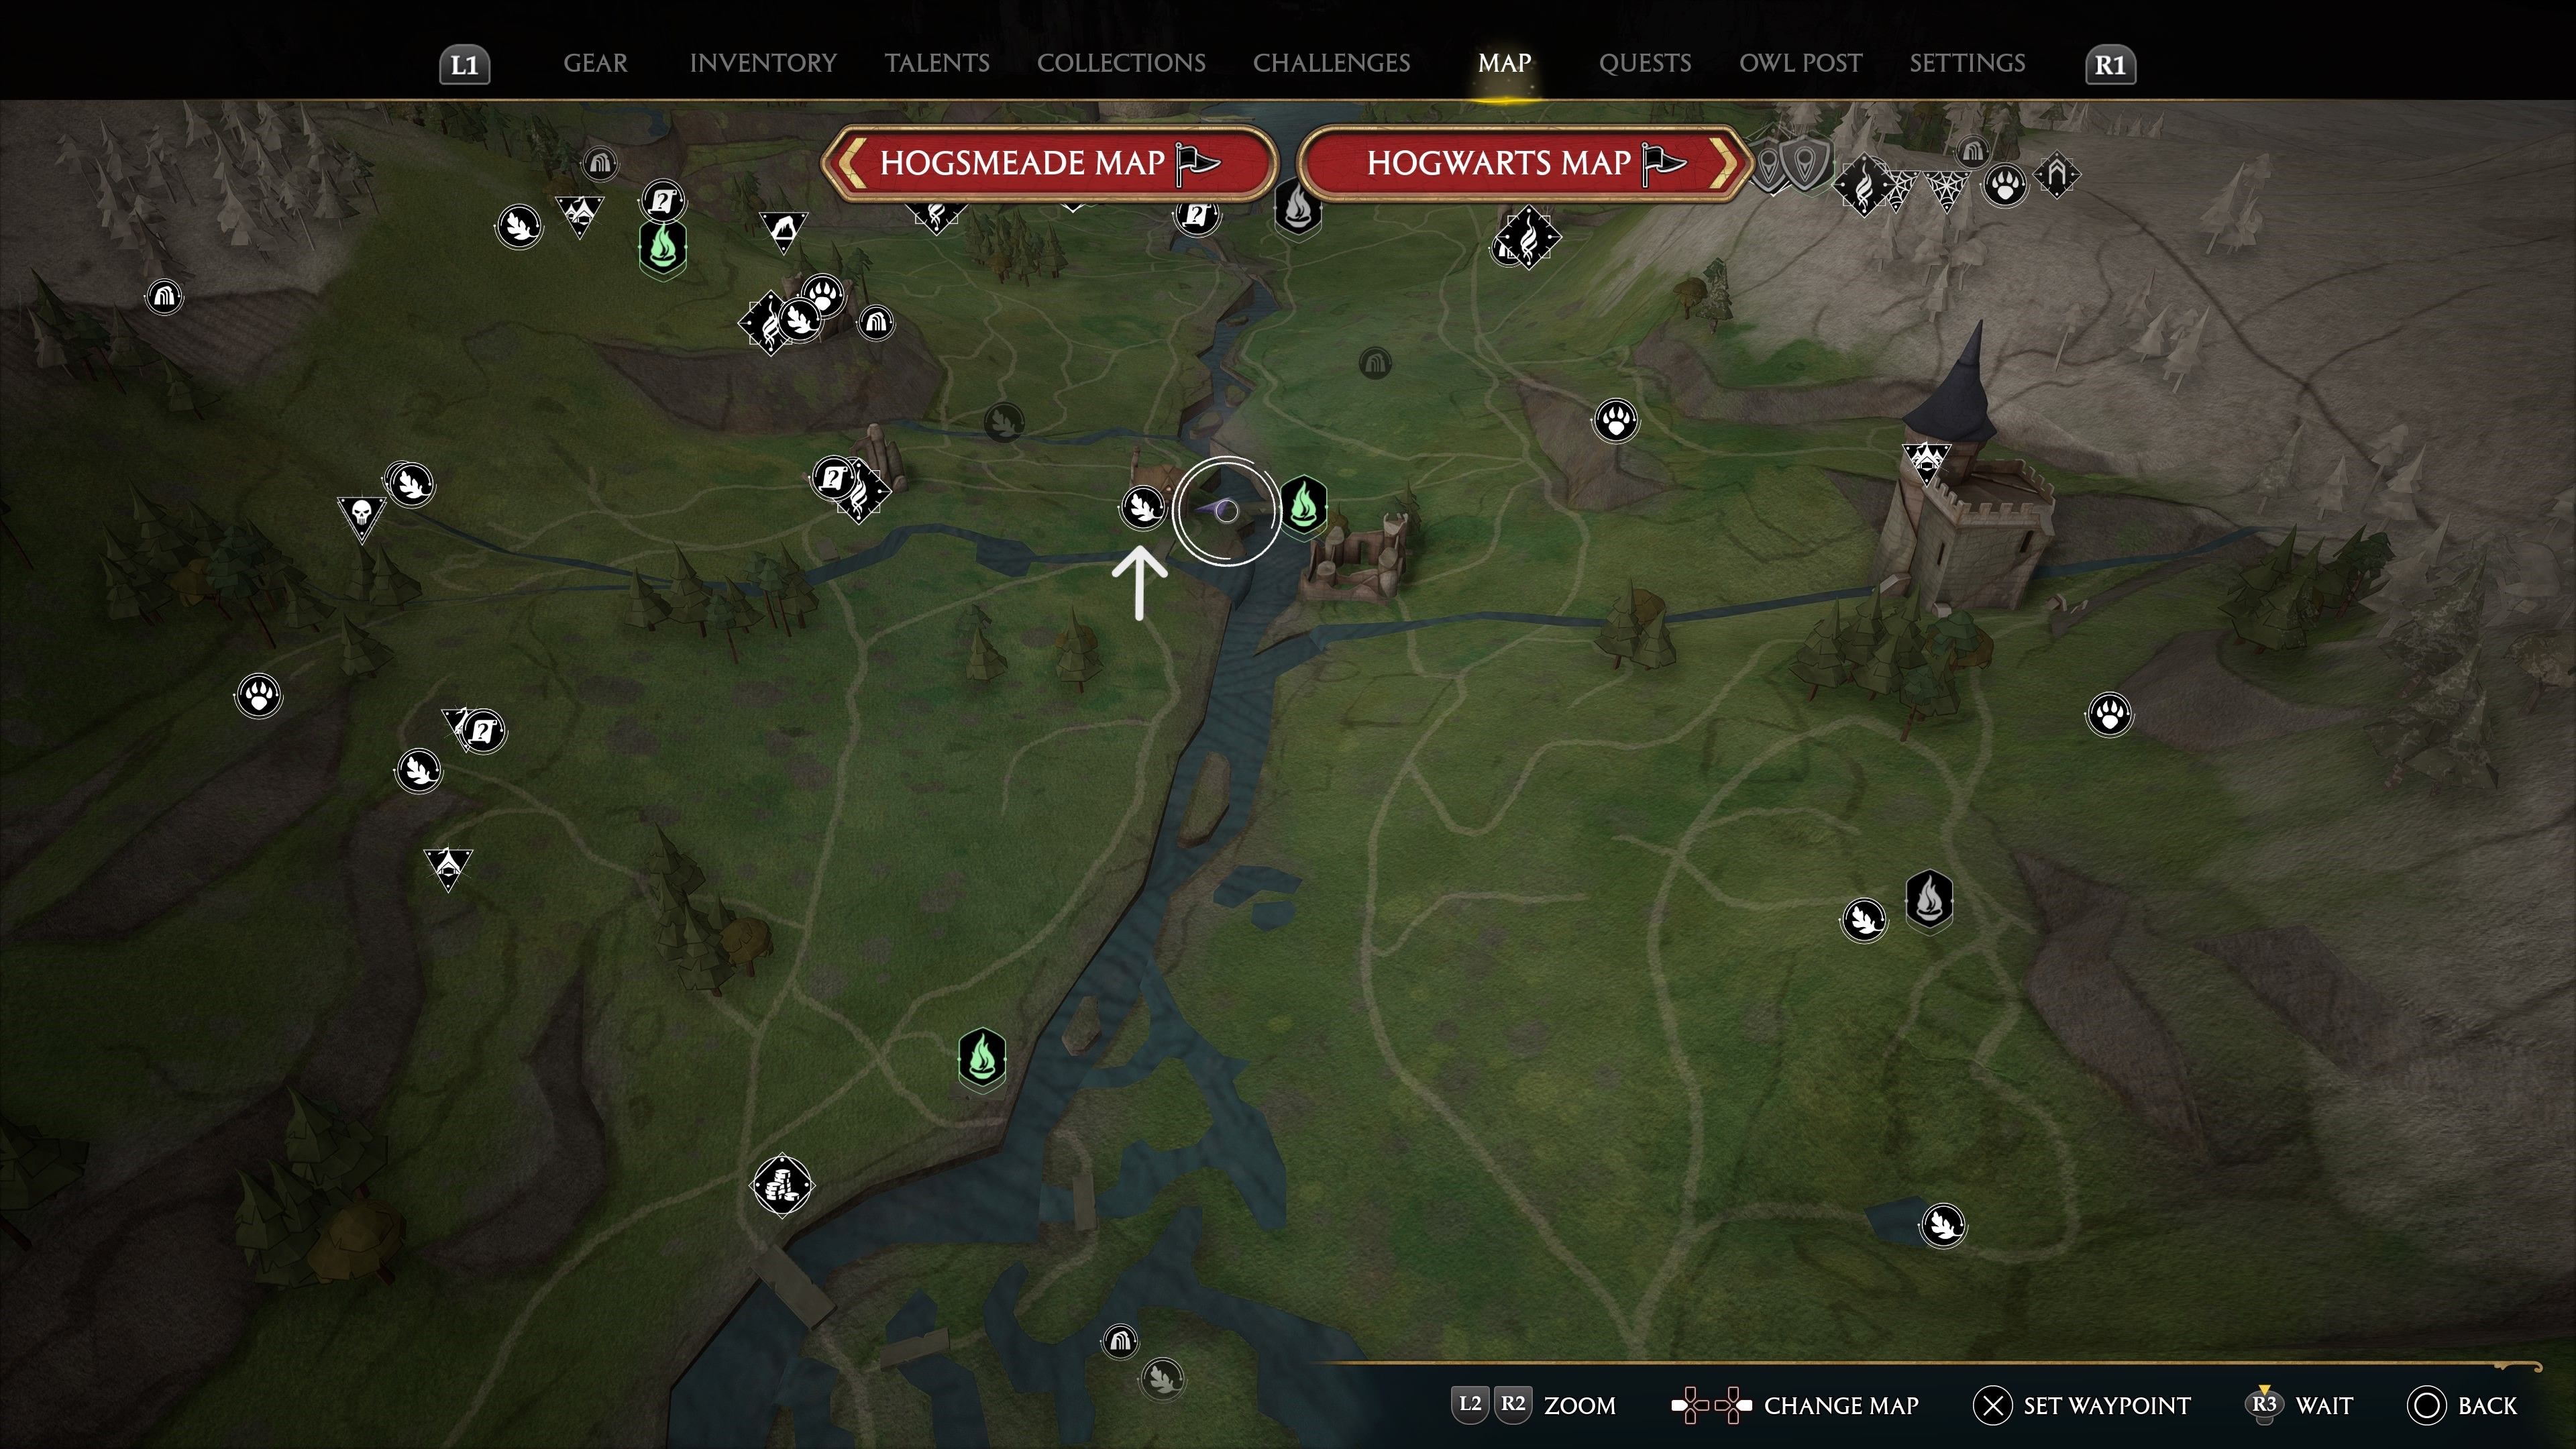
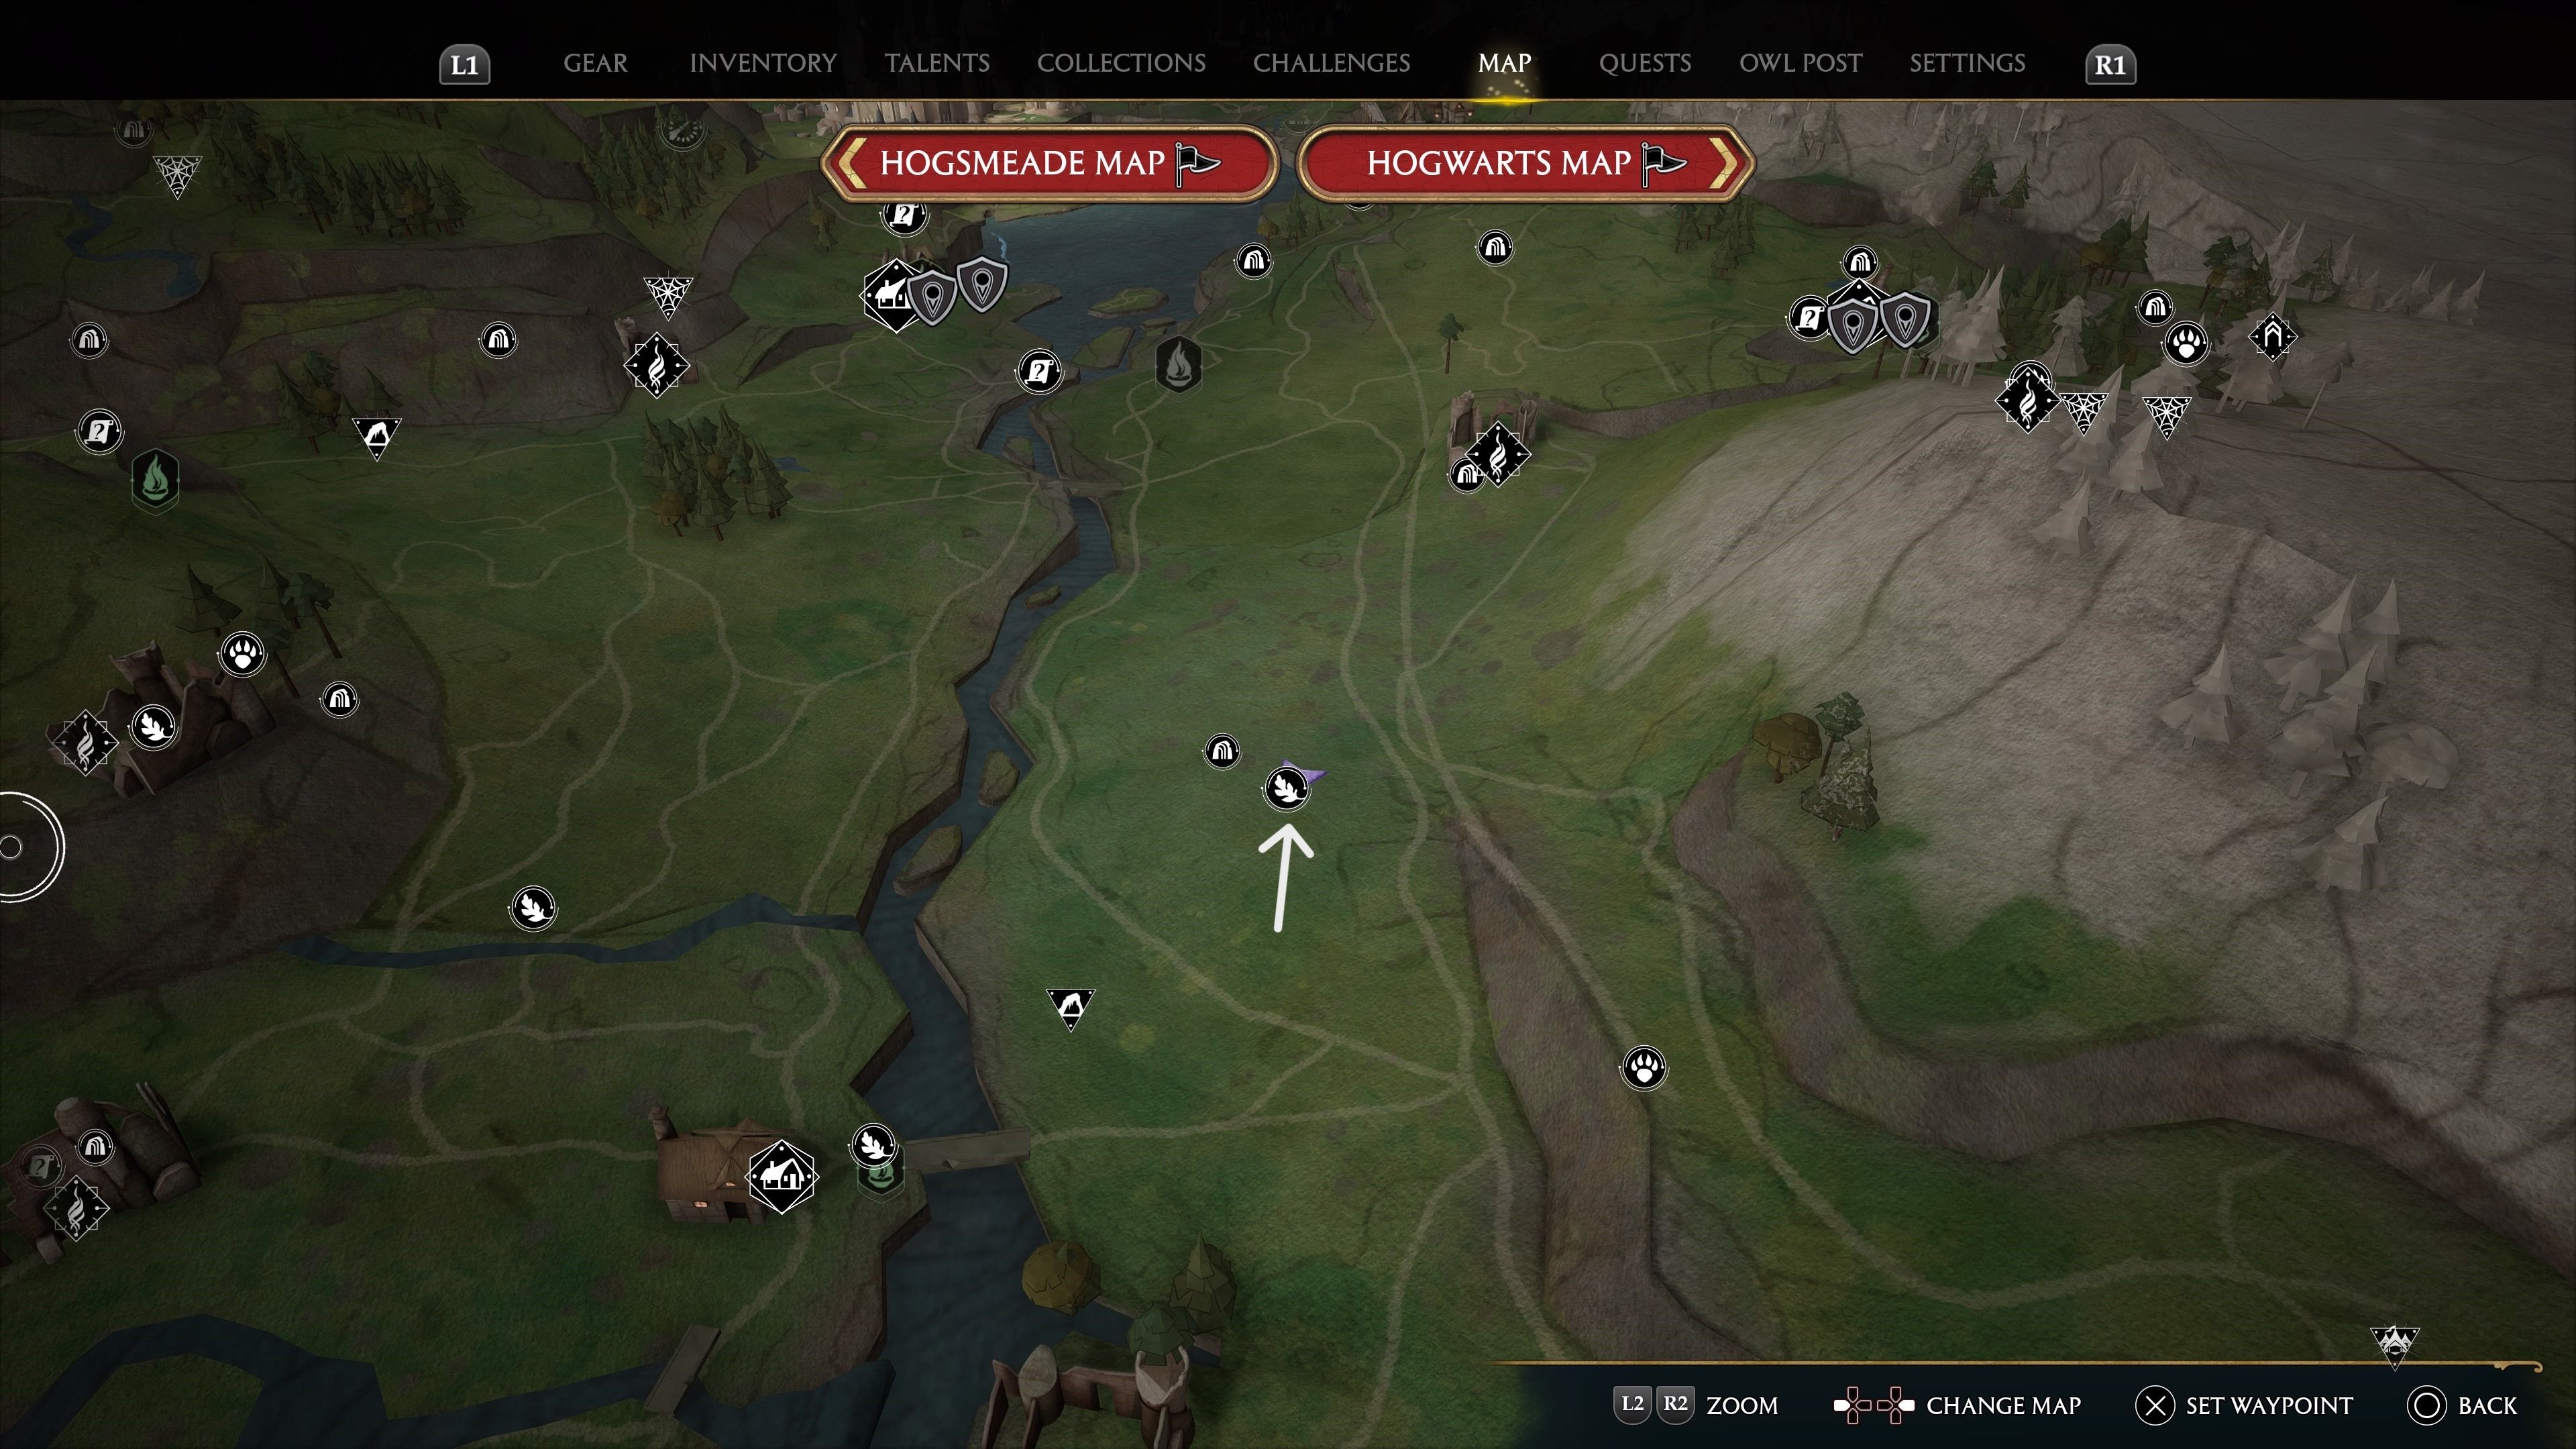
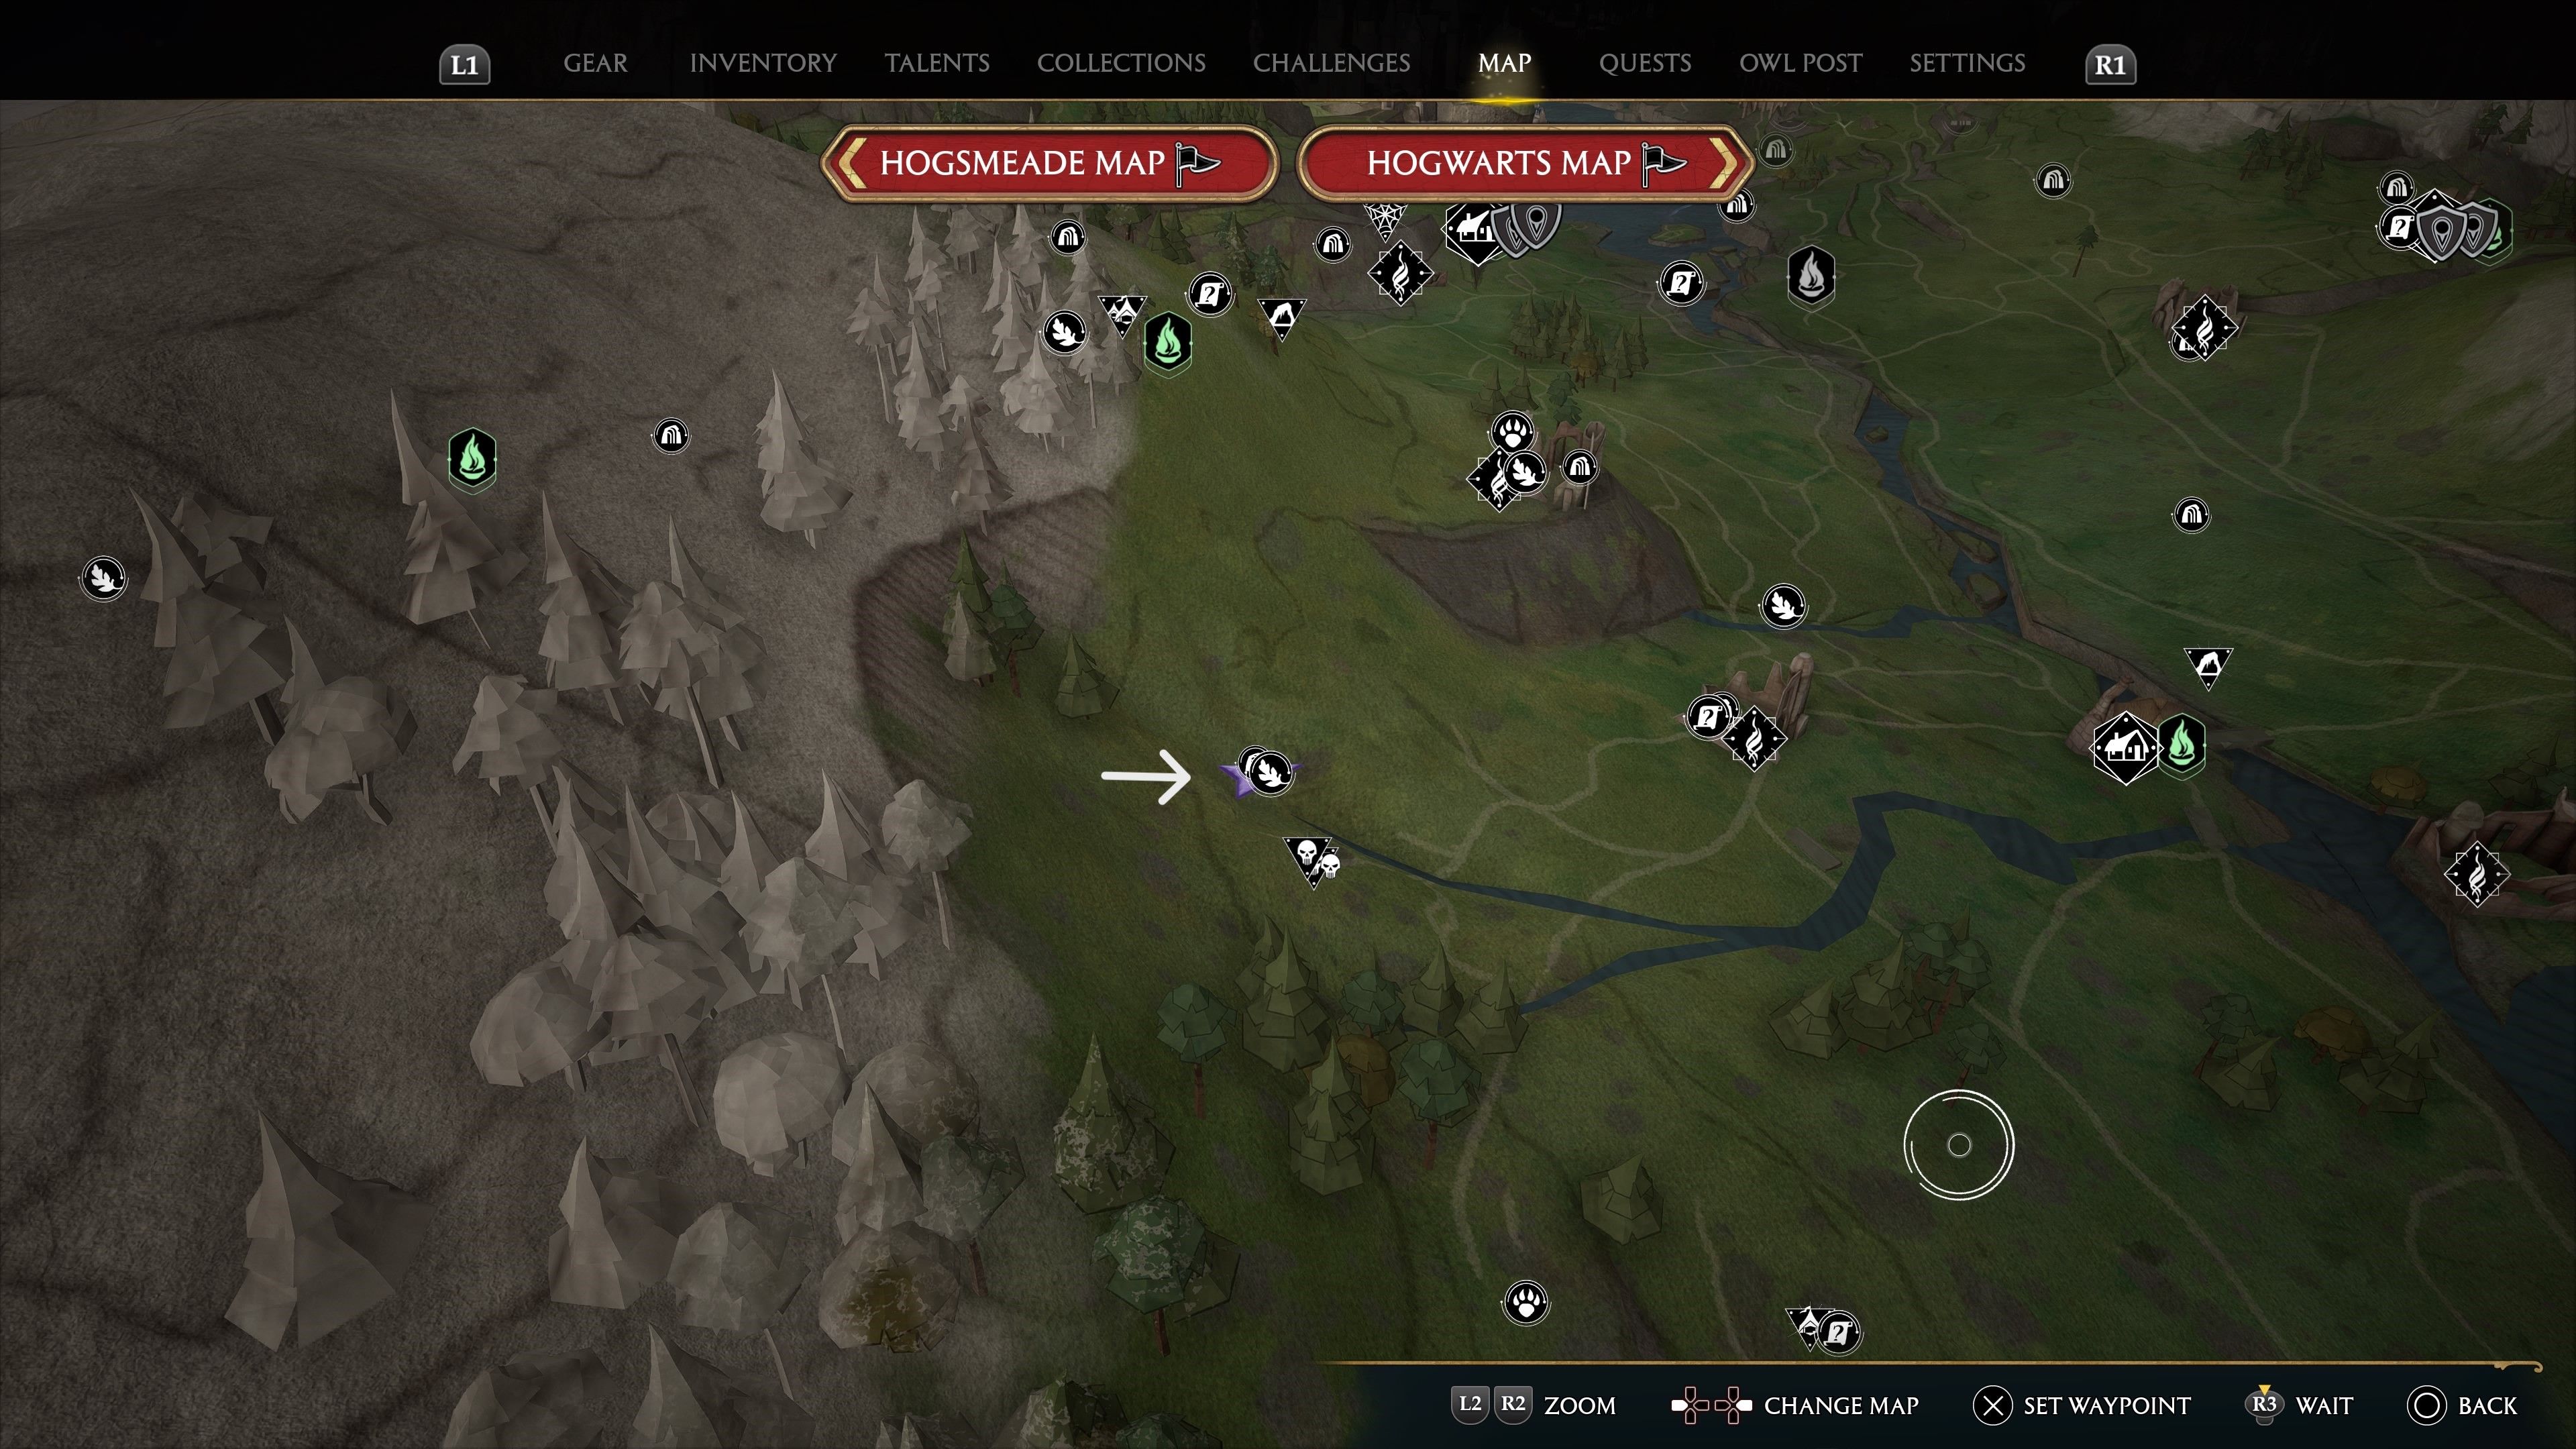
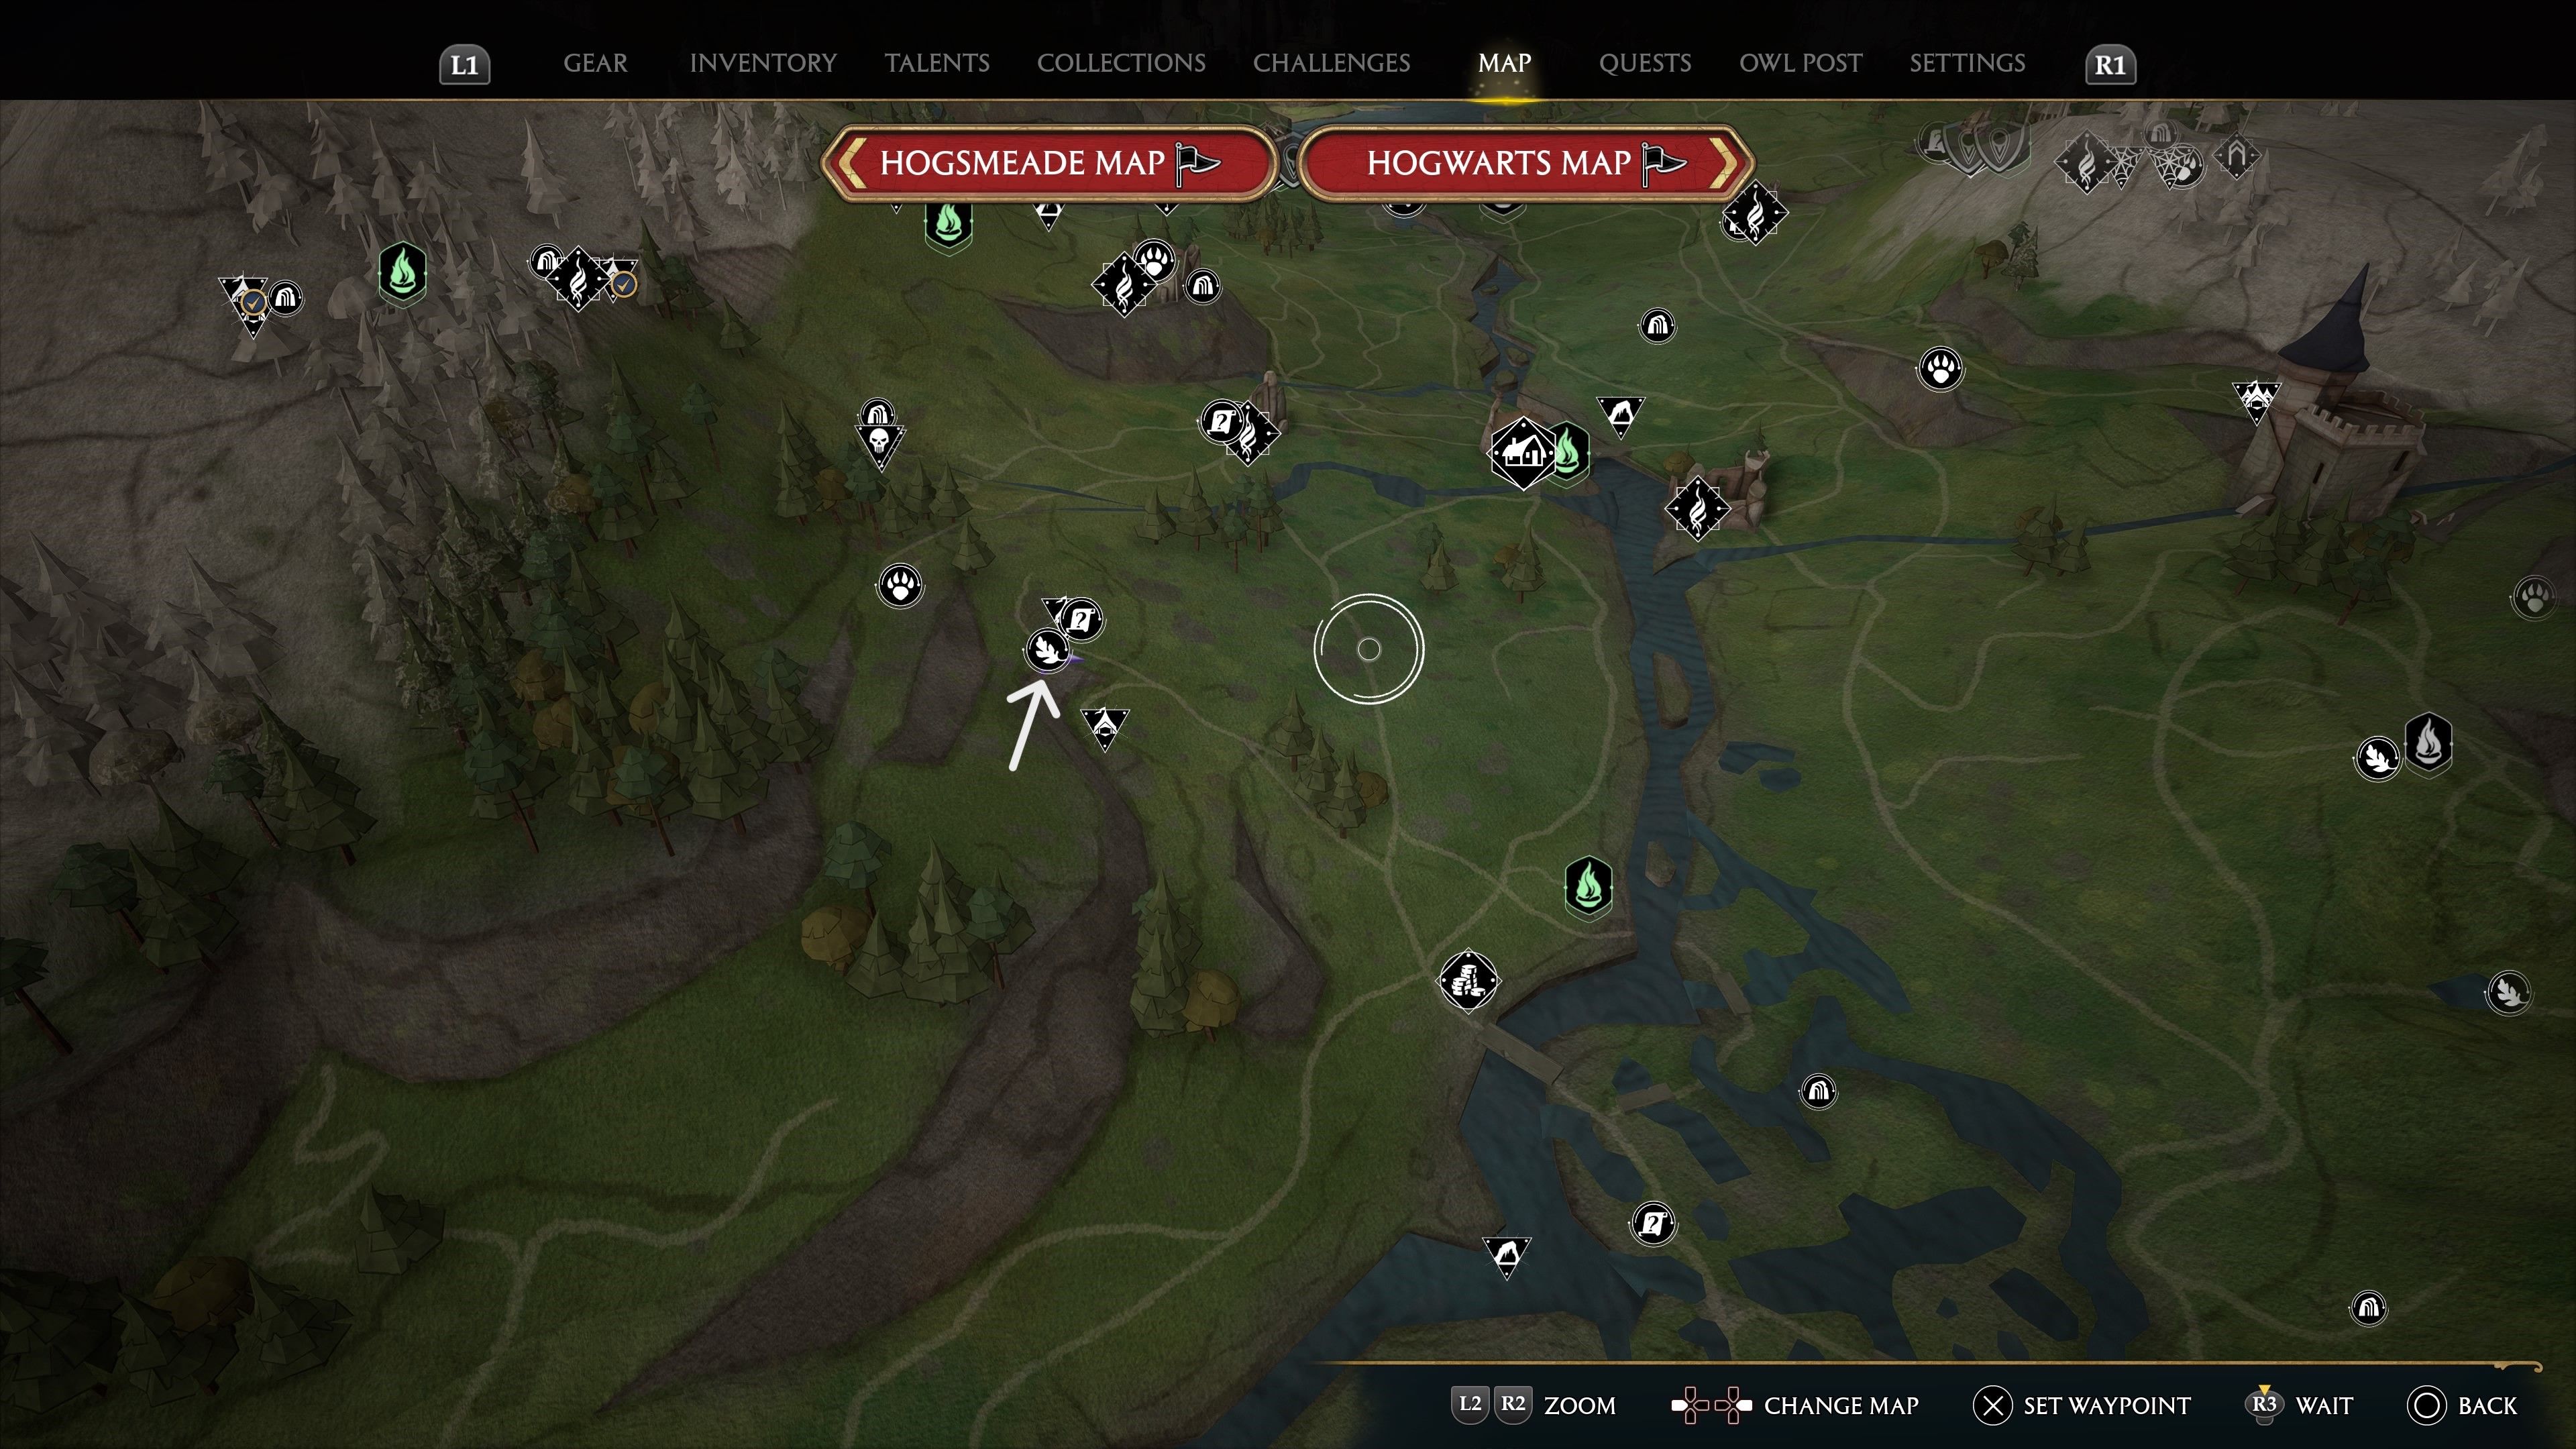
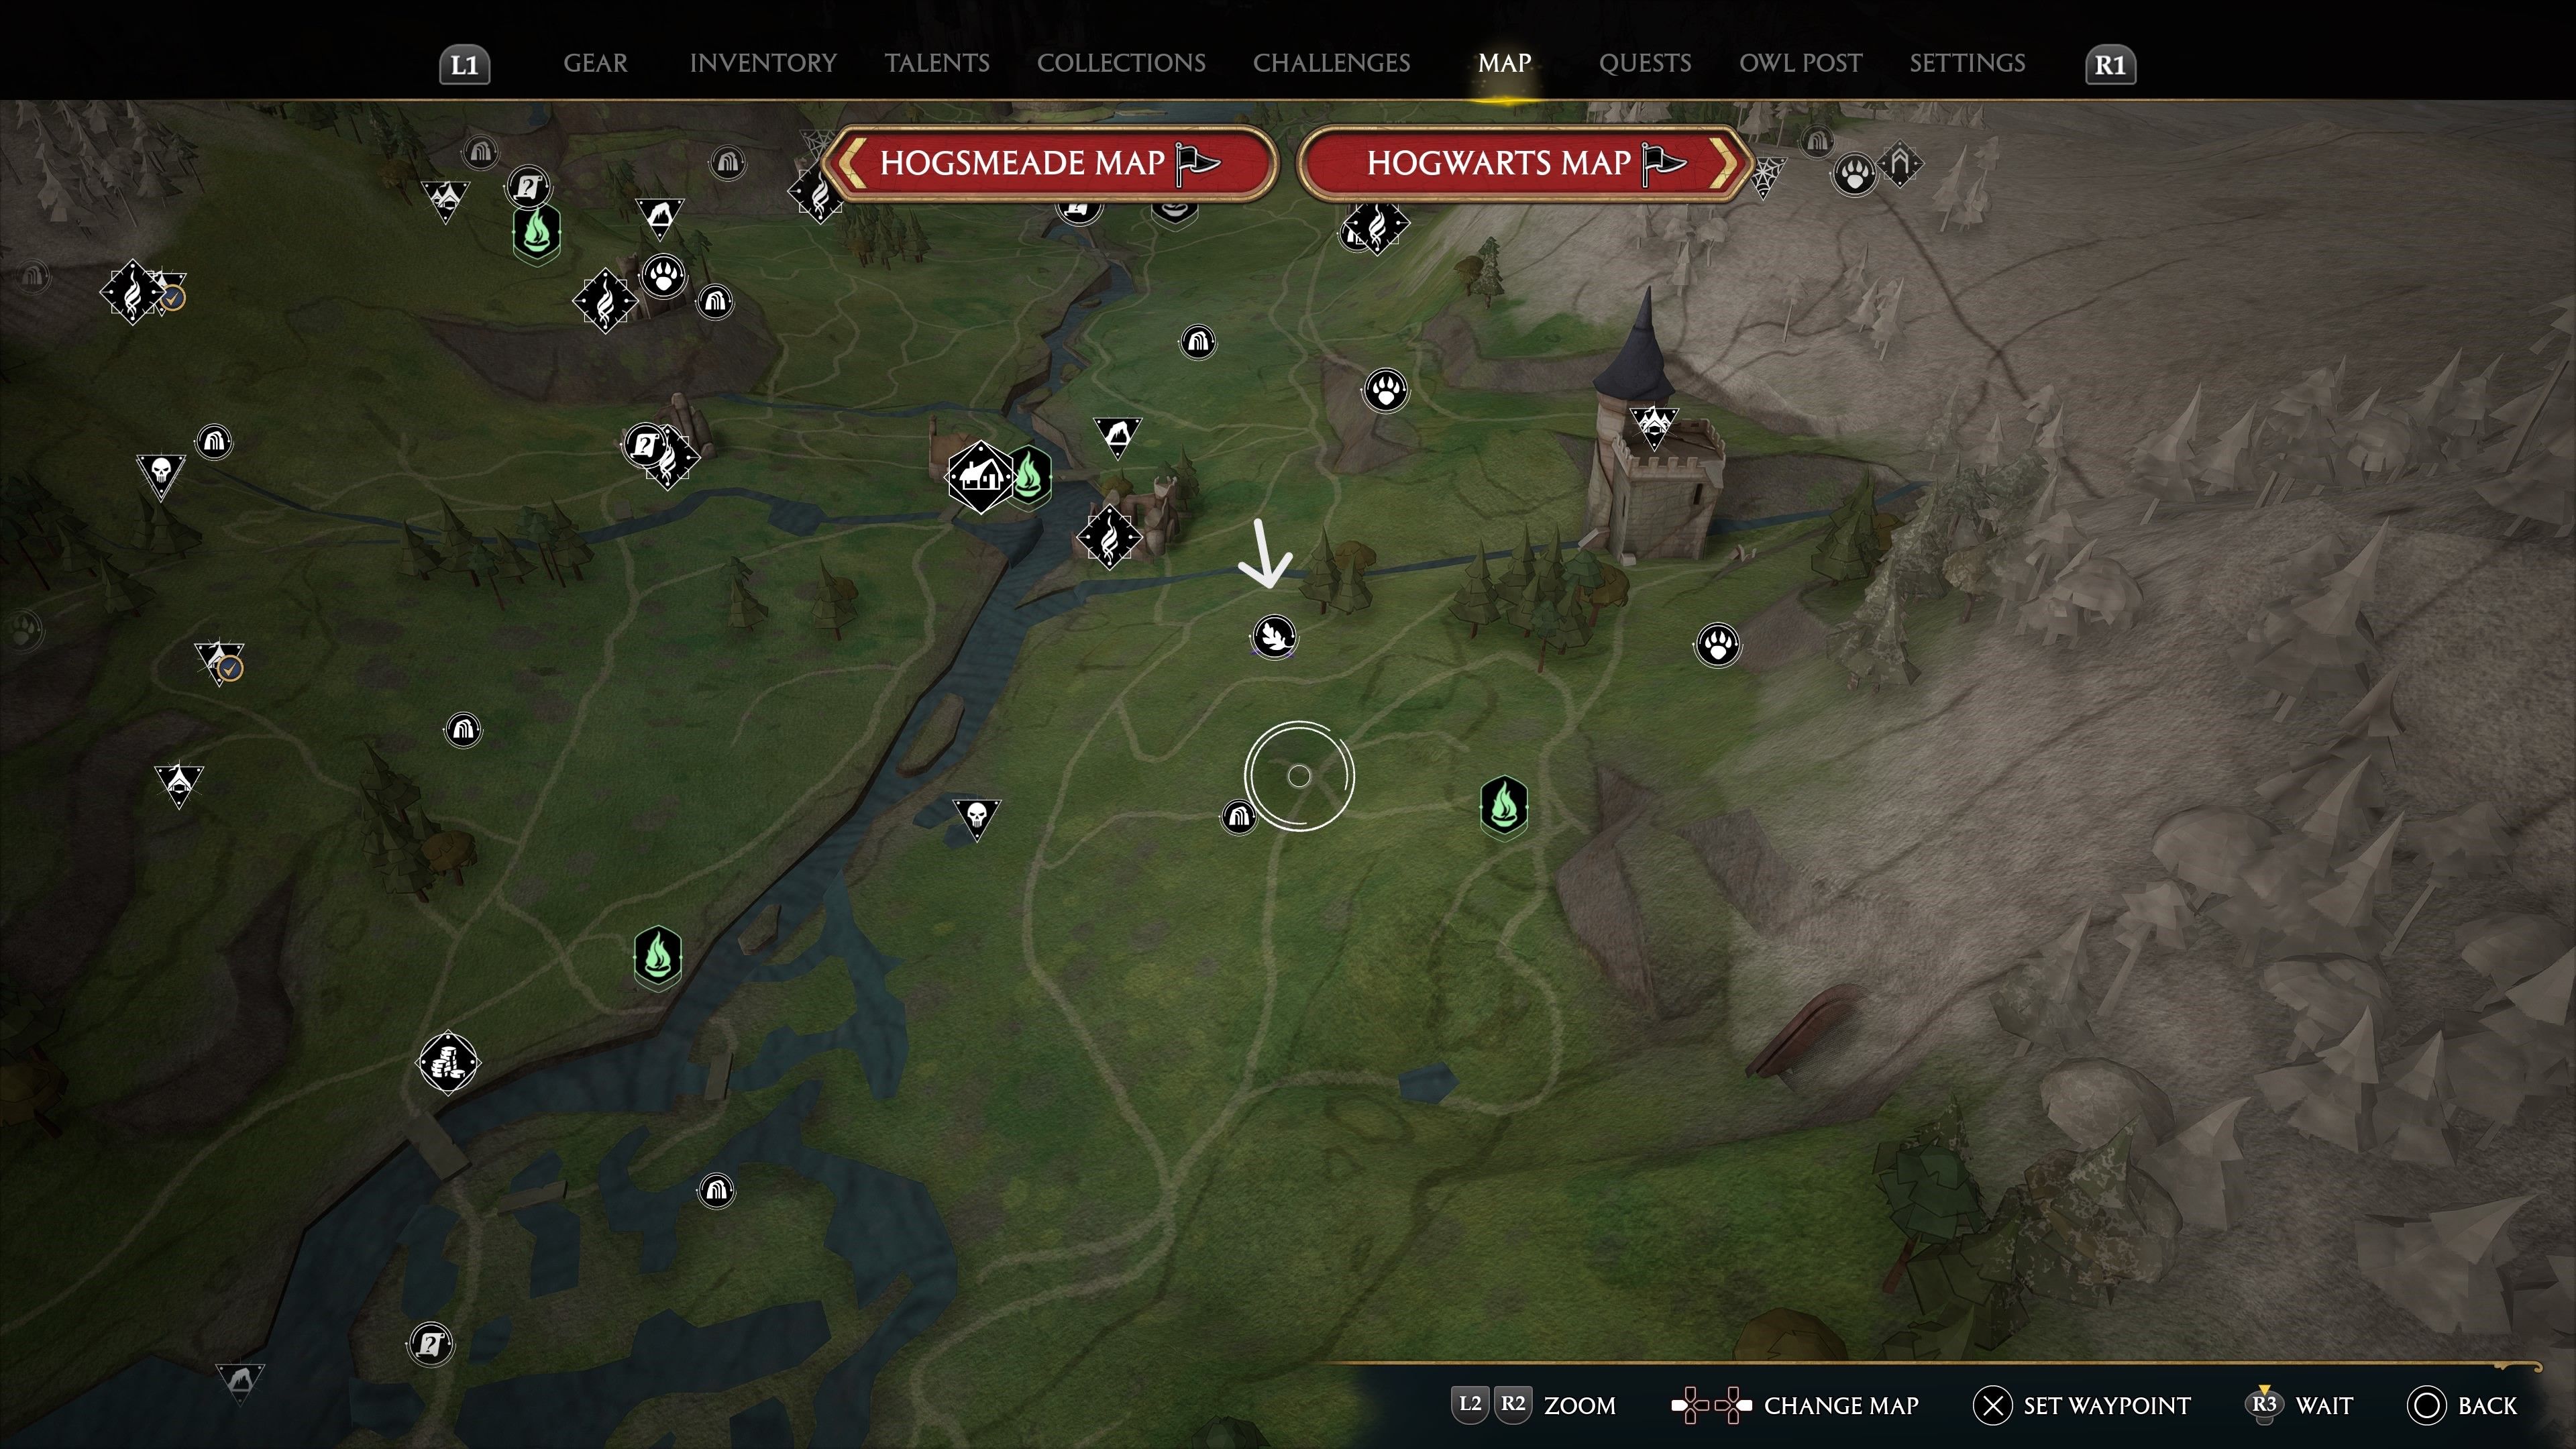
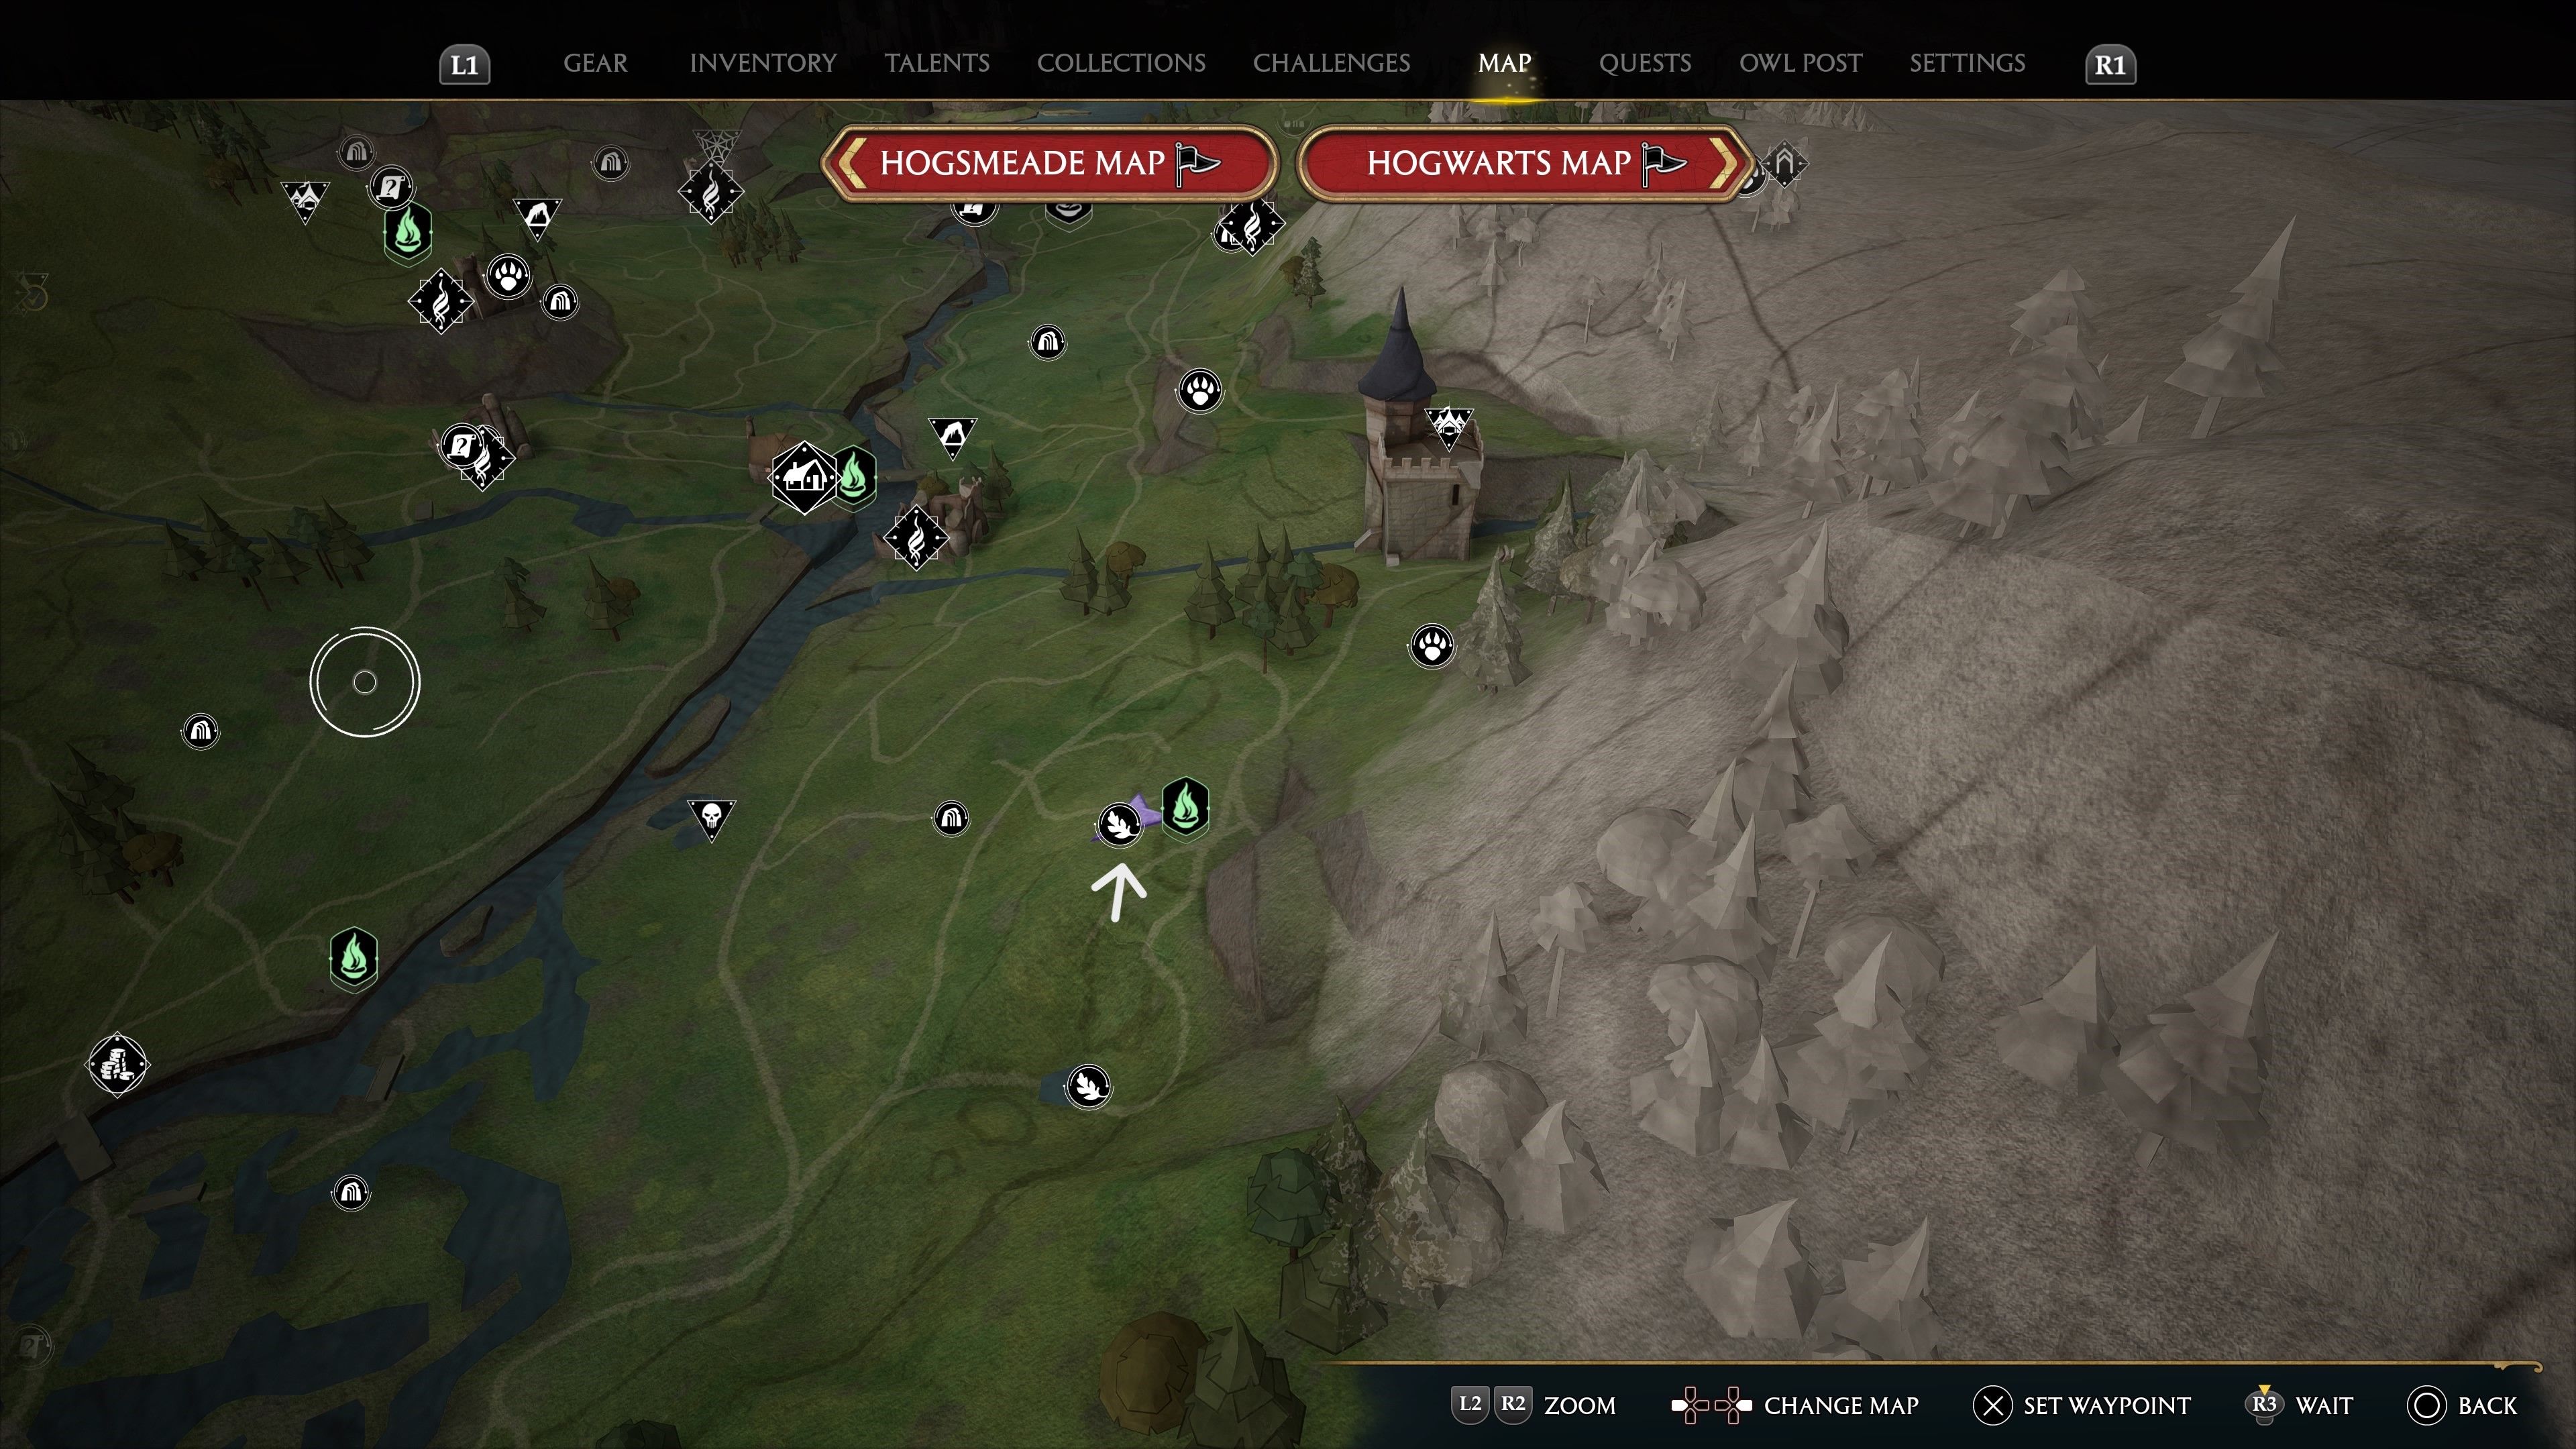
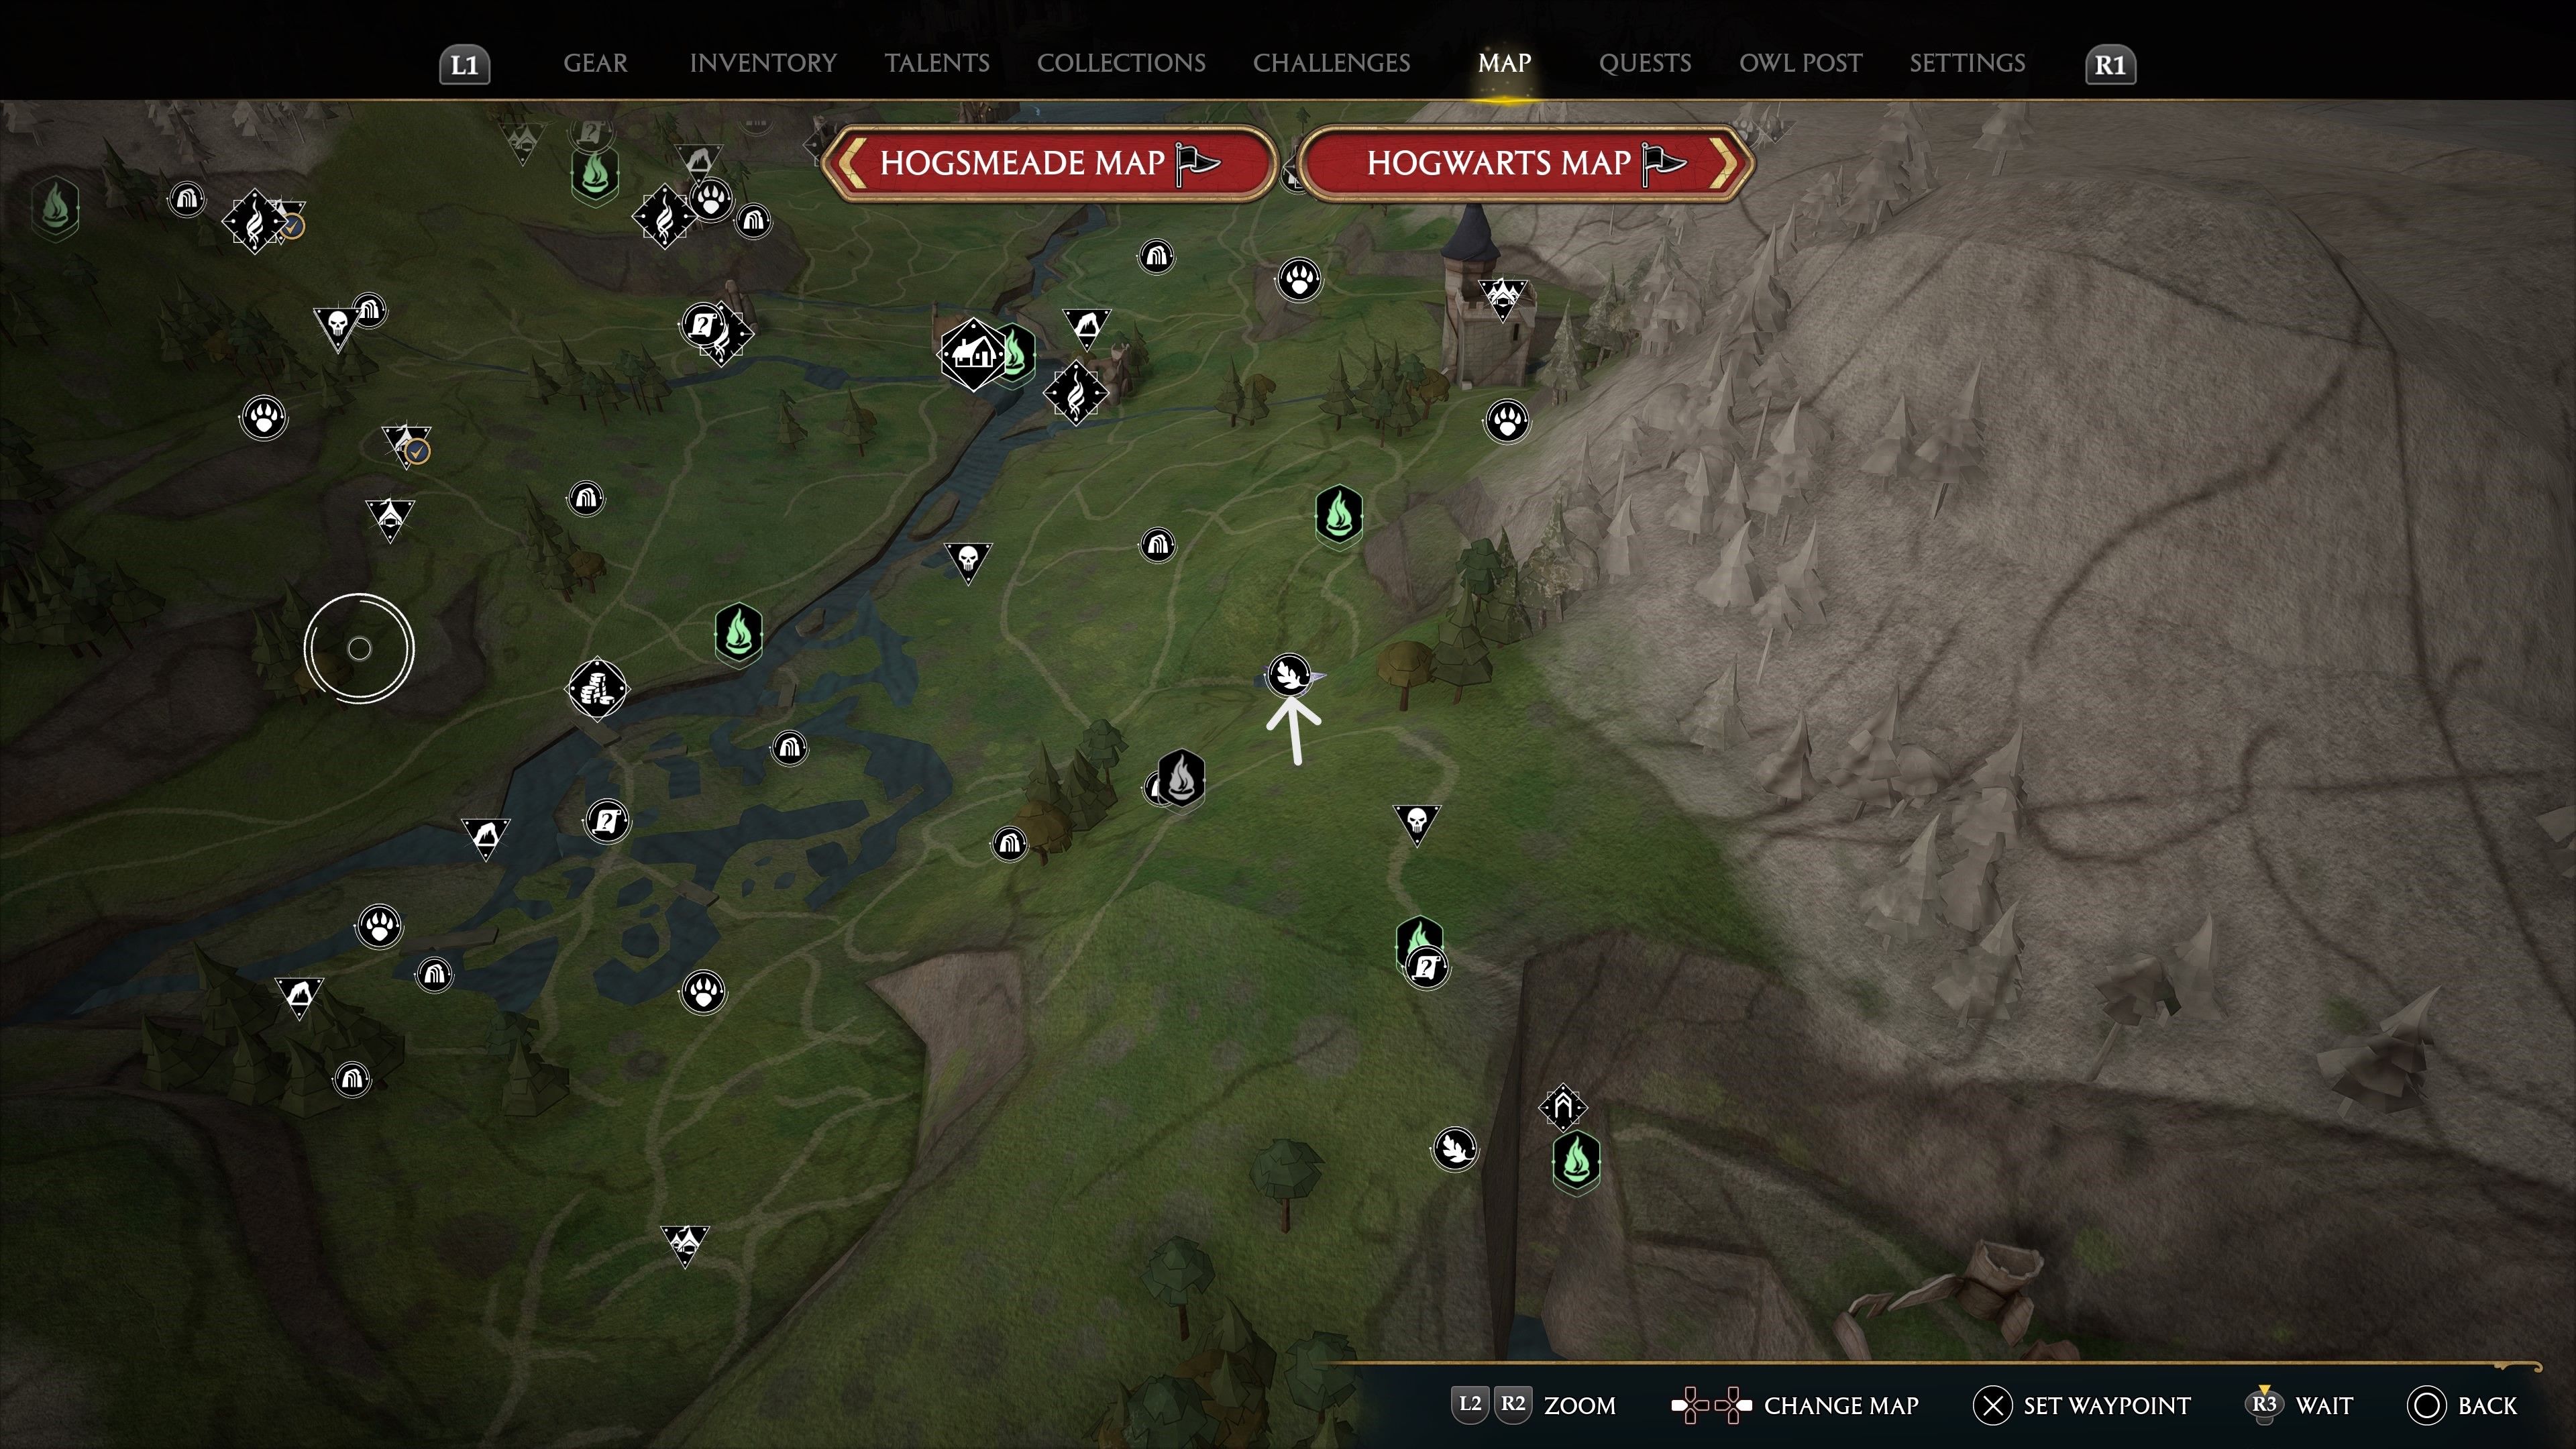
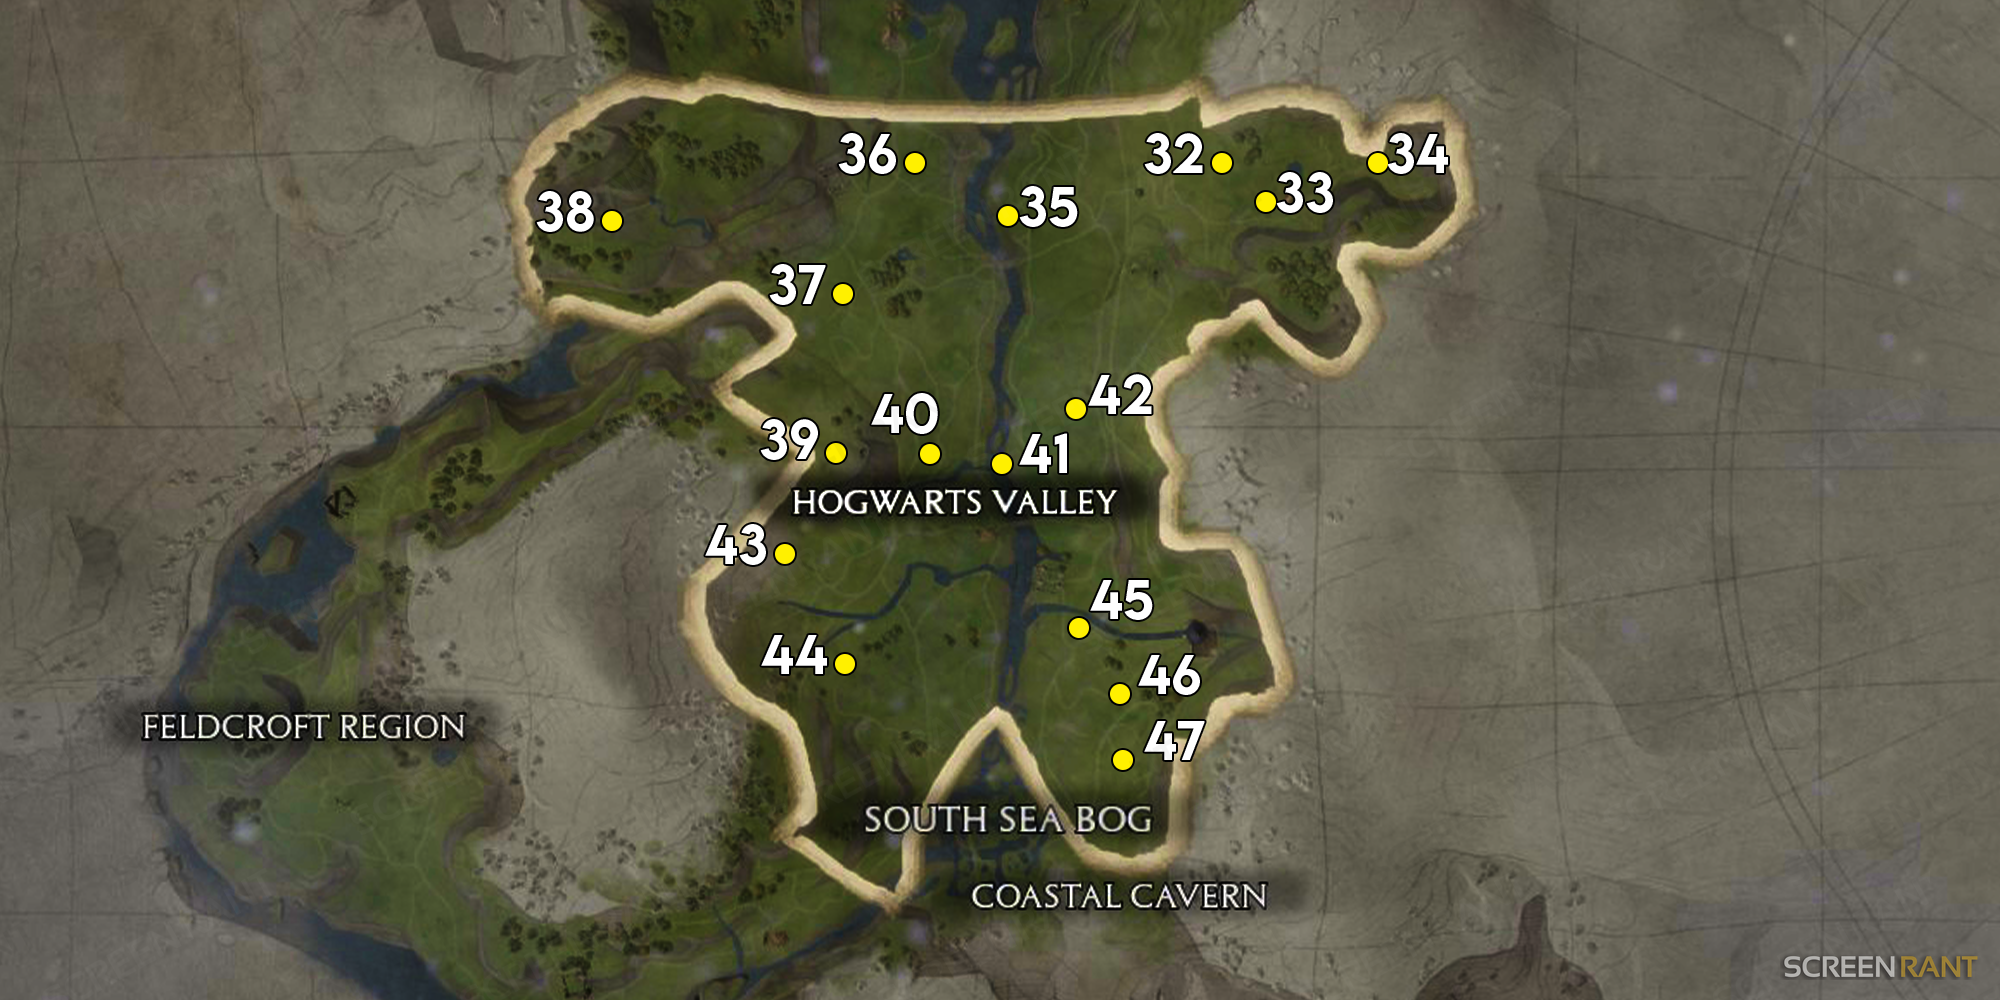
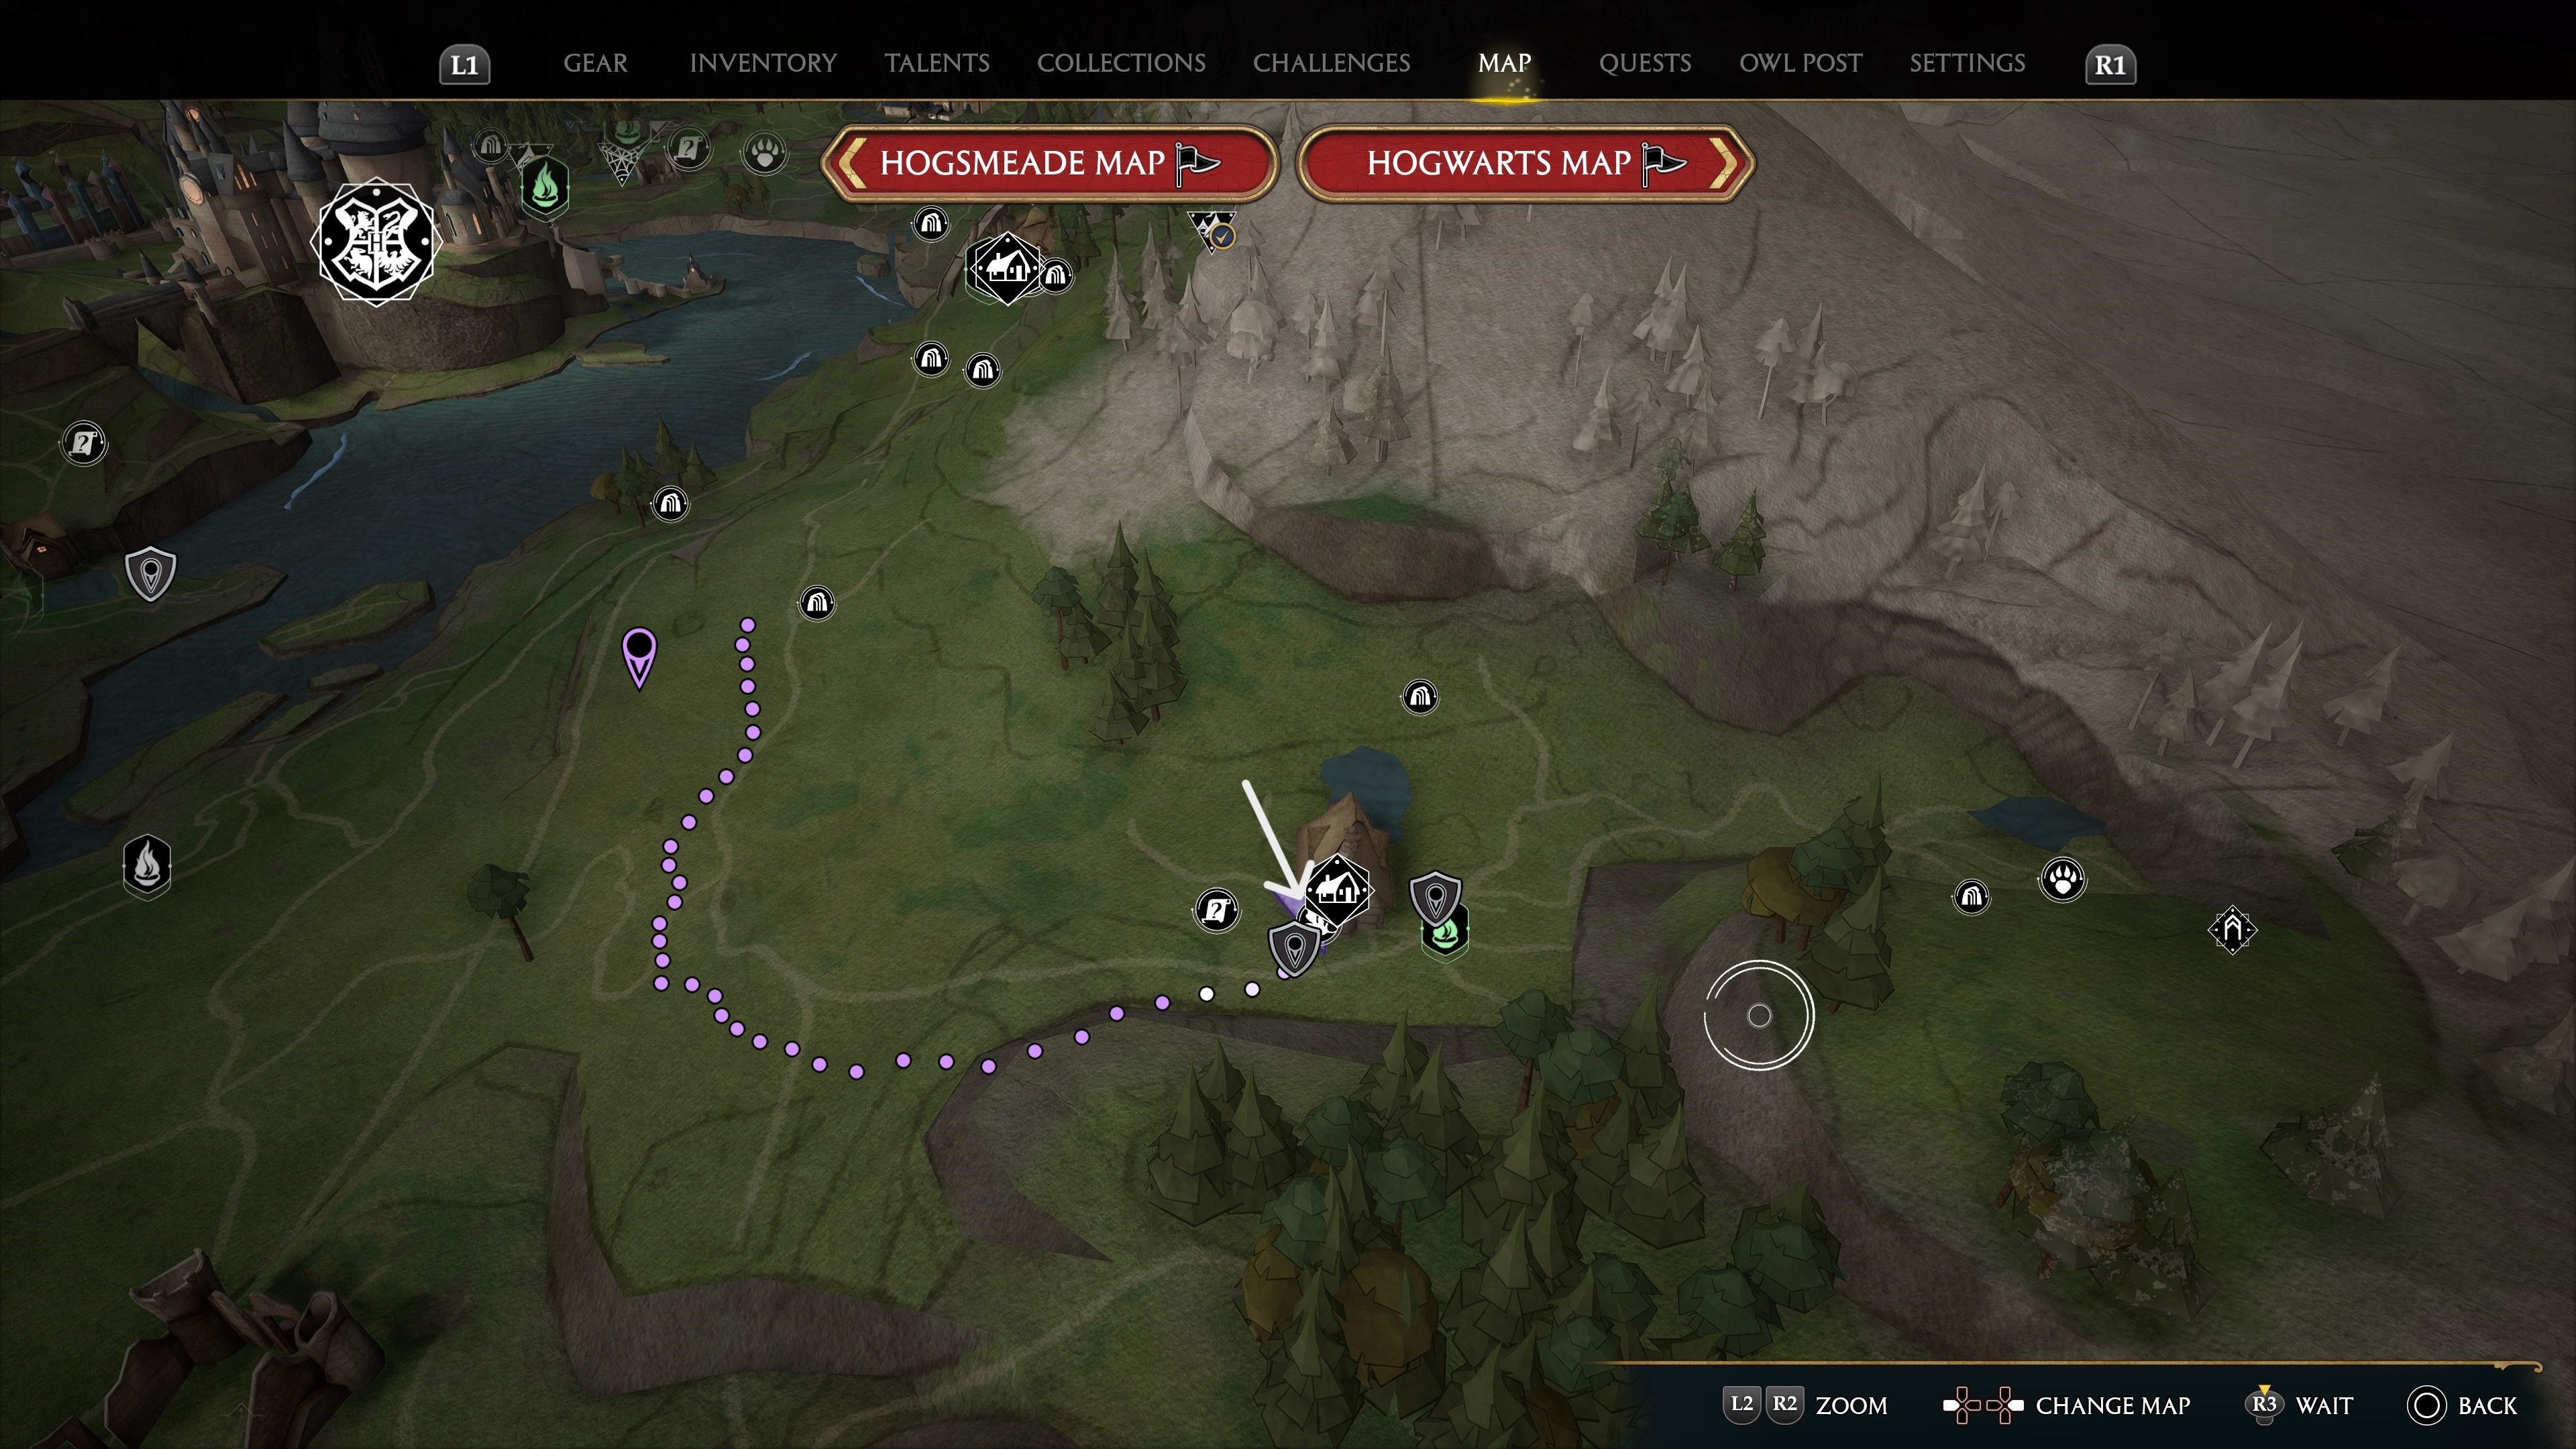
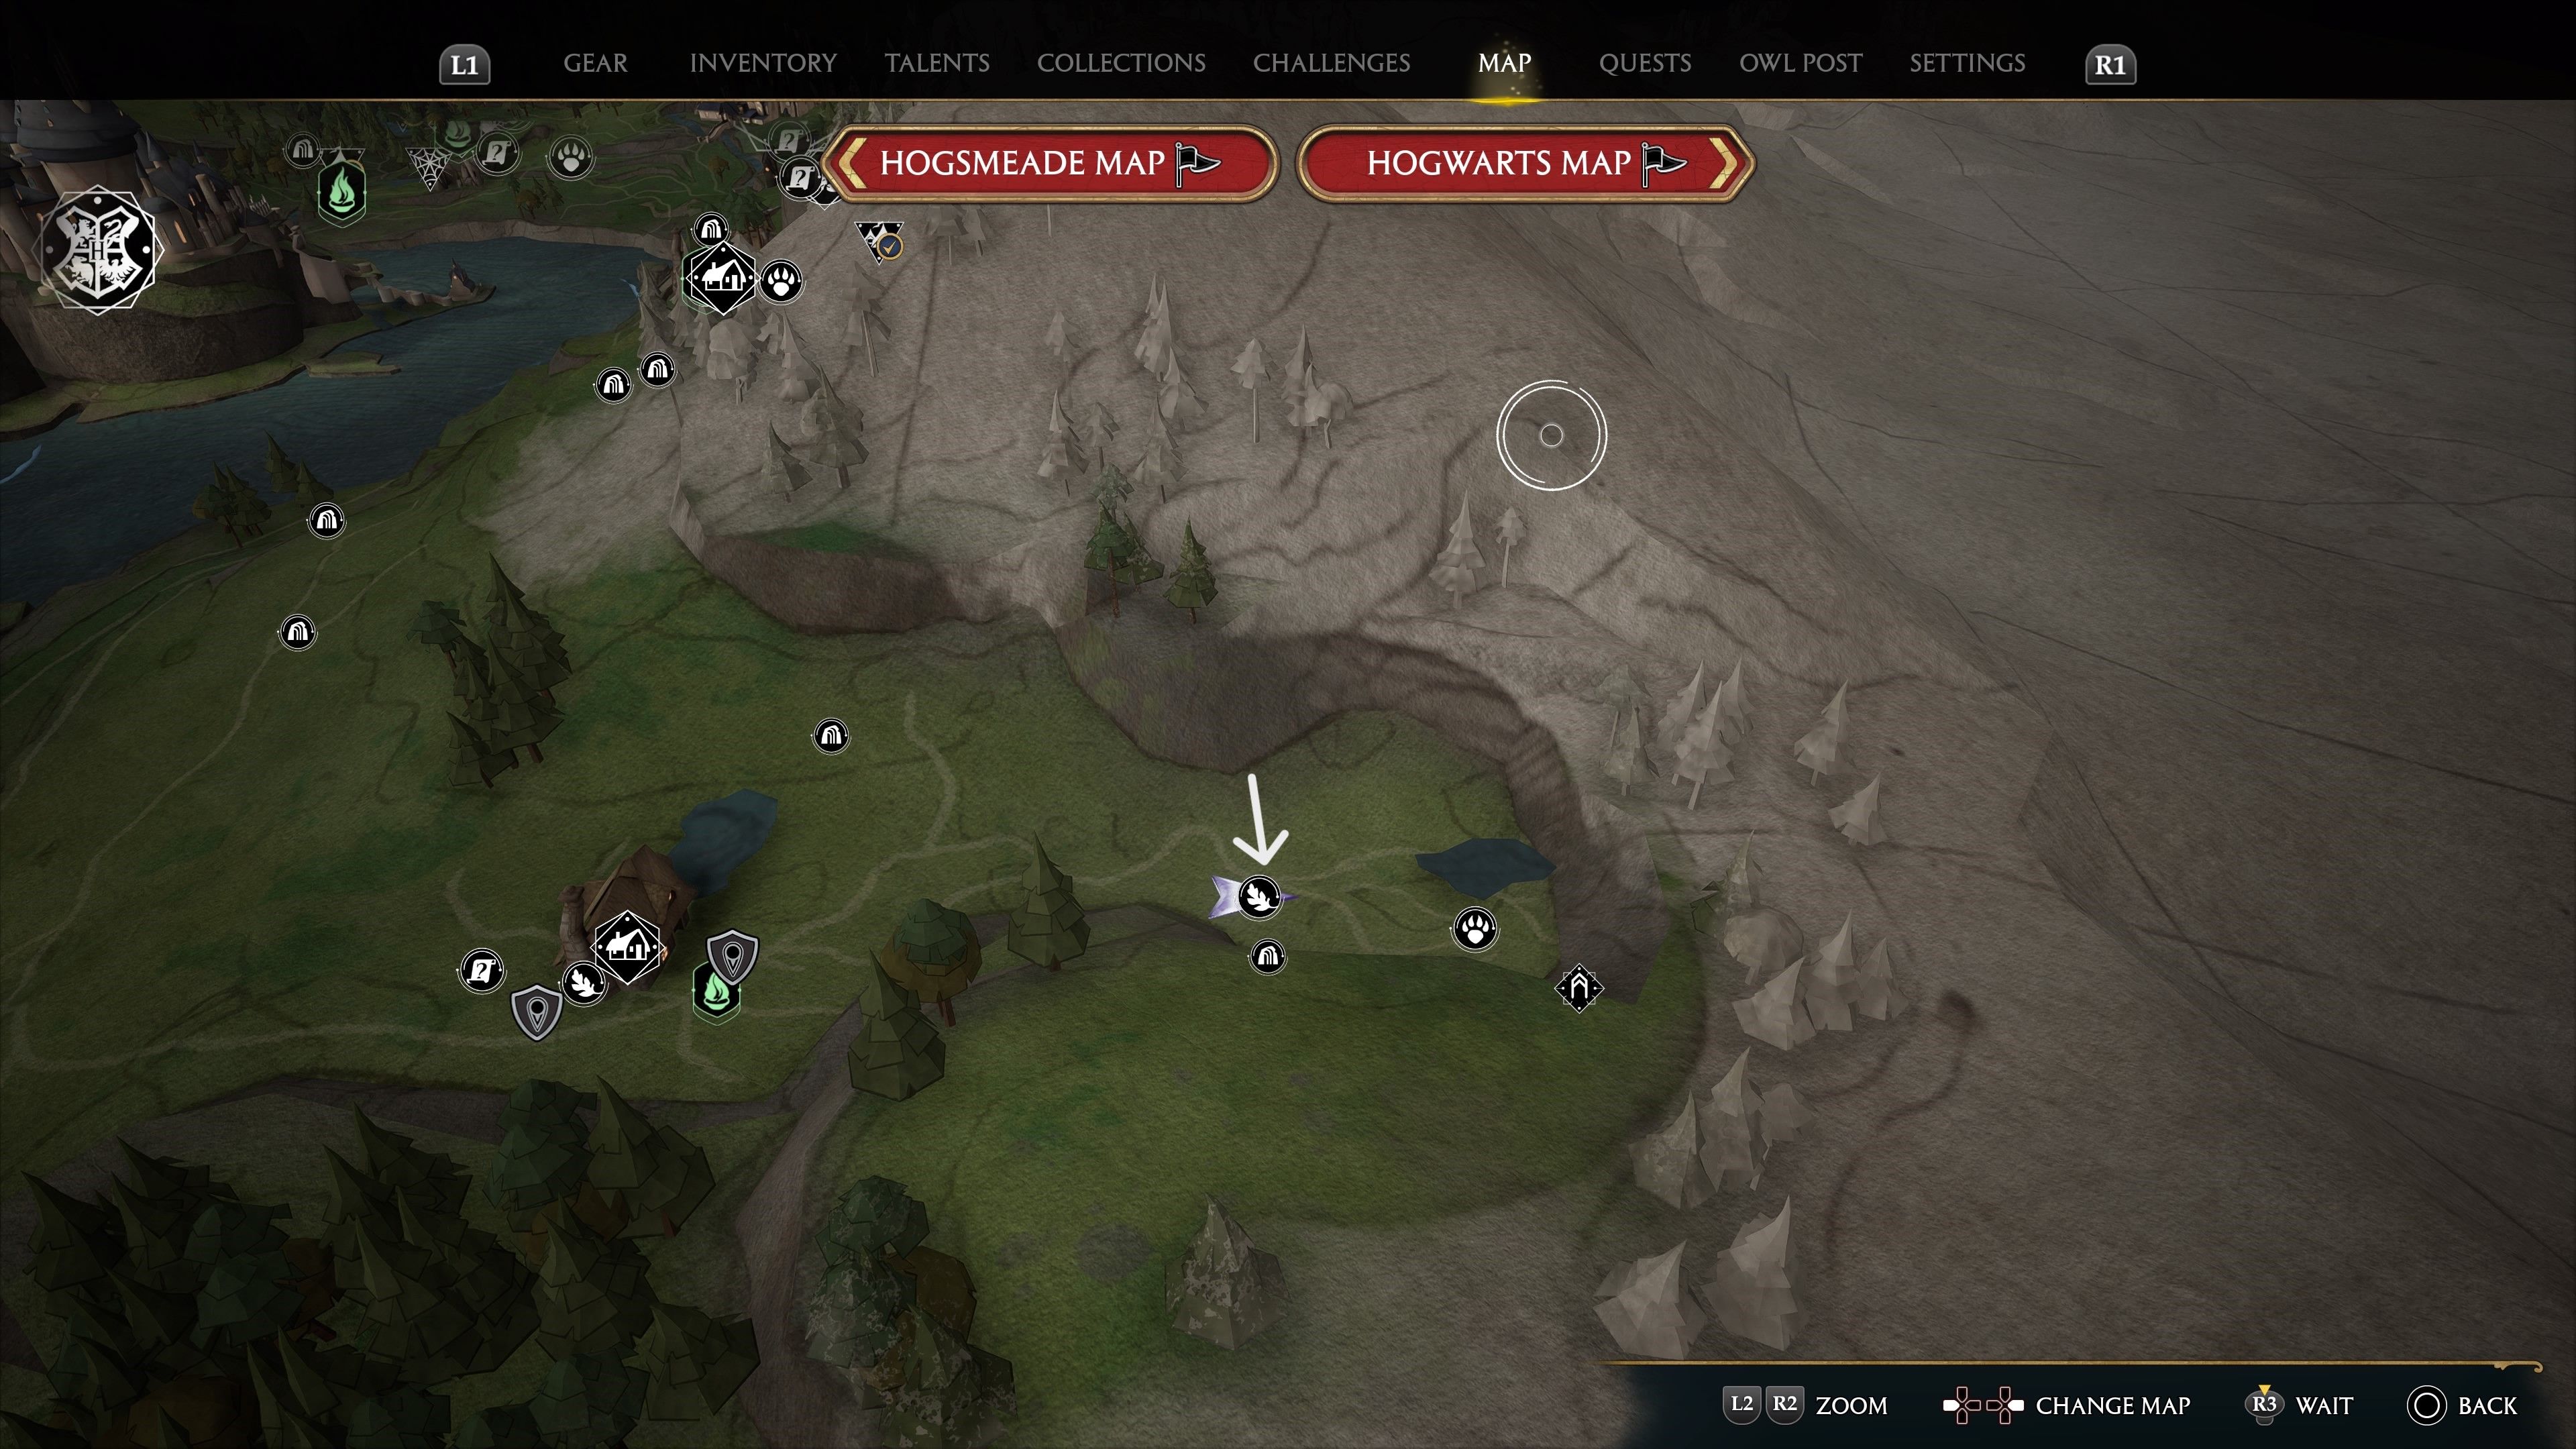
The effigy above show the fix of every Merlin Trial in theSouth Hogwarts RegioninHogwarts Legacy . penetrate the number in thenavigation board below the imageto jump to each Merlin Trial to regain the solution to the puzzle .
Hogwarts Valley Merlin Trial Solutions
There are a total of16 Merlin Trials in the Hogwarts Valley RegionofHogwarts Legacyand players should require to use the follow spells for work out these puzzles .
Revelio : Reveals concealed objects
Lumos : Used to lead moth
Flipendo : Used to flip dice - similar cubes
Confringo : Used to get down cauldron and destroy standing Stone
Wingardium Leviosa : Used to gestate large and small stones to their several platforms
Reparo : Used to repair broken statues
Depulso : Occasionally used to clear obstacles
32. Hogwarts Valley #1
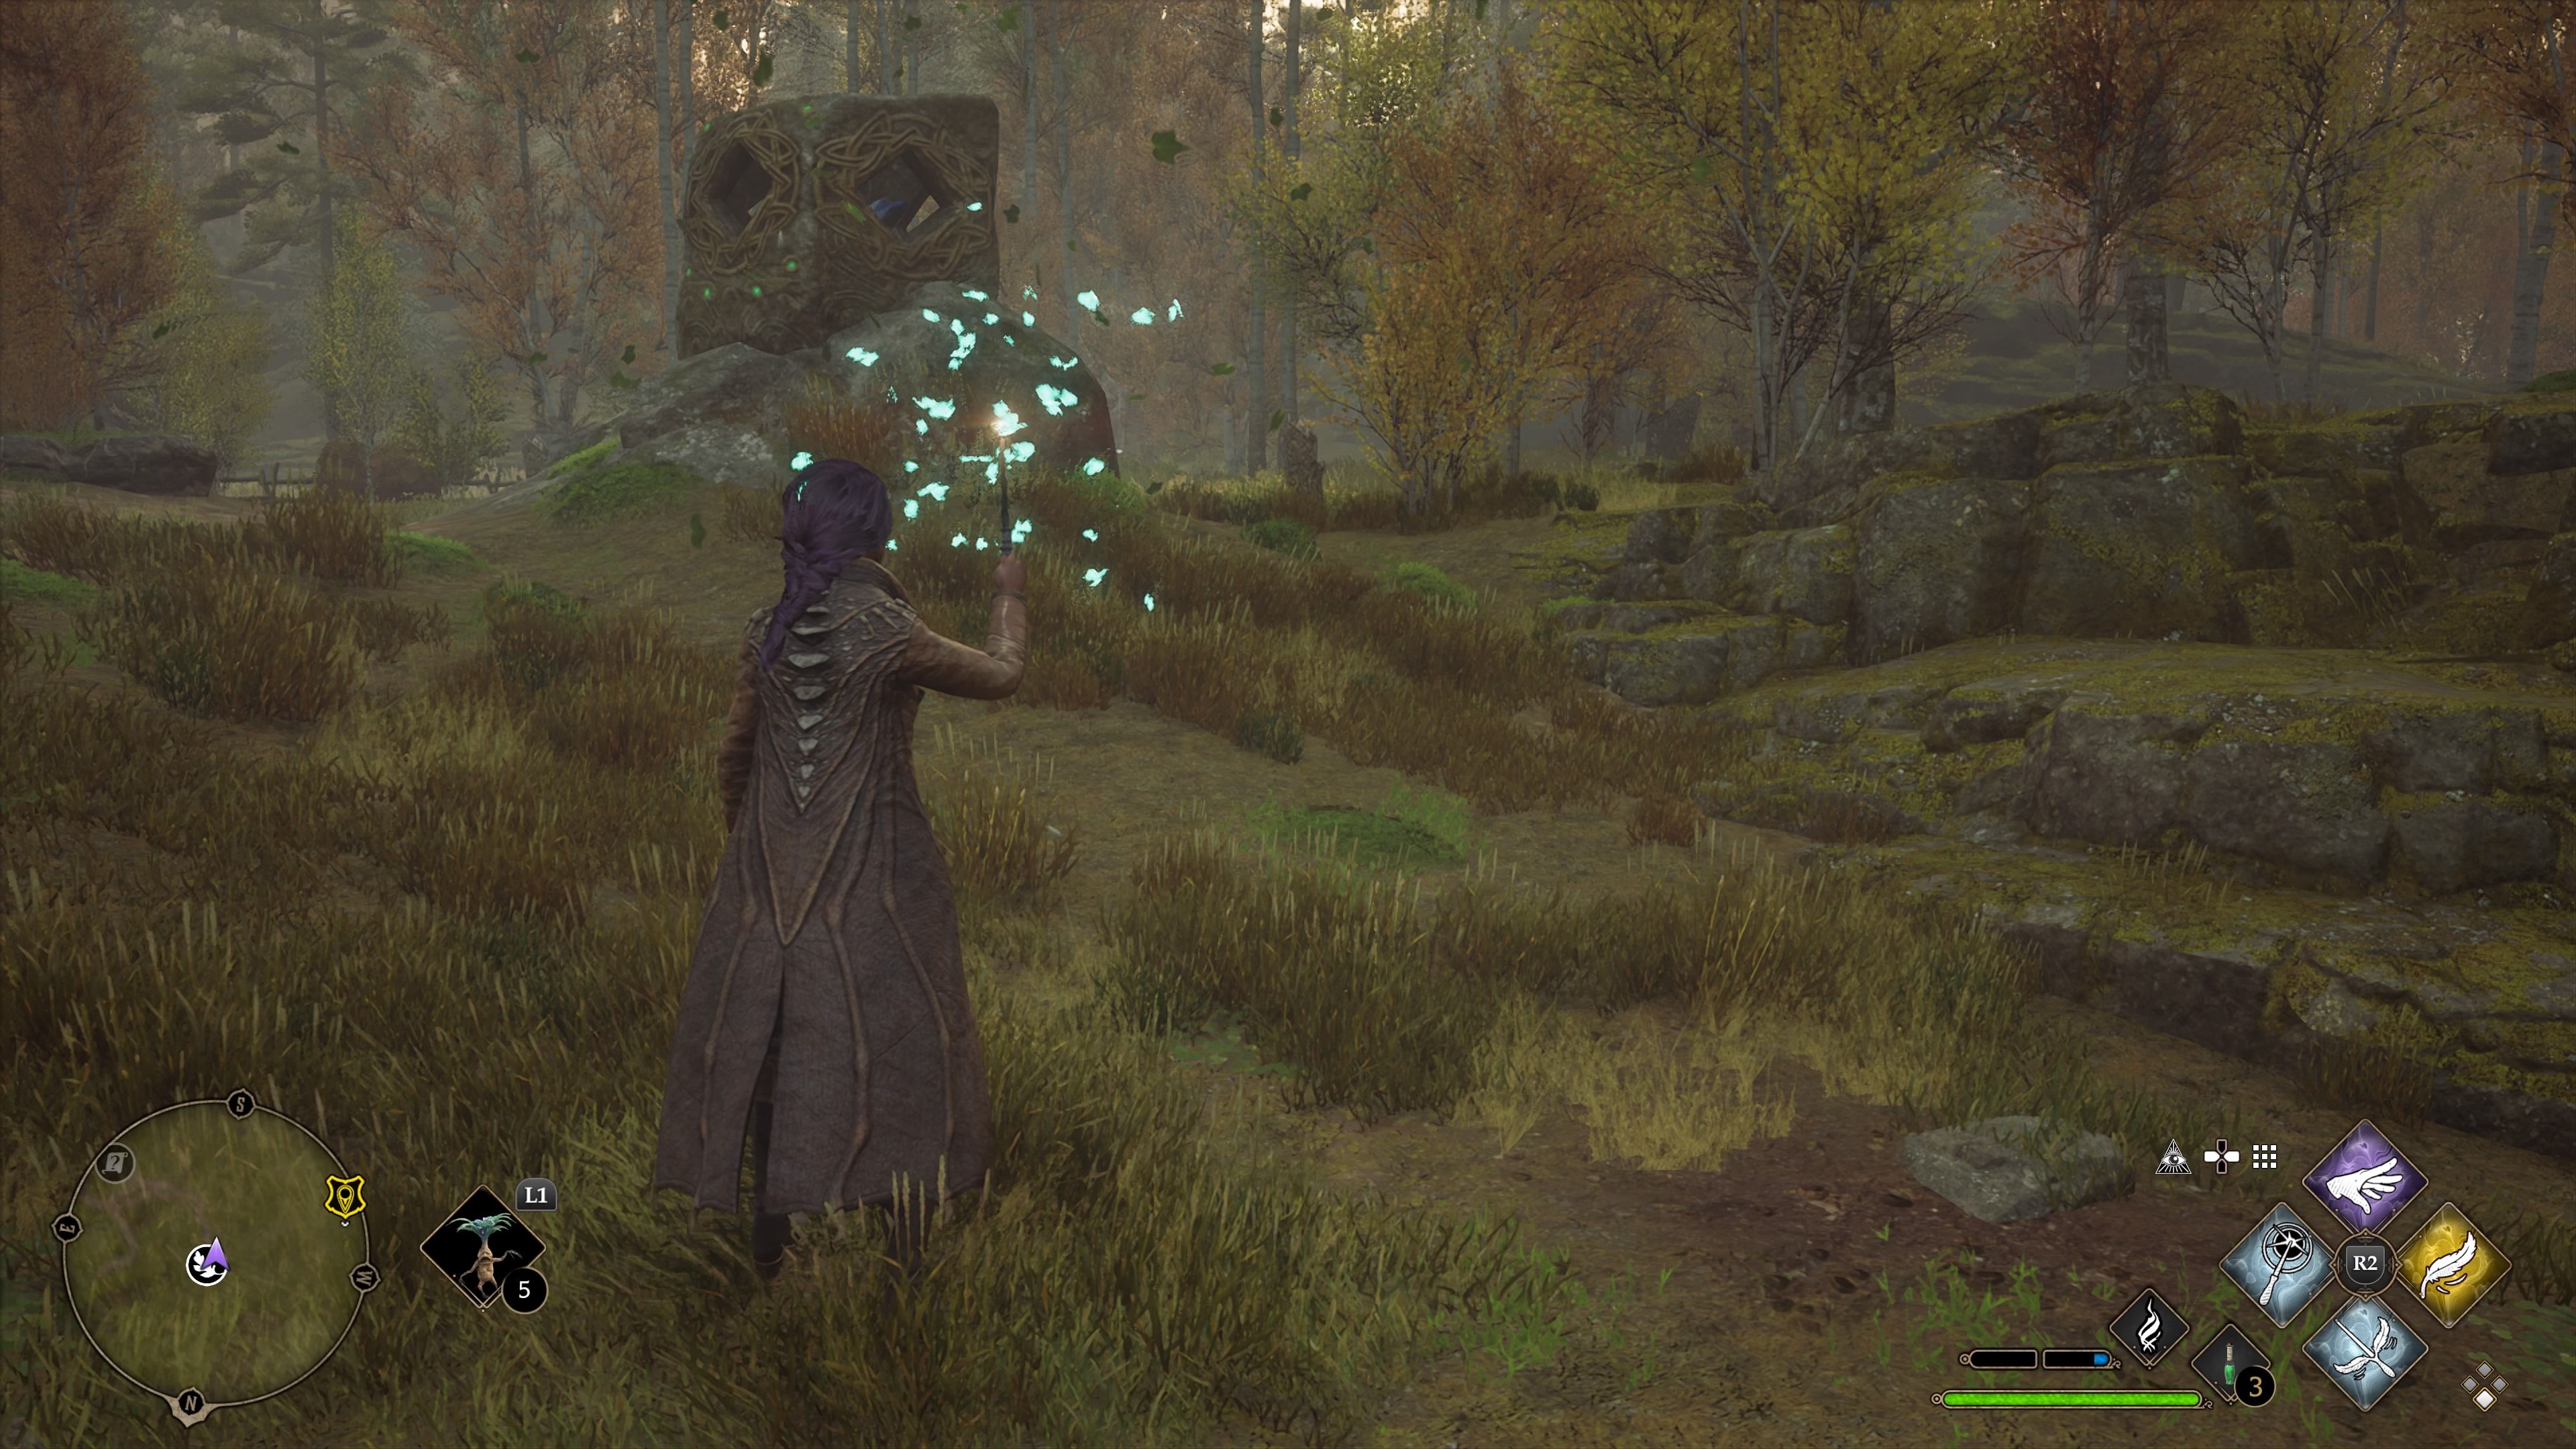
Thispuzzle inHogwarts Legacyinvolves lighting cubes by conduct effervescent moths to them . UseLumosto appeal the moths and lead them to the three cube to illume them .
33. Hogwarts Valley #2
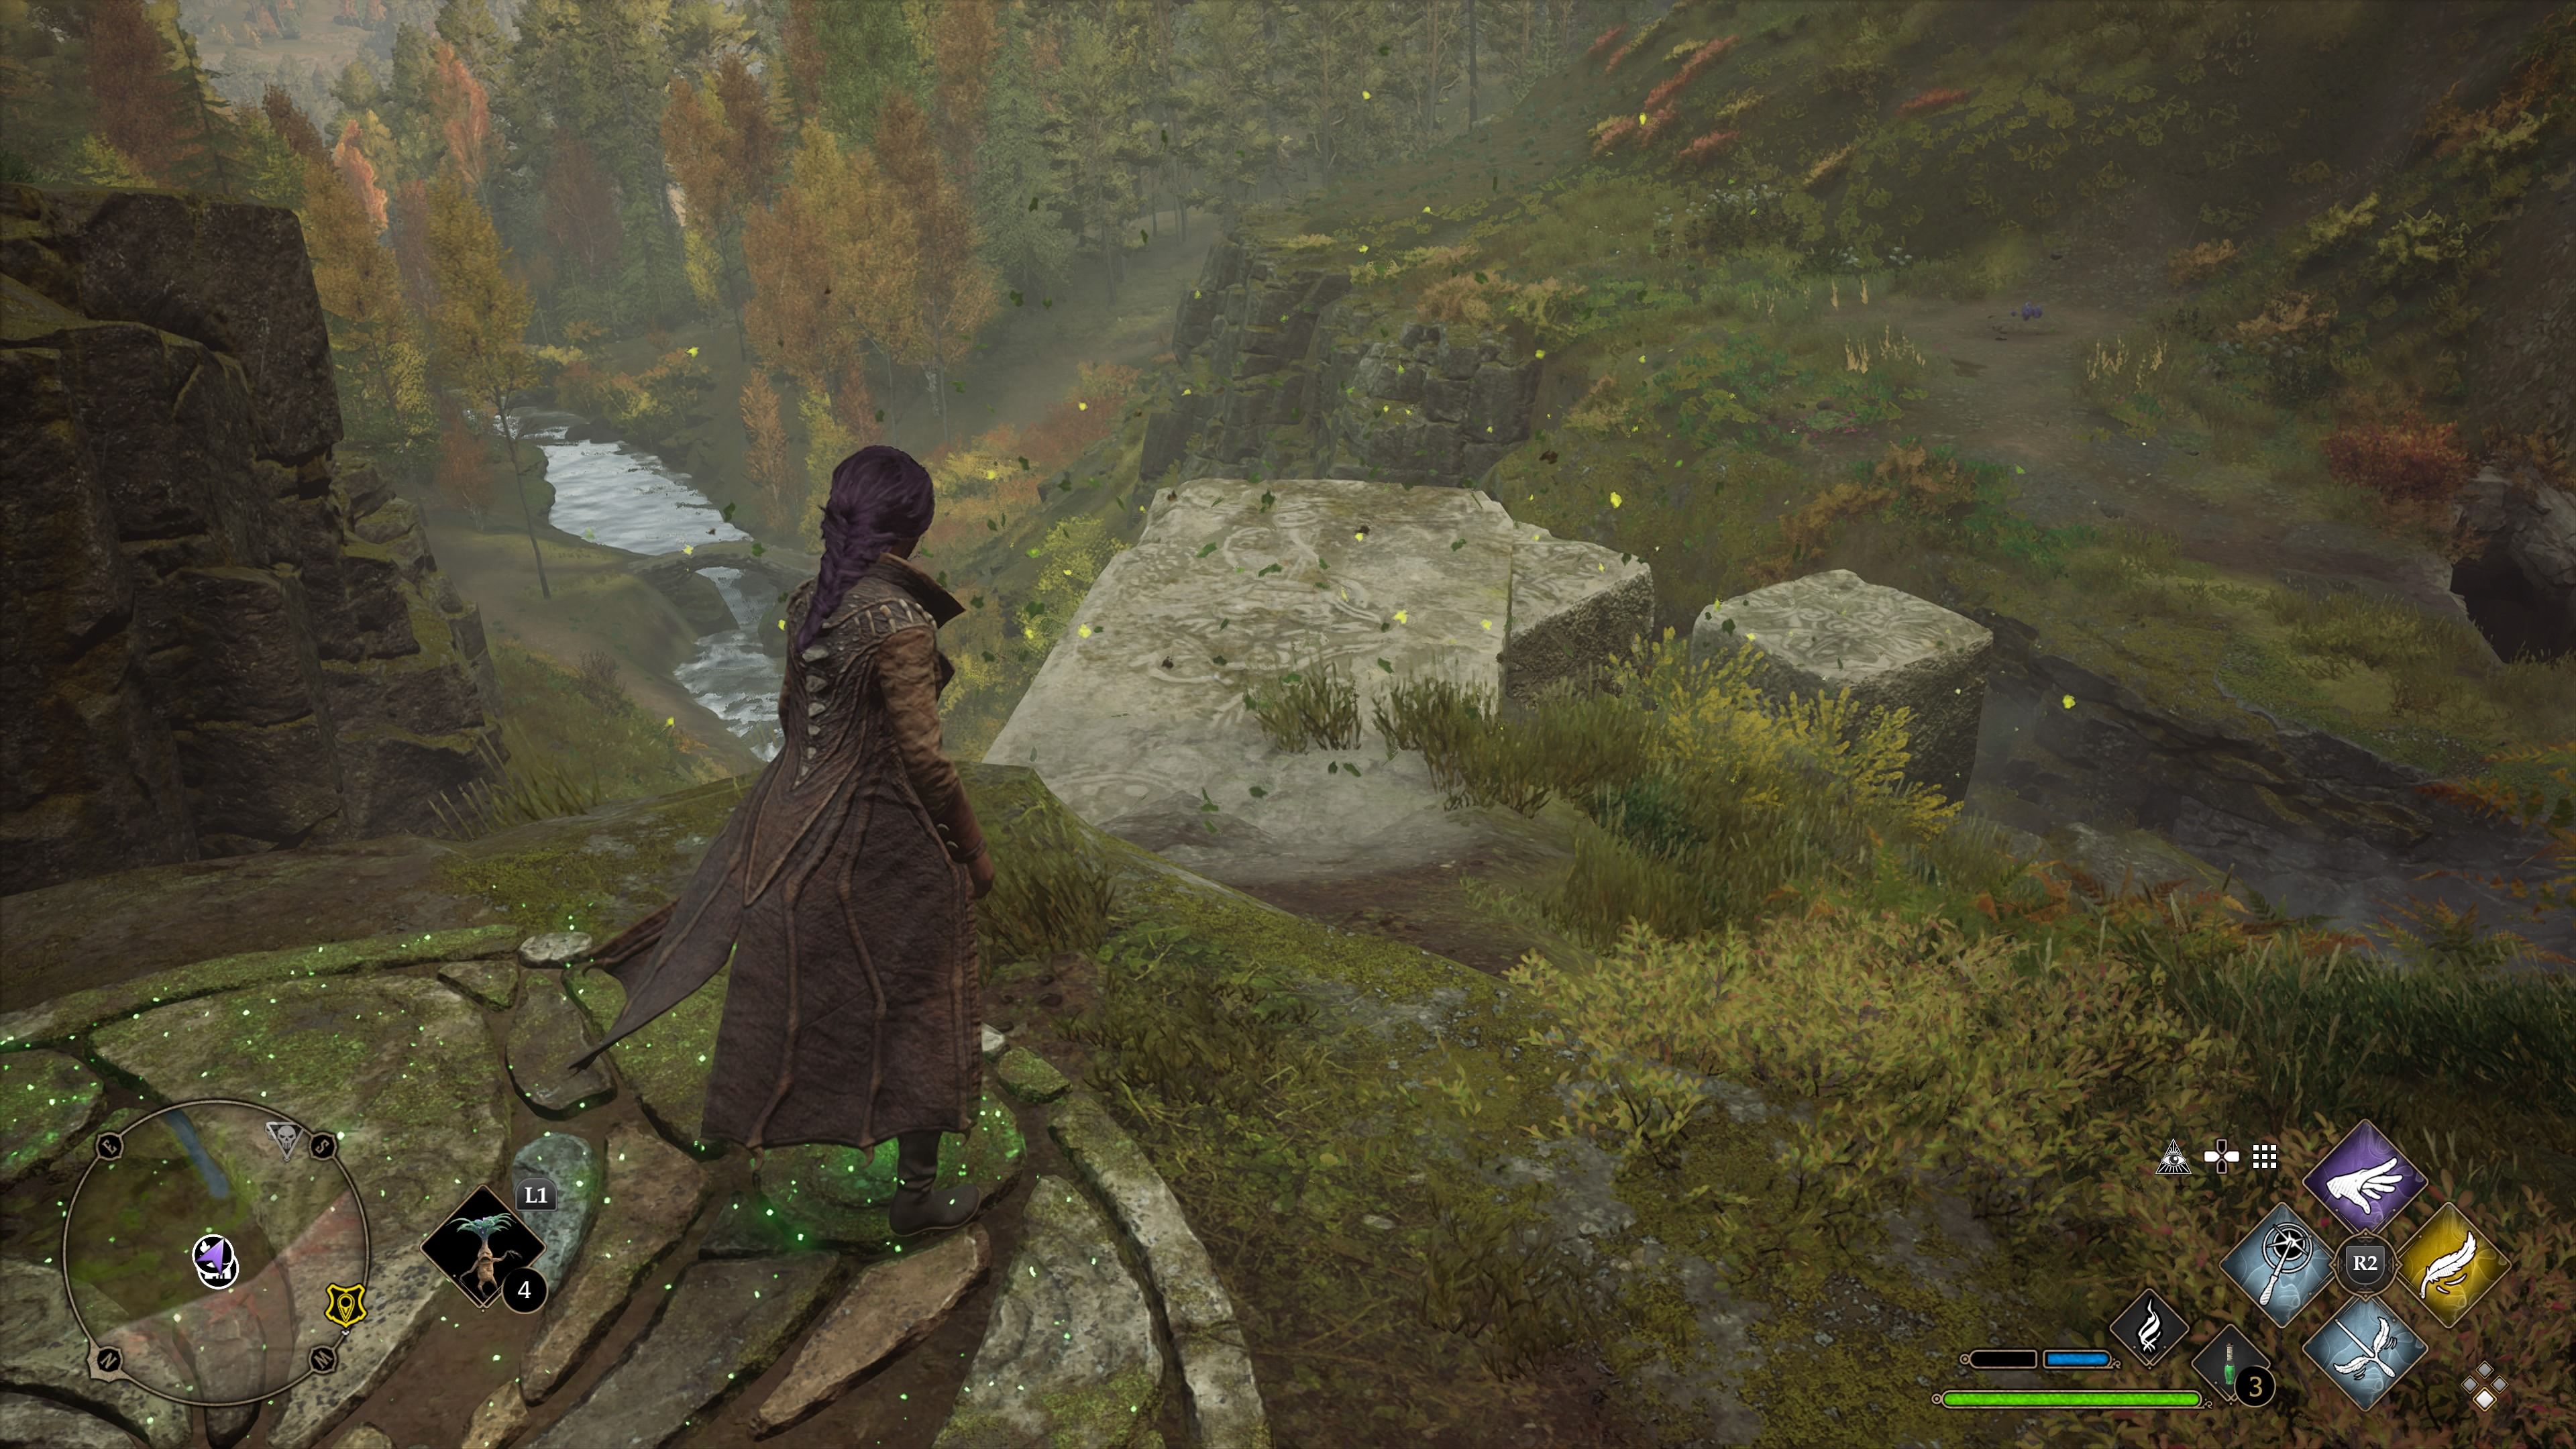
This is a Isidor Feinstein Stone impression puzzle . Go to the low . There ’s a path instantly behind it with breakable wall . At the top behind the last bulwark is the ball . As always , the easiest fashion is just to move the ball withWingardium Leviosa .
34. Hogwarts Valley #3
This puzzle is a platforming visitation . wax up the hill behind the stacked stones and then go across them , jumping across the gaps as want . If the instrumentalist falls , the trial run will reset .
35. Hogwarts Valley #4
This is a cauldron firing puzzle . The tallest one is by the bridge over the water , and the repose are alongside the river further down . UseConfringoand light all three from tallest to shortest .
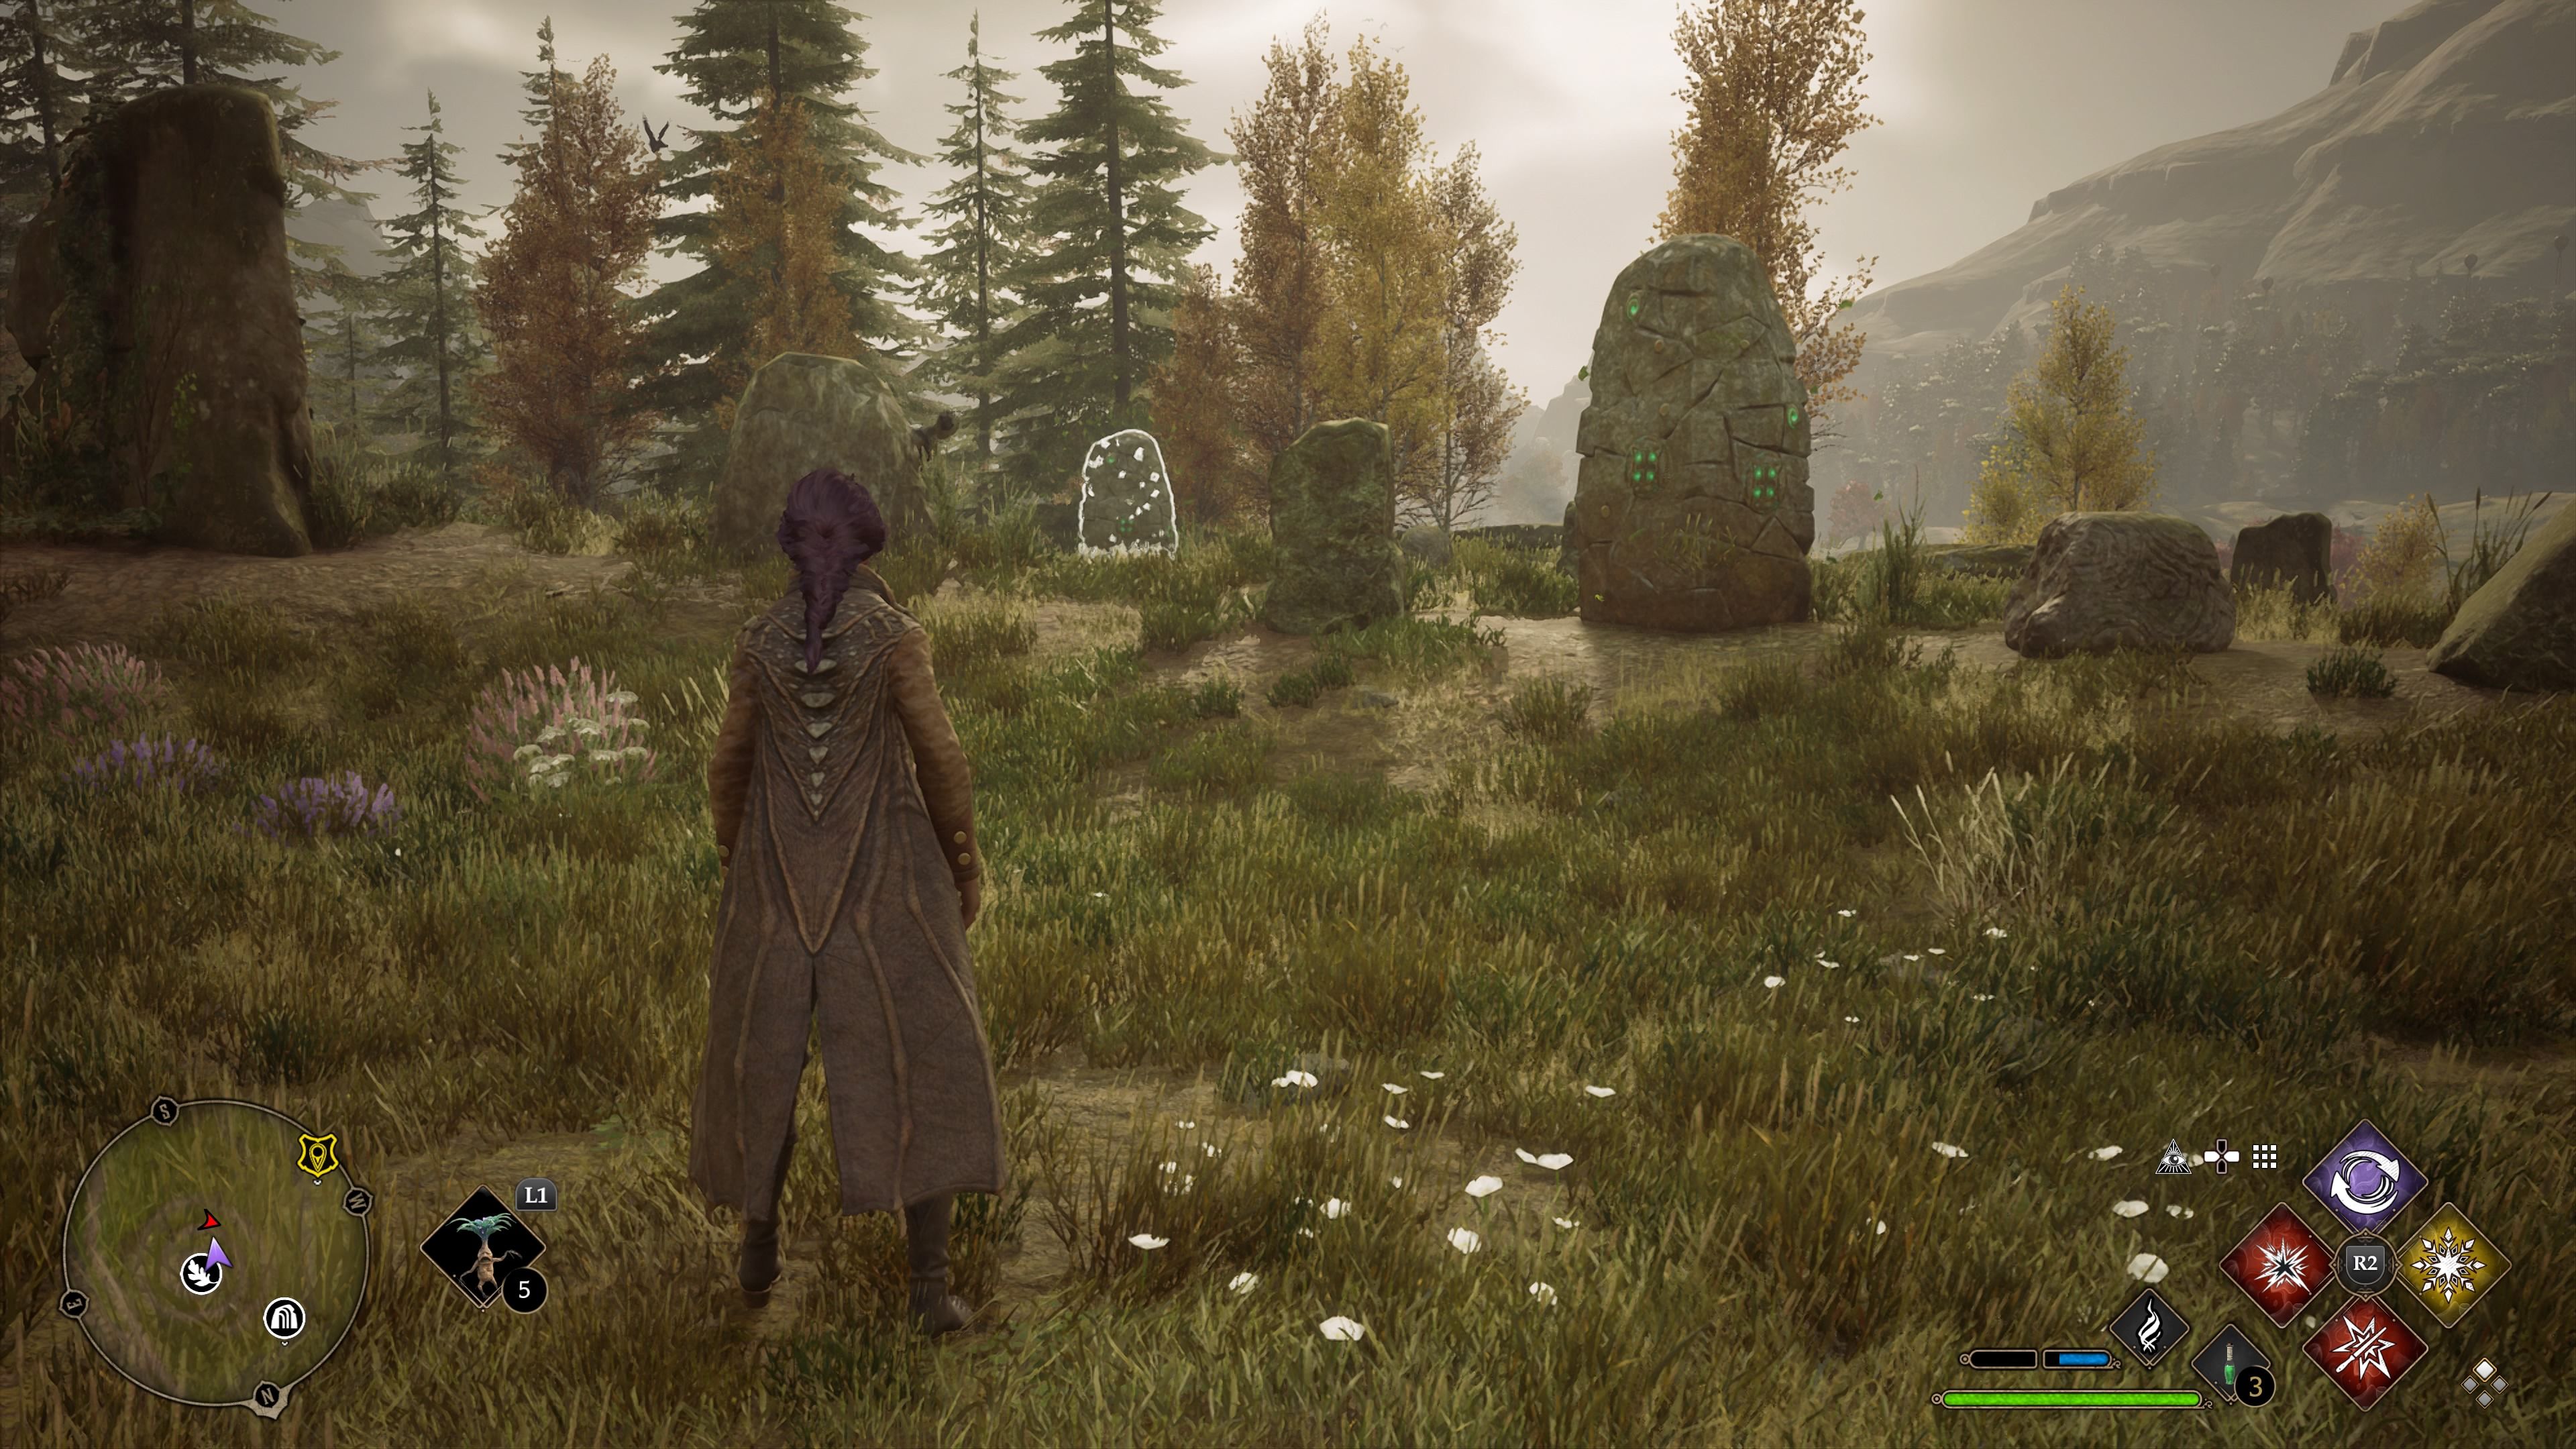
36. Hogwarts Valley #5
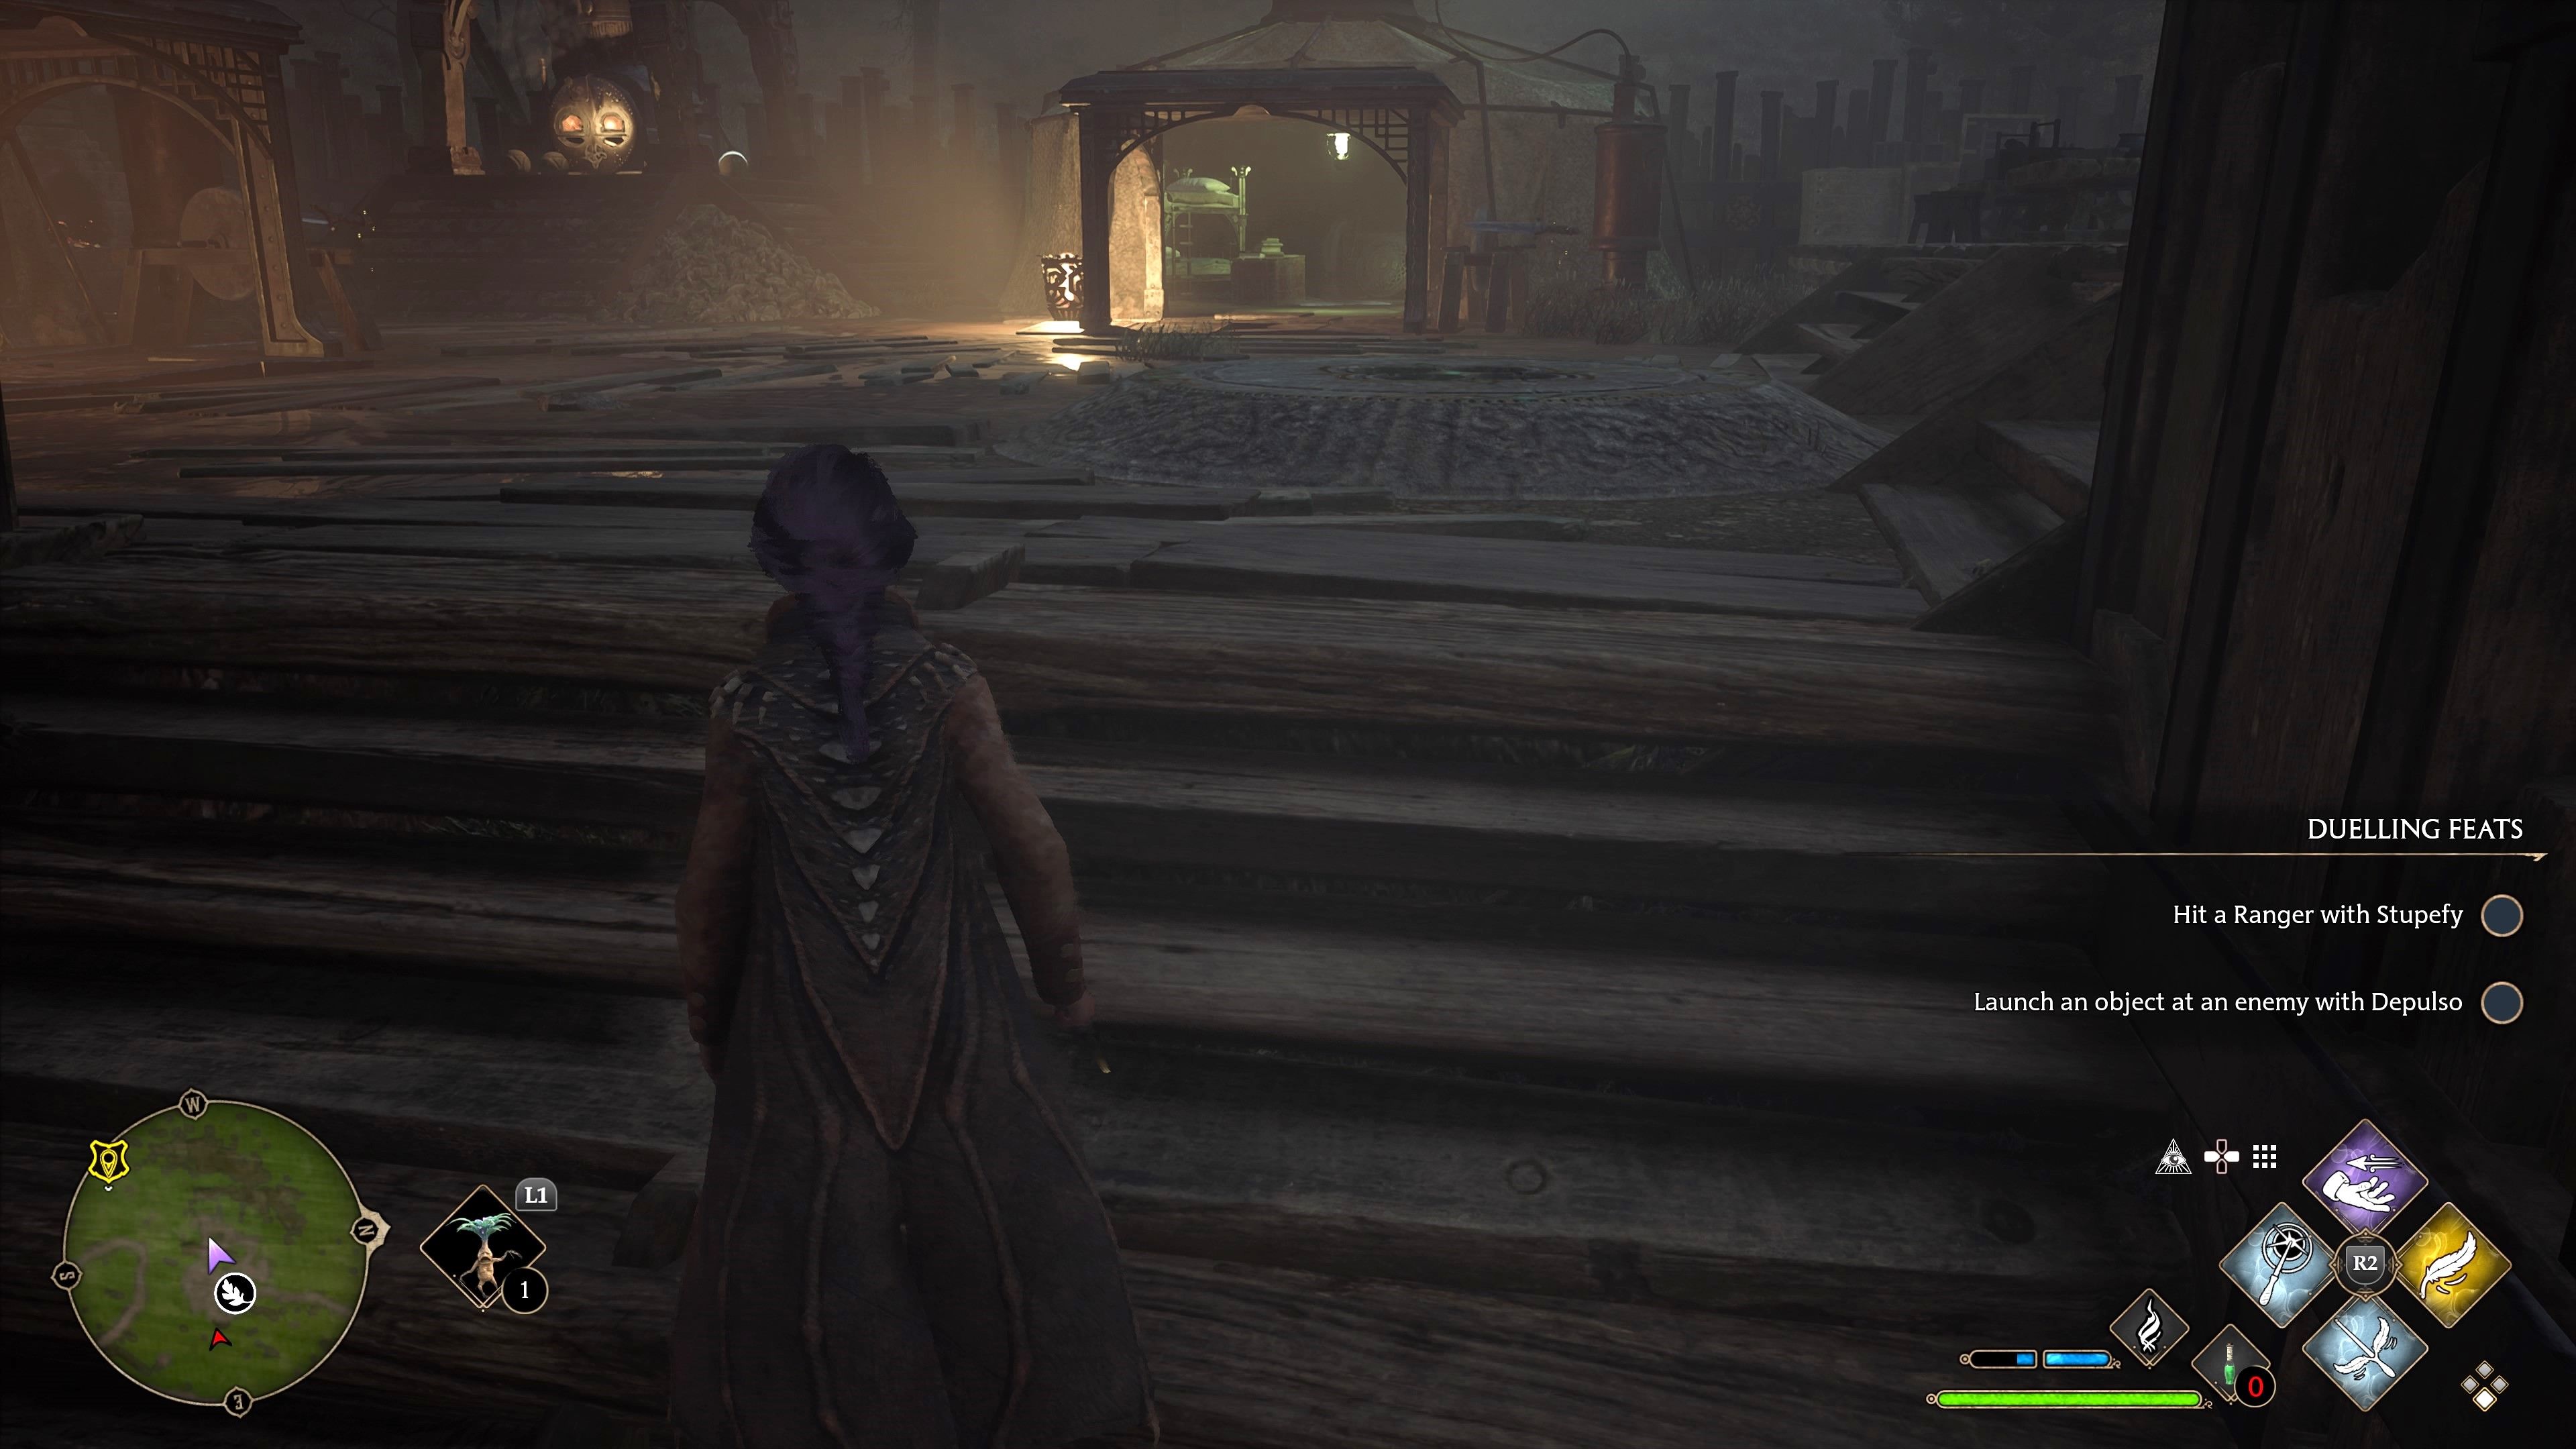
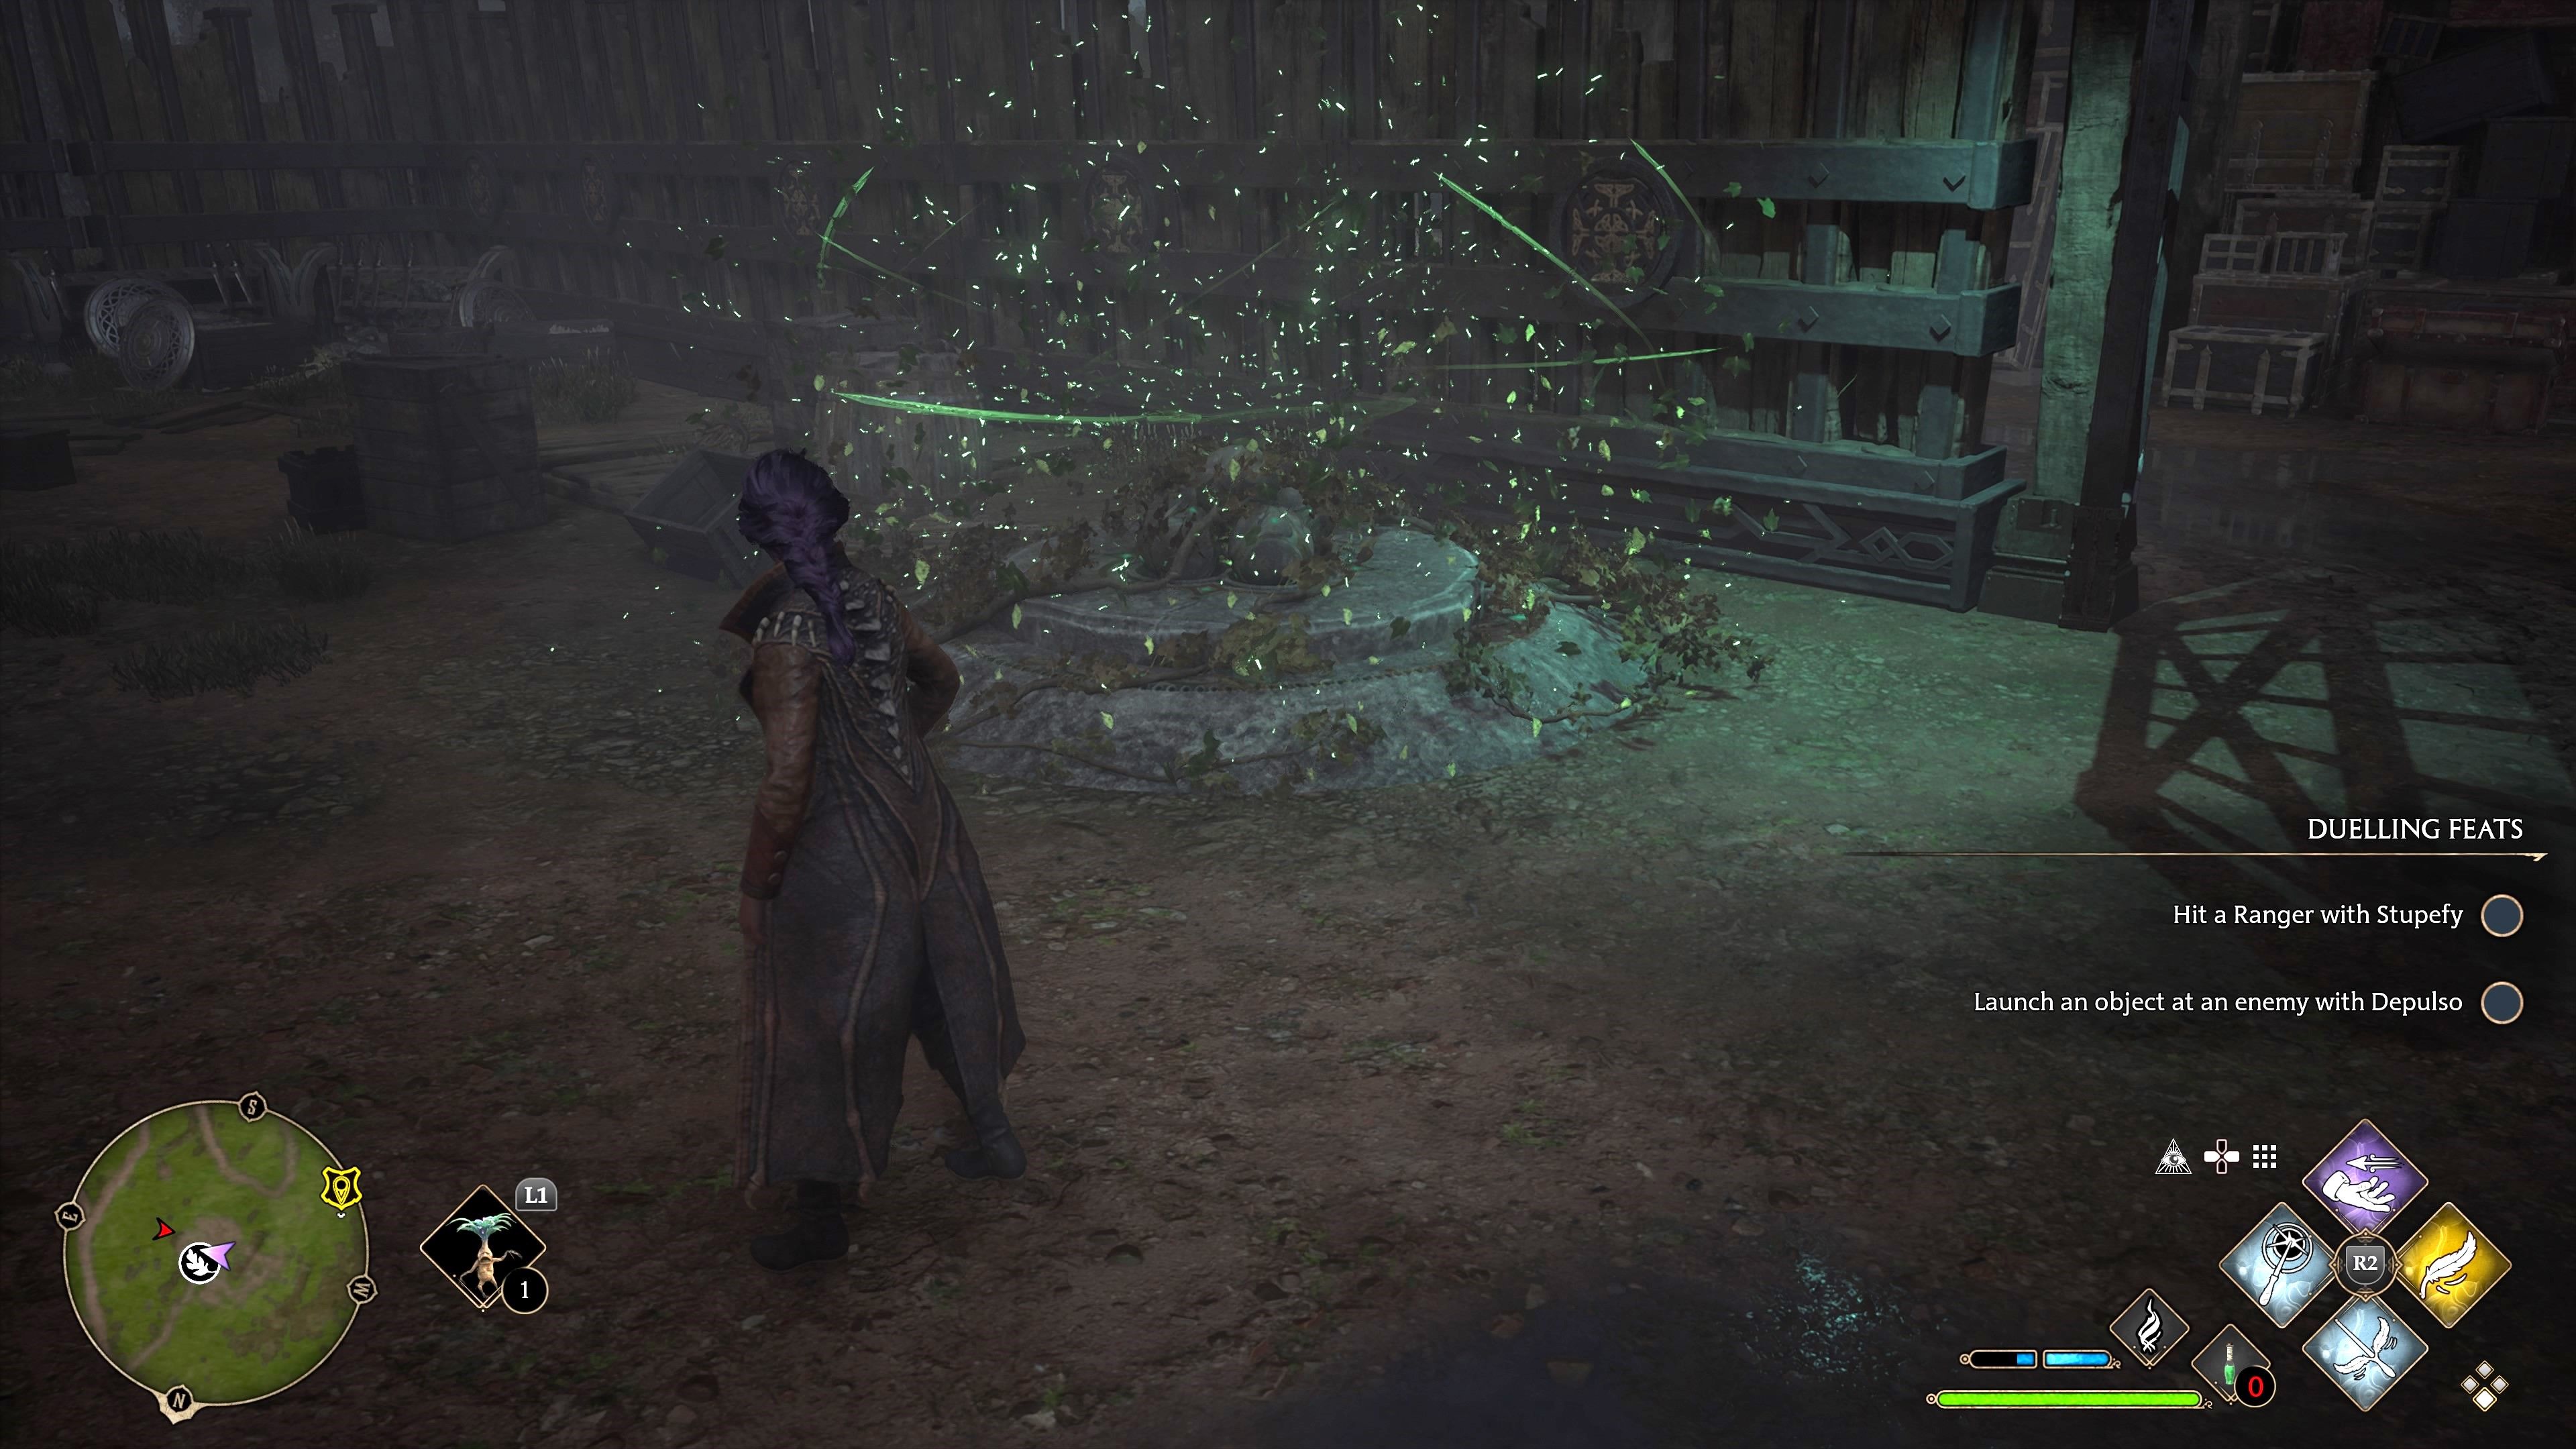
This is a nine - mainstay mystifier . All of the stones that necessitate to be destroy are straight around the clearing . UseanyHogwarts Legacyspell , or aBasic Cast , to destroy the stones .
Back To Navigation Menu
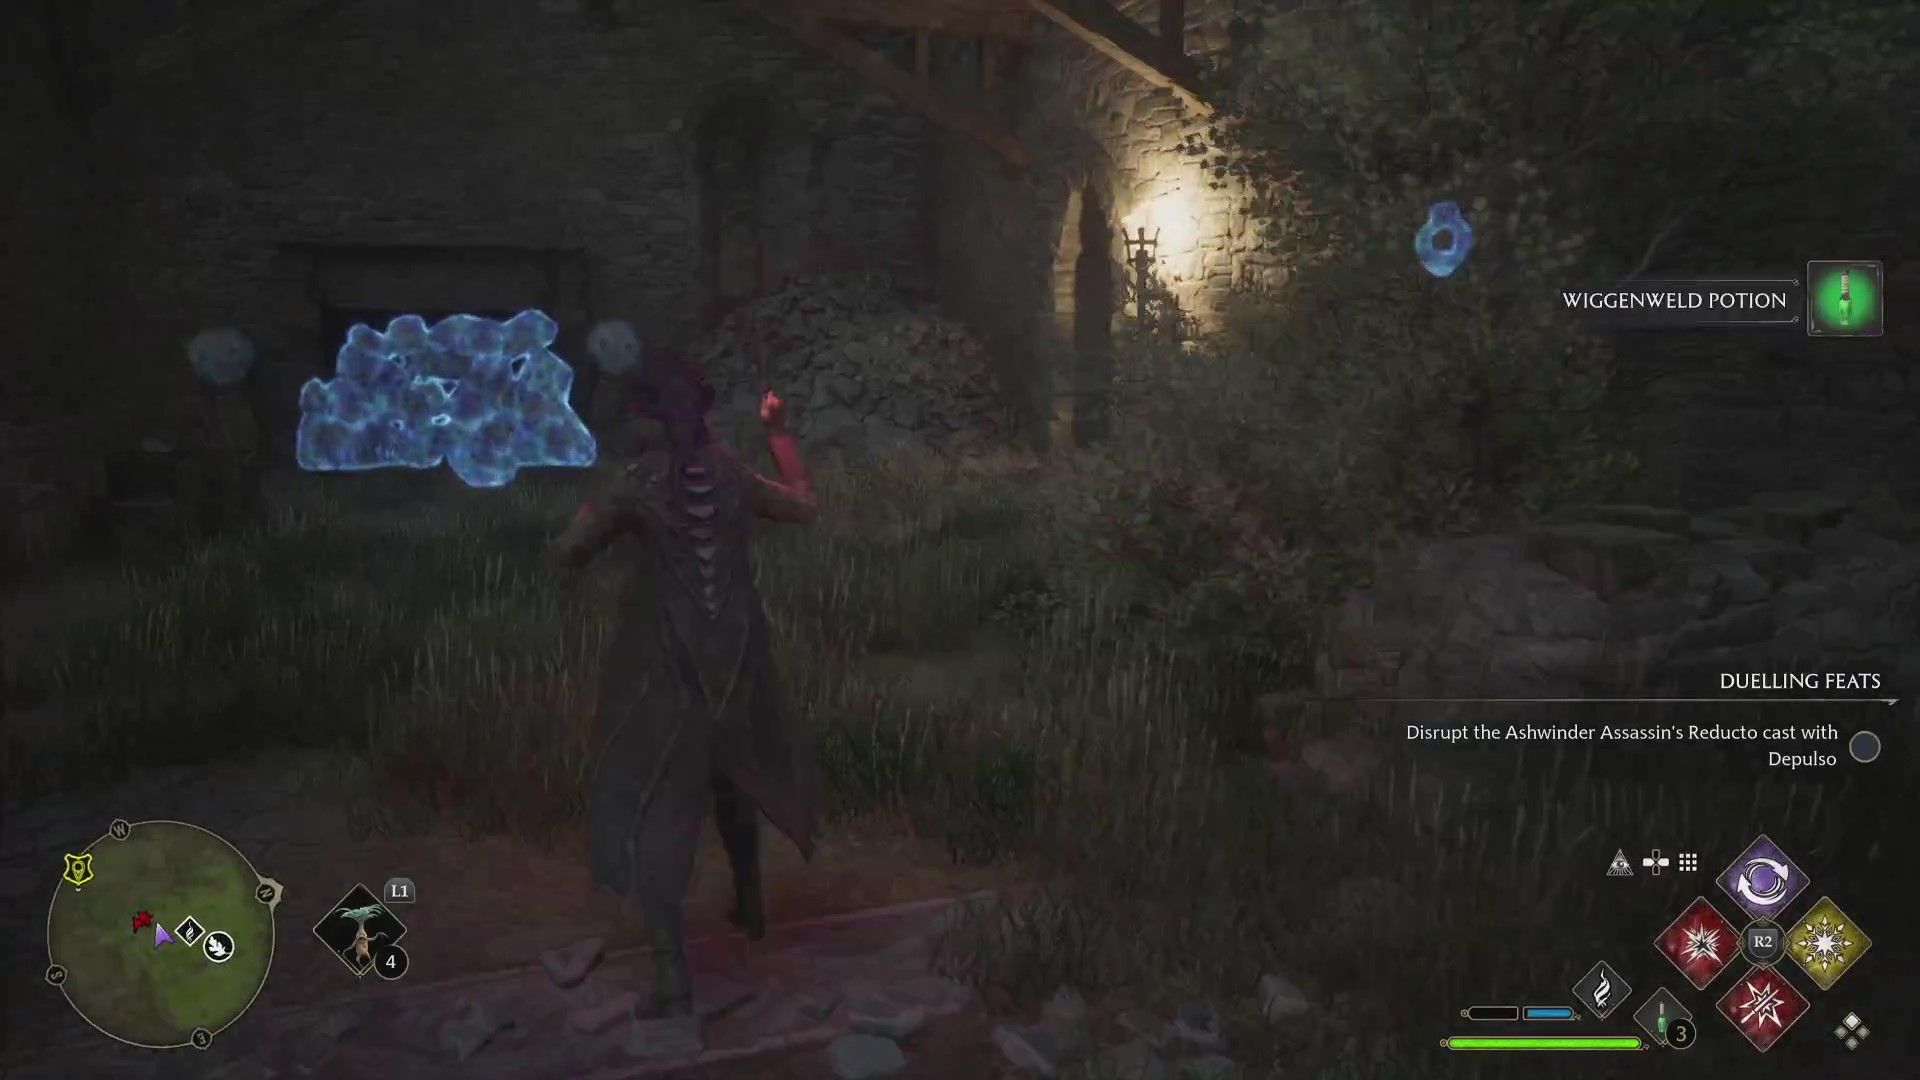
37. Hogwarts Valley #6
This is a mini stone program mystifier . Two of the three platforms are within the foe camp , the remaining platform is just outside . Players will need to utilise a Force spell , such asDepulso , to launch the gate to get the modest Stone from inside the cantonment , and a burn charm , such asConfringo , to get the stones from inside a modest cave on the outside of the camp .
38. Hogwarts Valley #7
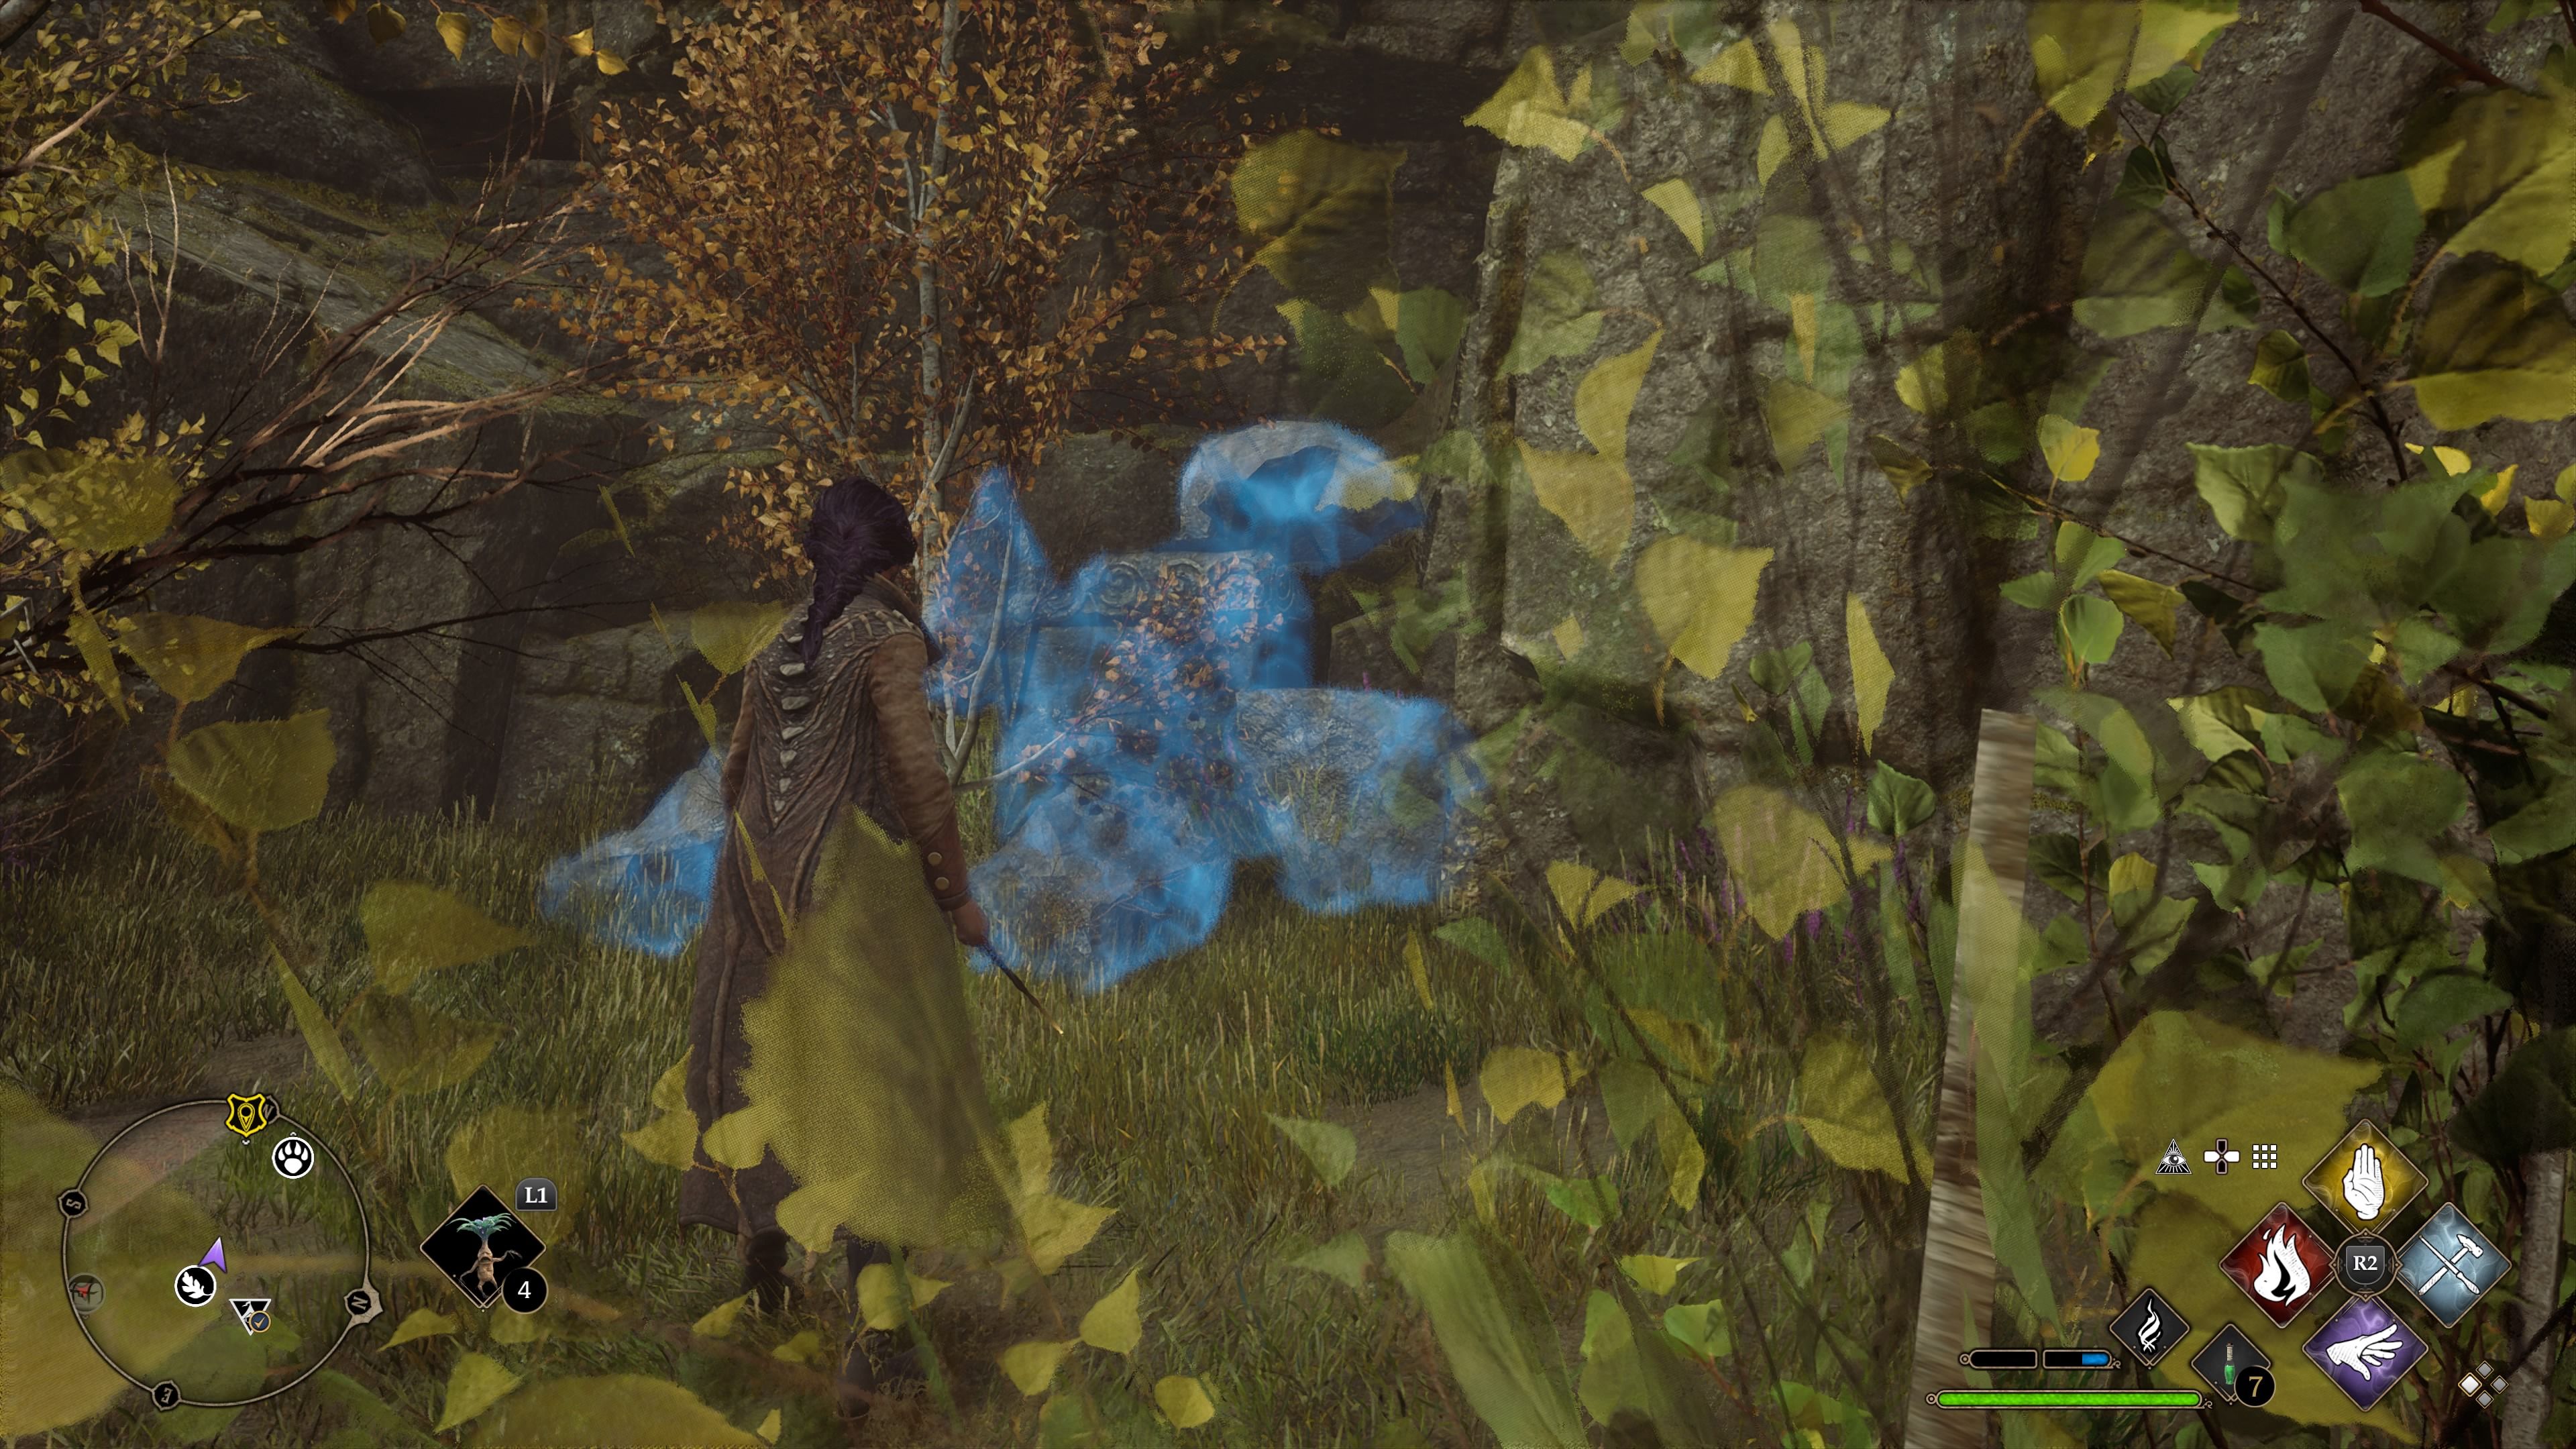
This is a case of stone depression puzzle . In this one , there are three political program with sets of small stones . The small stones will follow each other , so pick one to useWingardium Leviosaon and the rest will follow . The platforms can be seen withRevelio , and the raft of stones are not too far away from their respective platforms . front above for two sets , and besides it for the remain one .
39. Hogwarts Valley #8
There are nine lowly stones on pillars that call for to be blasted for this one . The first six are within view of the activation point . There are a lot of opposition around , so be prepared for a vainglorious conflict . The remaining three are behind the enemies in the ruination of the castling . If need be , pack some ofHogwarts Legacy ’s Maxima potions to battle the enemies . One of them has to be revealed by snap off the rocks in front of it . Any while with Force damage , such asDepulso , will fall apart the stones and dispatch the rocks .
40. Hogwarts Valley #9
This one is a moth puzzler . UseLumosto appeal the moth to the cubes to light them . The three sets of moth and three cubes are within horizon or just below the activating full stop .
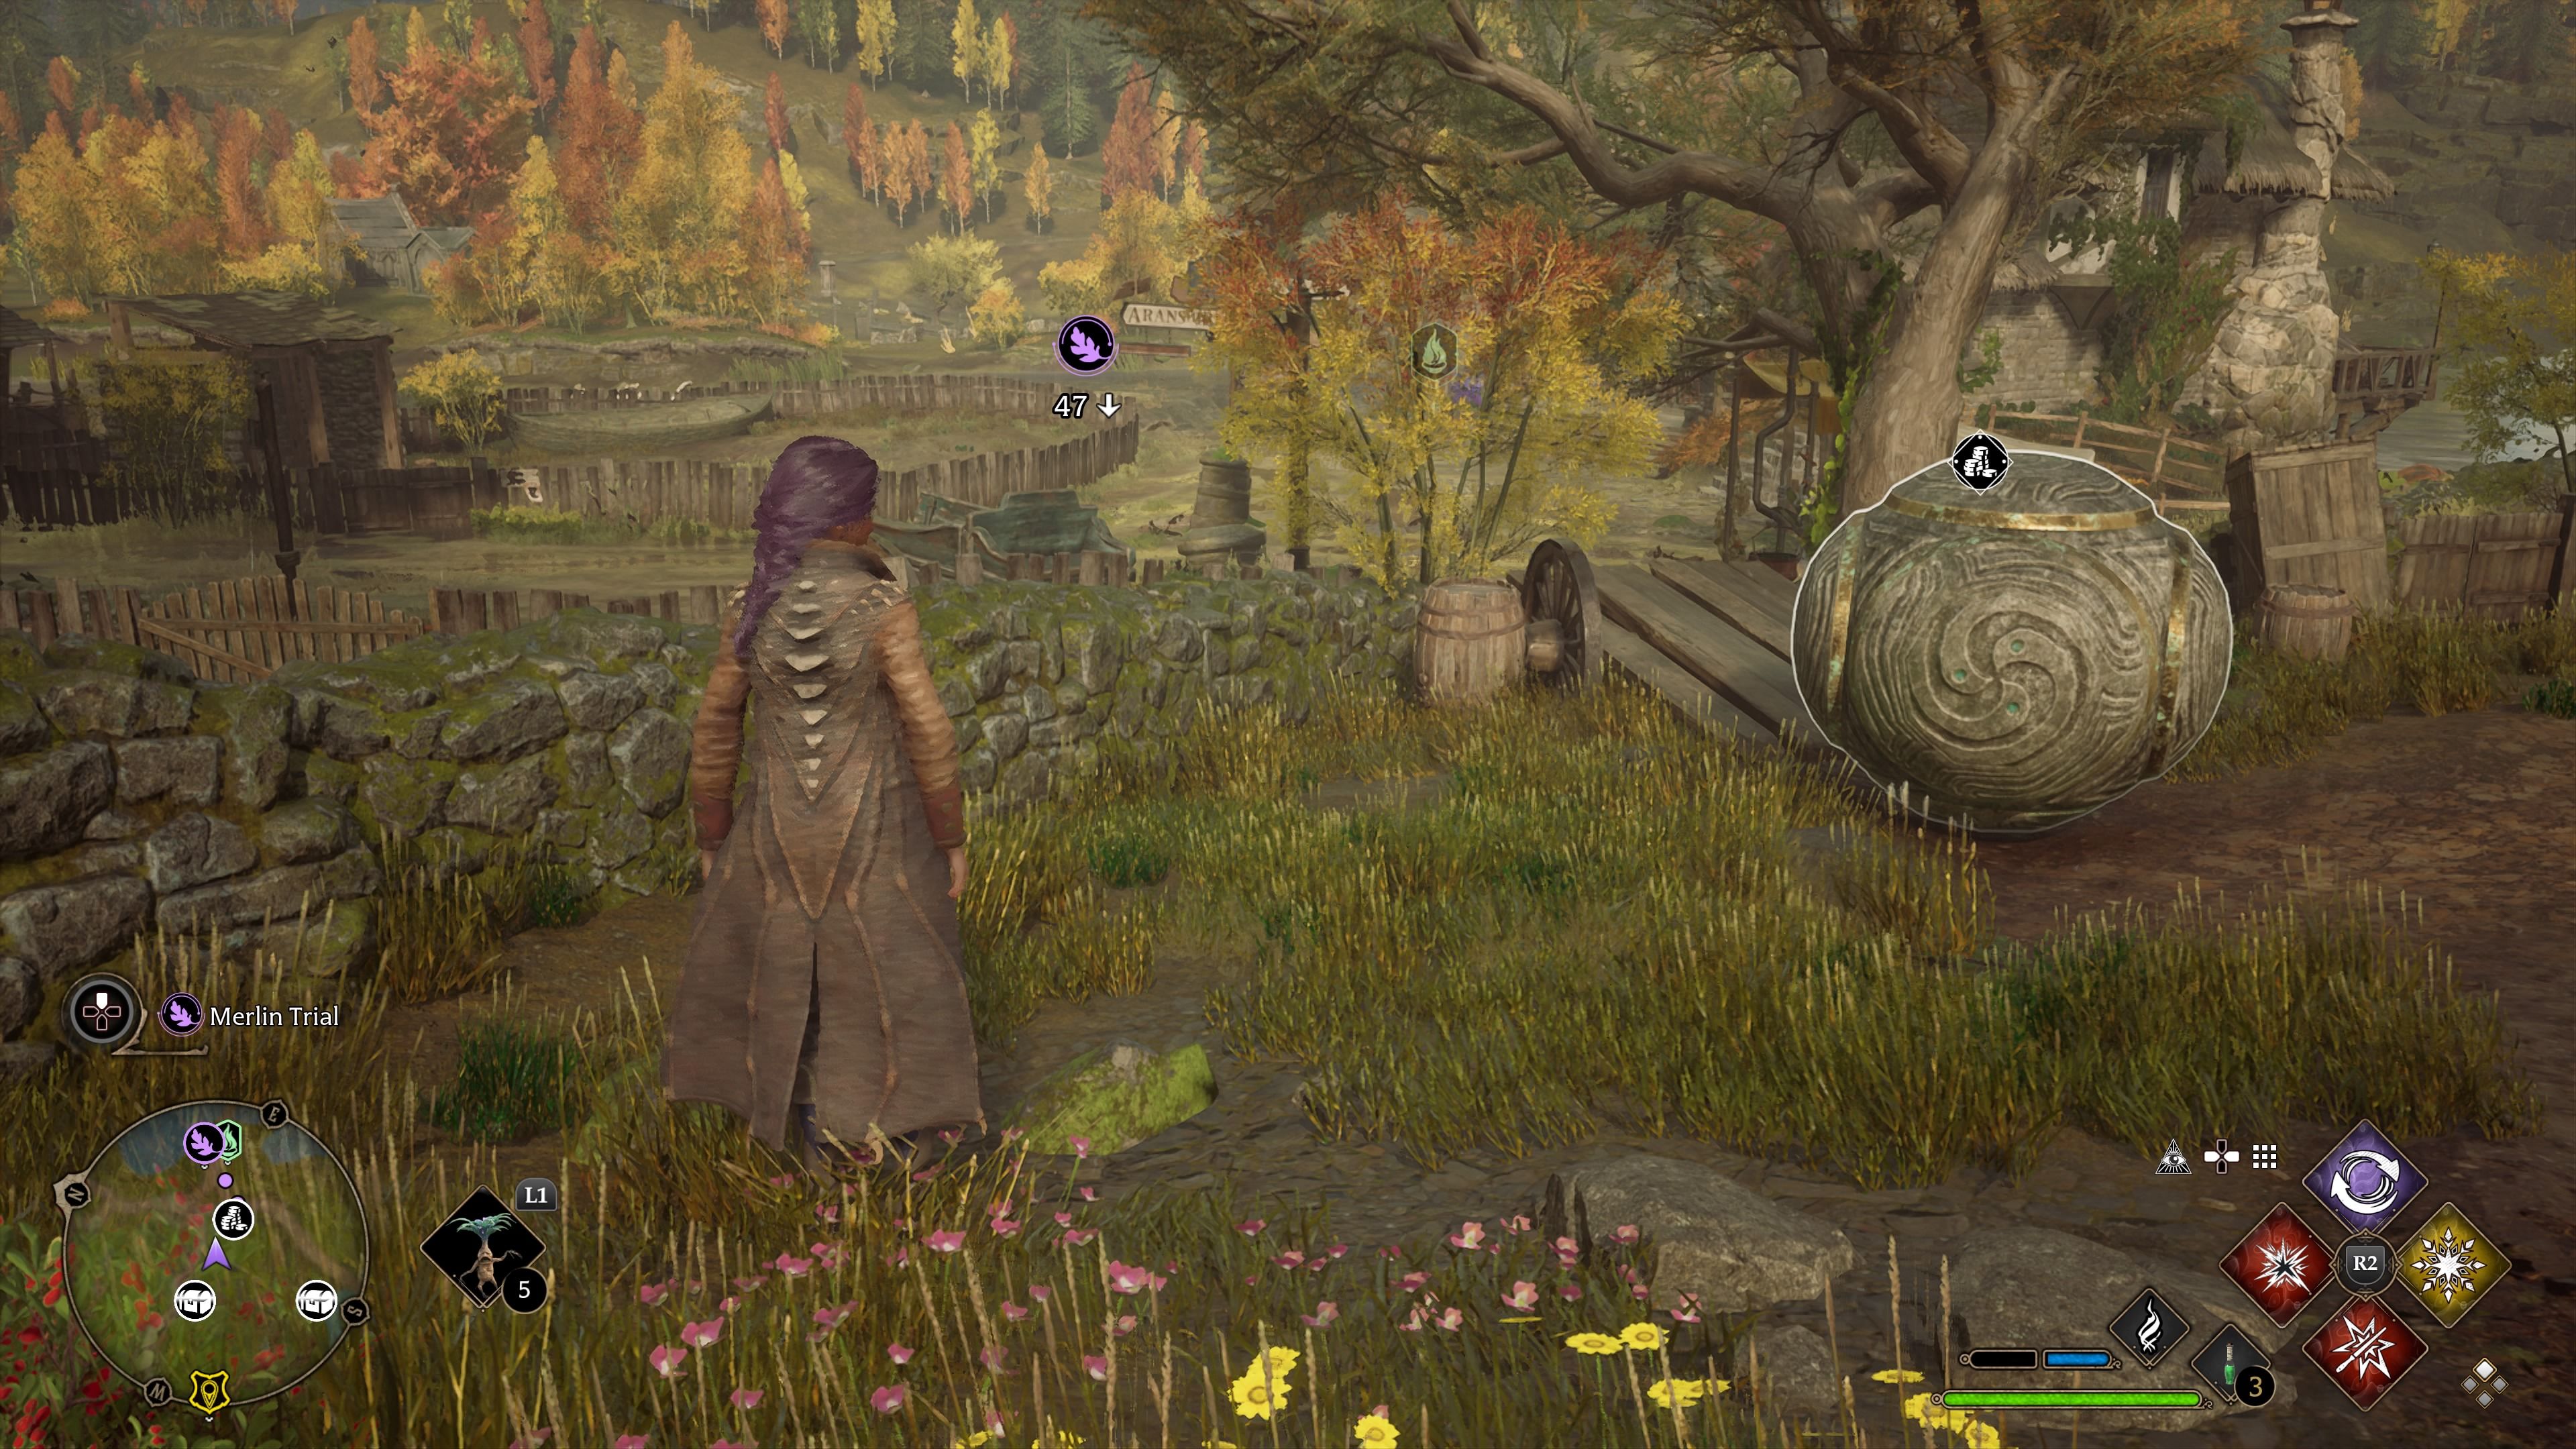
41. Hogwarts Valley #10
This is a stone depression puzzle . There is a ball that must be carried withWingardium Leviosato the stone depression . The ballock is up behind a pushcart in this surface area near thestand that betray potion ingredient . The depression is across the bridge .
42. Hogwarts Valley #11
This is also a stand stones mystifier . attack the five pit usingConfringo . They are nearby and intermixed with the other stones palisade the participant .
43. Hogwarts Valley #12
This one is next to a gem vault . After activating it , simply platform down the stones in front of the player .
44. Hogwarts Valley #13
There are a few enemies around to mind of aggravating . This is a repair puzzler . UseReparoon three broken statues to complete the test . One of them is in the goblin camp .
45. Hogwarts Valley #14
This one is a platforming puzzle . All the rock are seeable . Remember to get the last scant stone it is possible to backtrack , as long as the thespian does n’t fall off the stones .
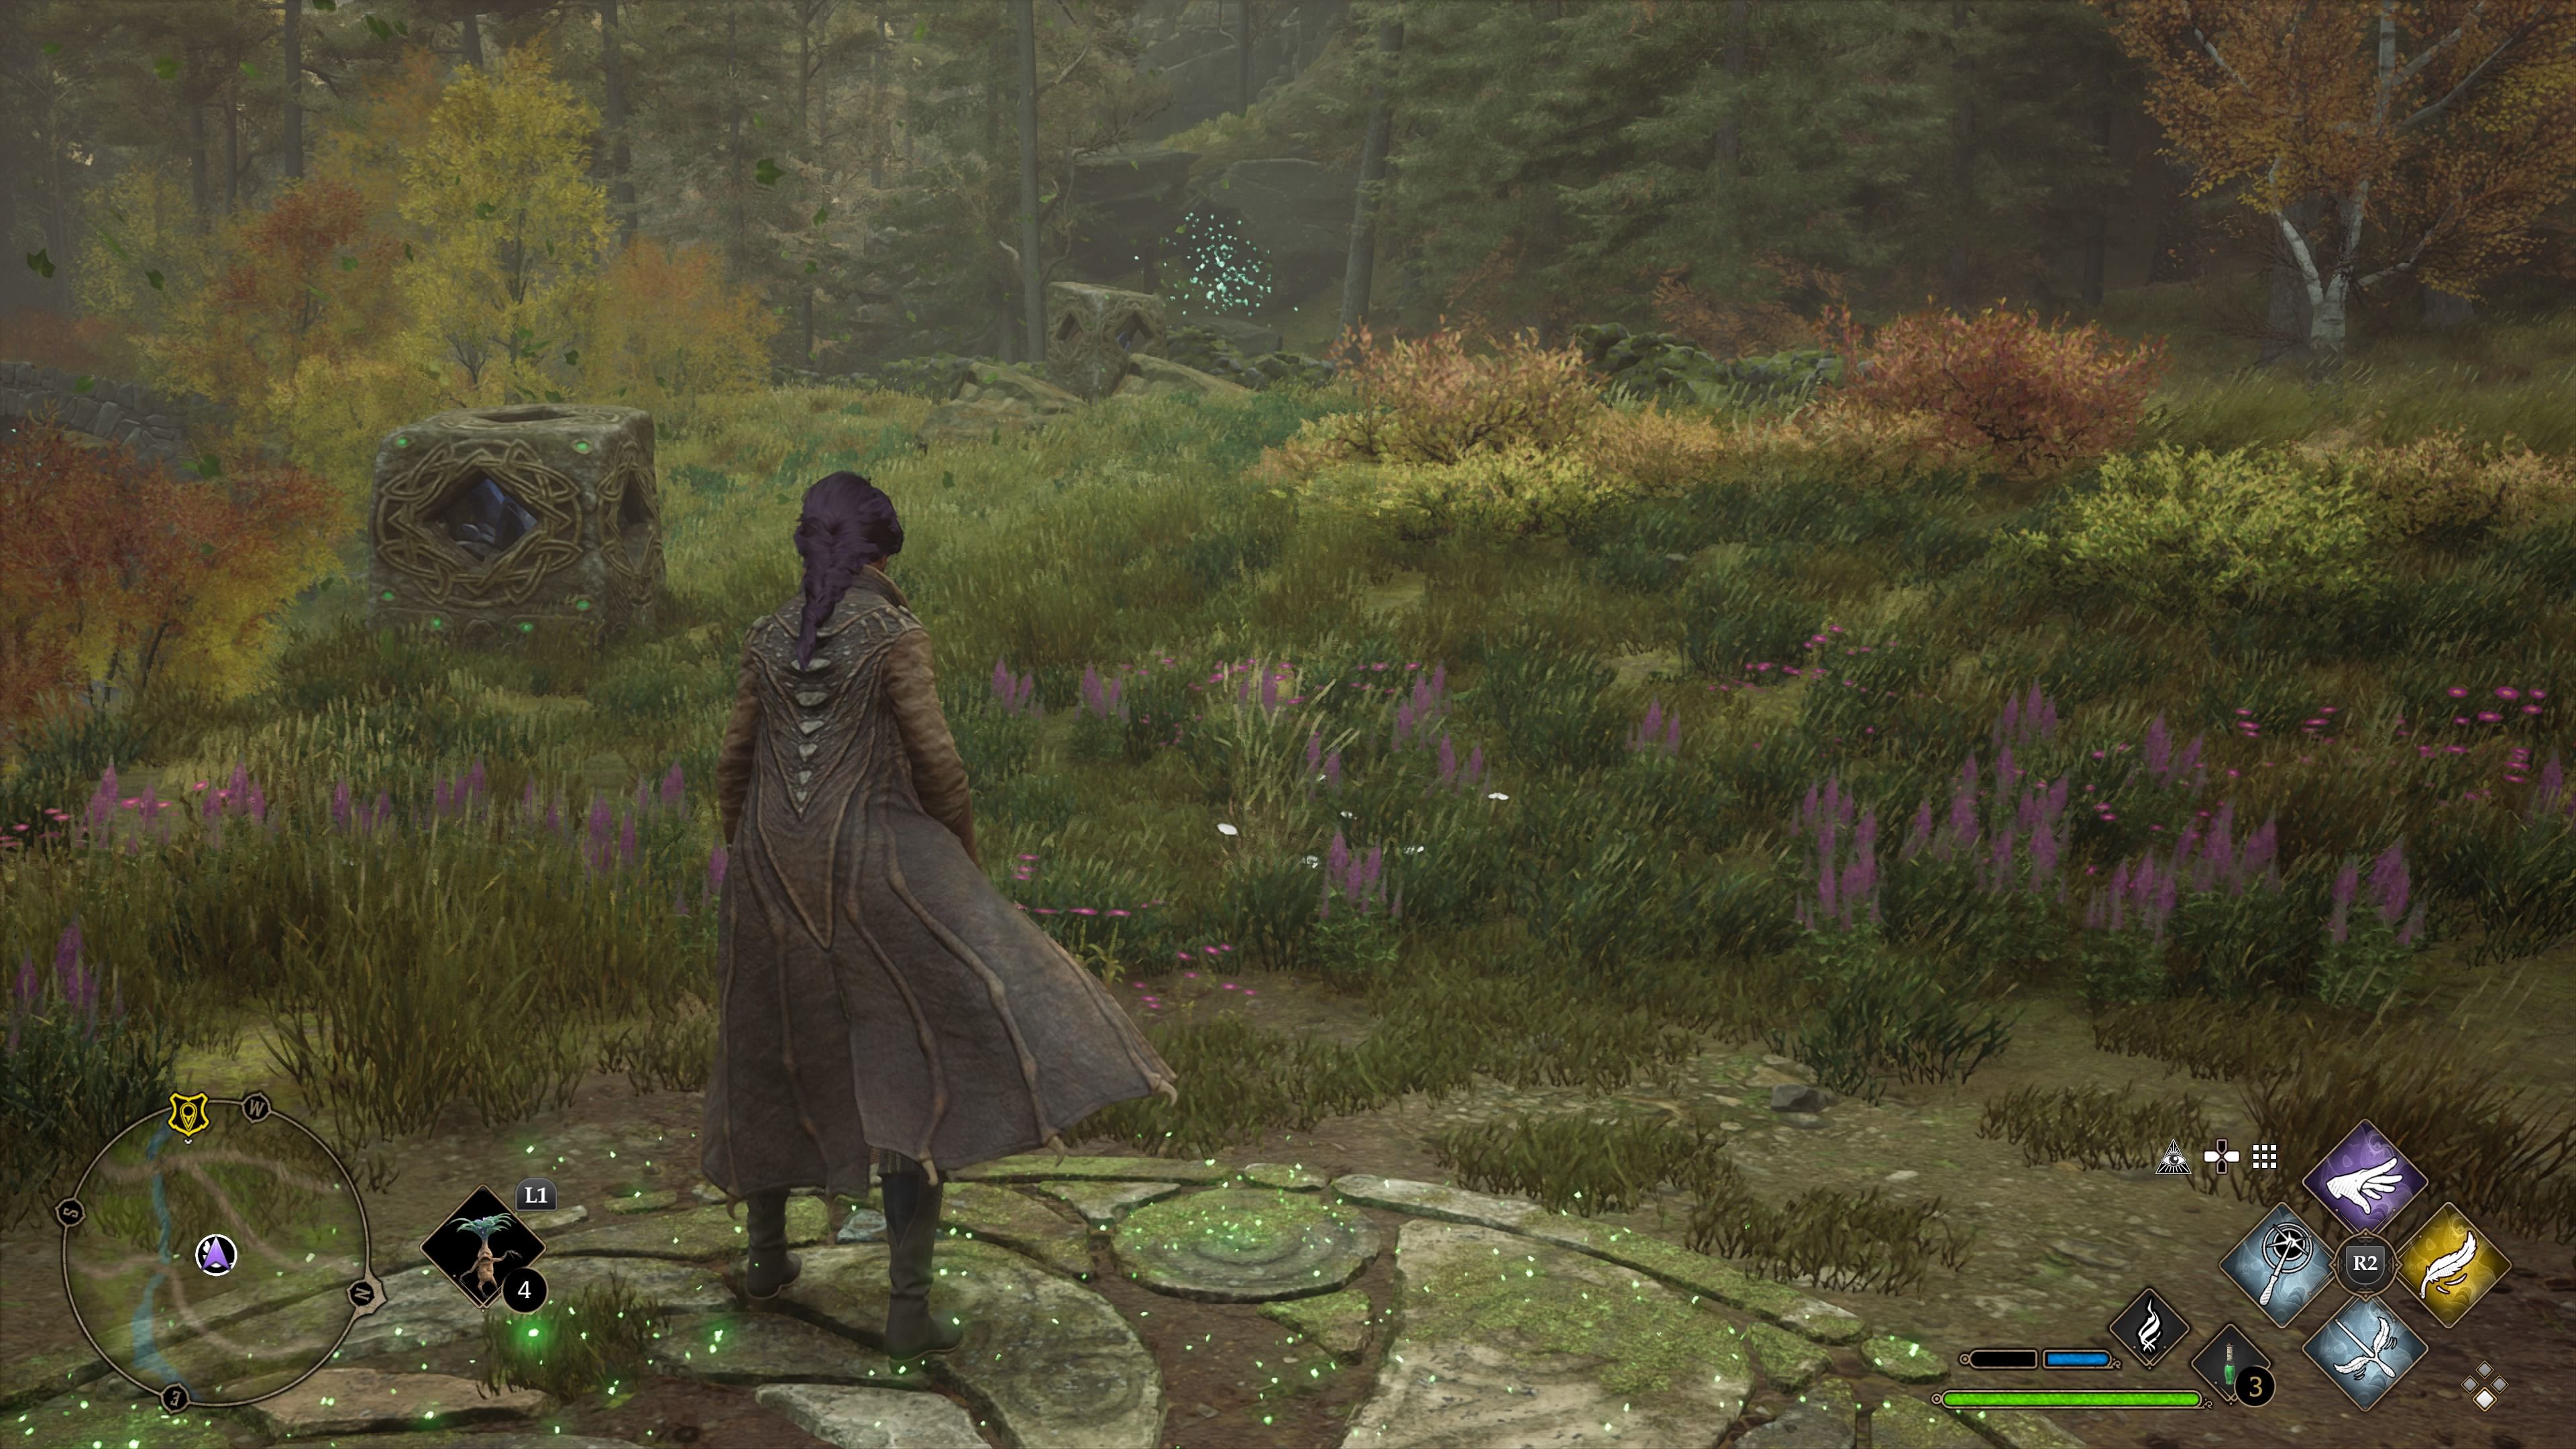
46. Hogwarts Valley #15
This one is a Harlan Fisk Stone depression mystifier . The ball is visible from the activating head . UseWingardium Leviosato channelise it down the track and the depression will be at the bottom .
47. Hogwarts Valley #16
This one is a light the cauldrons puzzle . There are three cauldrons to illuminate . Start with the magniloquent column and light them using theHogwarts LegacyConfringospellfrom magniloquent to shortest . The shortest one in this trial is hide behind the cart . The other two are visible .
More Hogwarts Legacy Guides : Every Flying Mount ( & Where To feel Them )
In the USA :
In Canada :
In the UK :